Motivation (this page prepared by Mike Douglas)
(versión en Español)
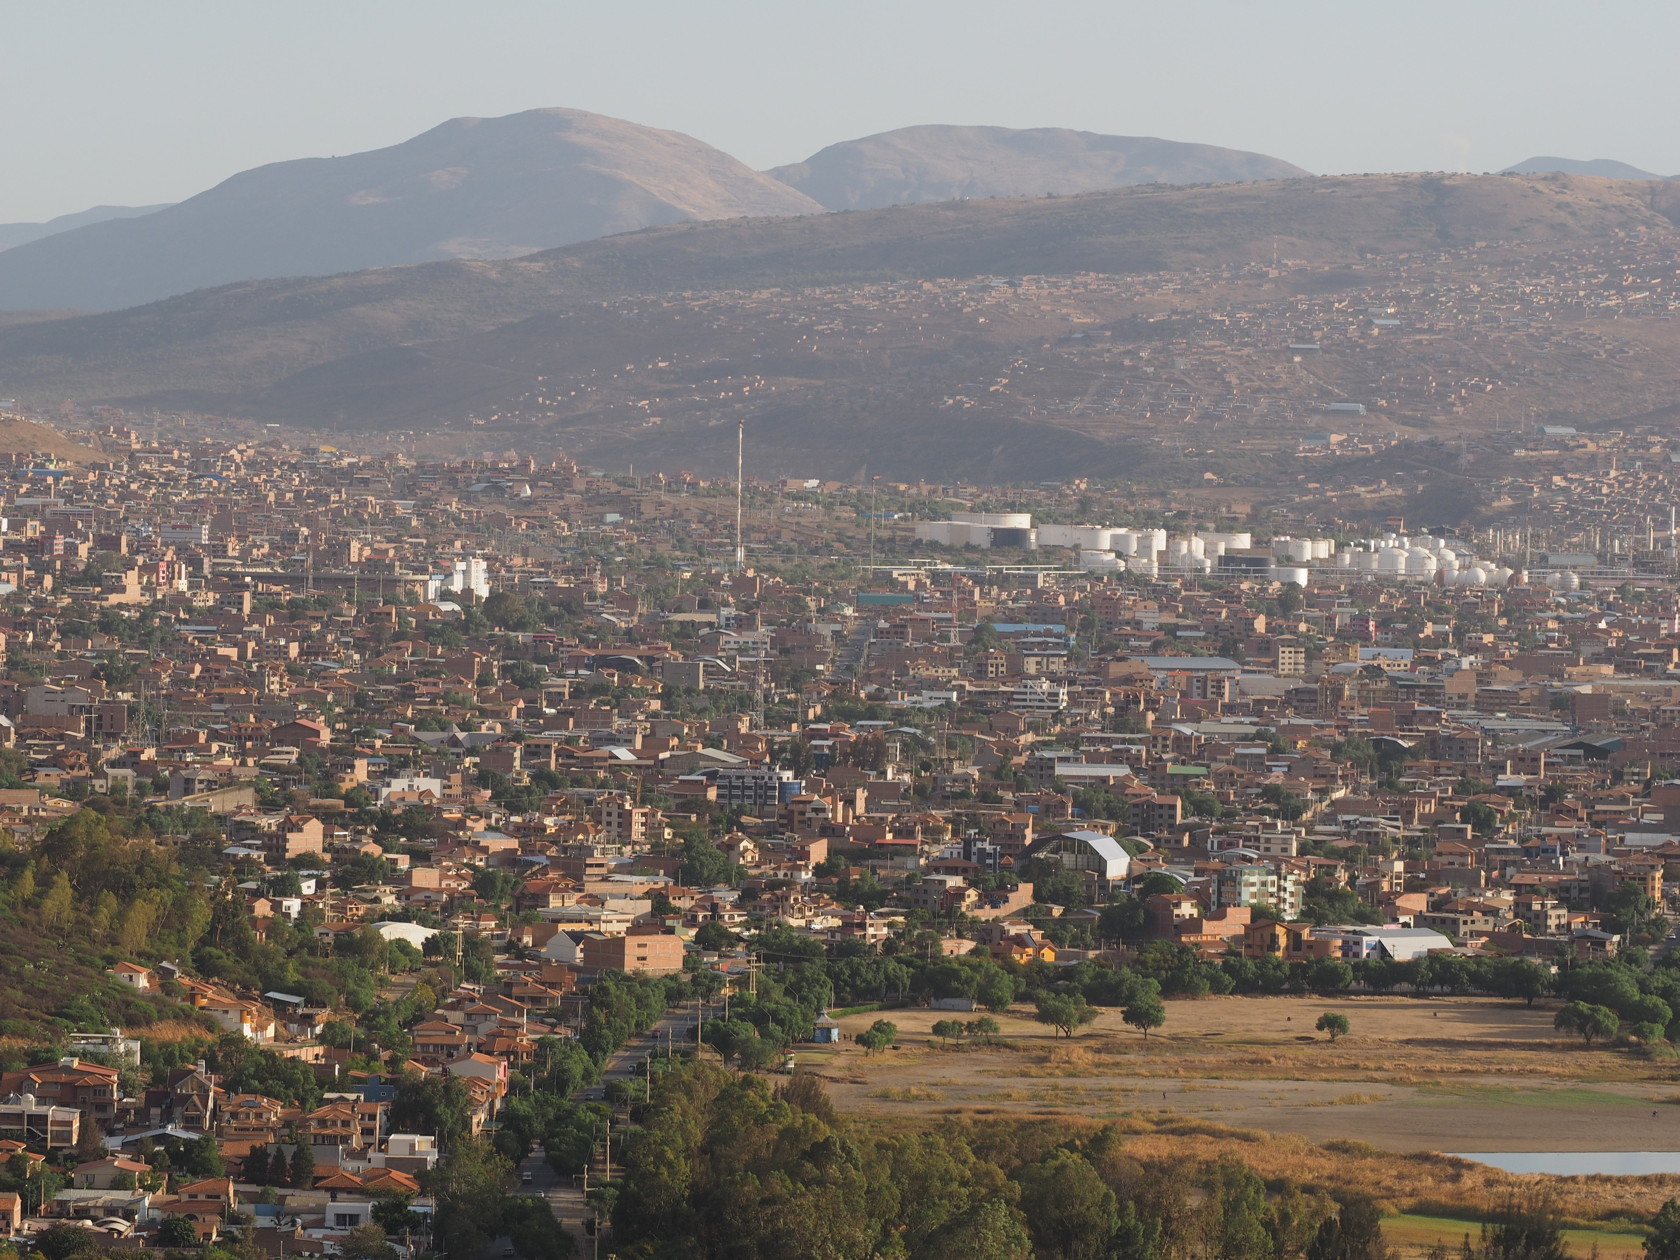
This page describes a day trip to a cloud forest (Yungas vegetation) north of Cochabamba, Bolivia. It also includes a few photos of an ascent via taxi later that day to Cerro San Pedro, a large hill that is surrounded by the city of Cochabamba. This hill has a number of interesting cacti found upon it; the area receives only about 300mm (12 inches) of rainfall on average.
The Yungas trip was part of a workshop on photography for biologists – the in-class part of the workshop was taught on a Tuesday and the field trip was scheduled for the following Saturday. This workshop was part of the 10th Congress of Latin American Biology Students (XCLECBO) Because of travel complications associated with a Bolivian Judicial election, some students could not stay for the field trip and some students who had hoped to take the workshop (traveling from Santa Cruz via bus, could not make the workshop in time because of road blockages due to strikes.
The travel was arranged via a small bus, with the main destination being a Yungas cloud forest dirt road that had essentially zero traffic on it. We were able to walk several miles along the road and the students were free to photograph whatever subjects they wished. Birdwatching was also carried out by most individuals. All photos on this page, unless otherwise noted , were taken by Mike Douglas.
We first start by describing the route to the cloud forest road.
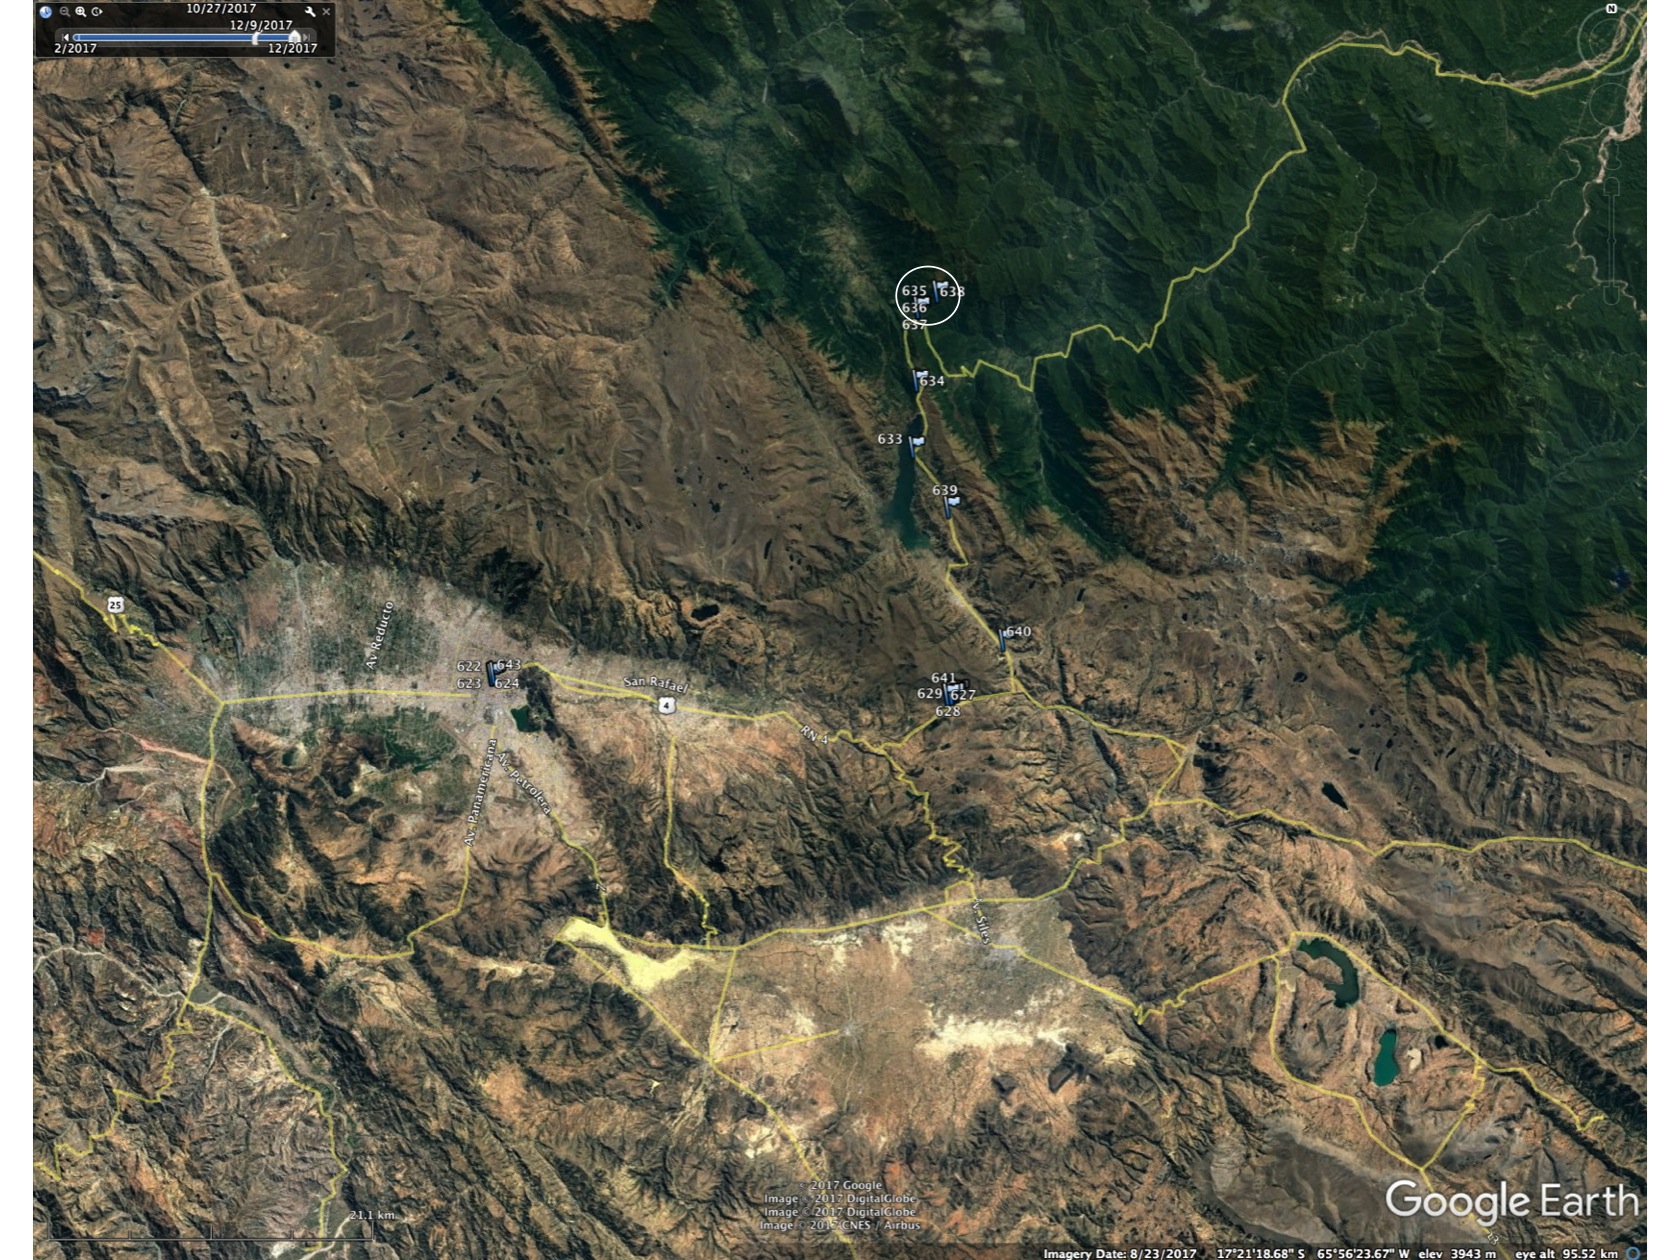
The figures below, taken from Google Earth, show the main road that connects Cochabamba to the lower-evelations to the north (and eventually Santa Cruz de la Sierra). Fig 1 shows that dramatic change in vegetation (from brown to green) as one proceeds north. The highest elevation on the road is about 12000 ft, the conditions quickly become moremoist as one descend towards the north.
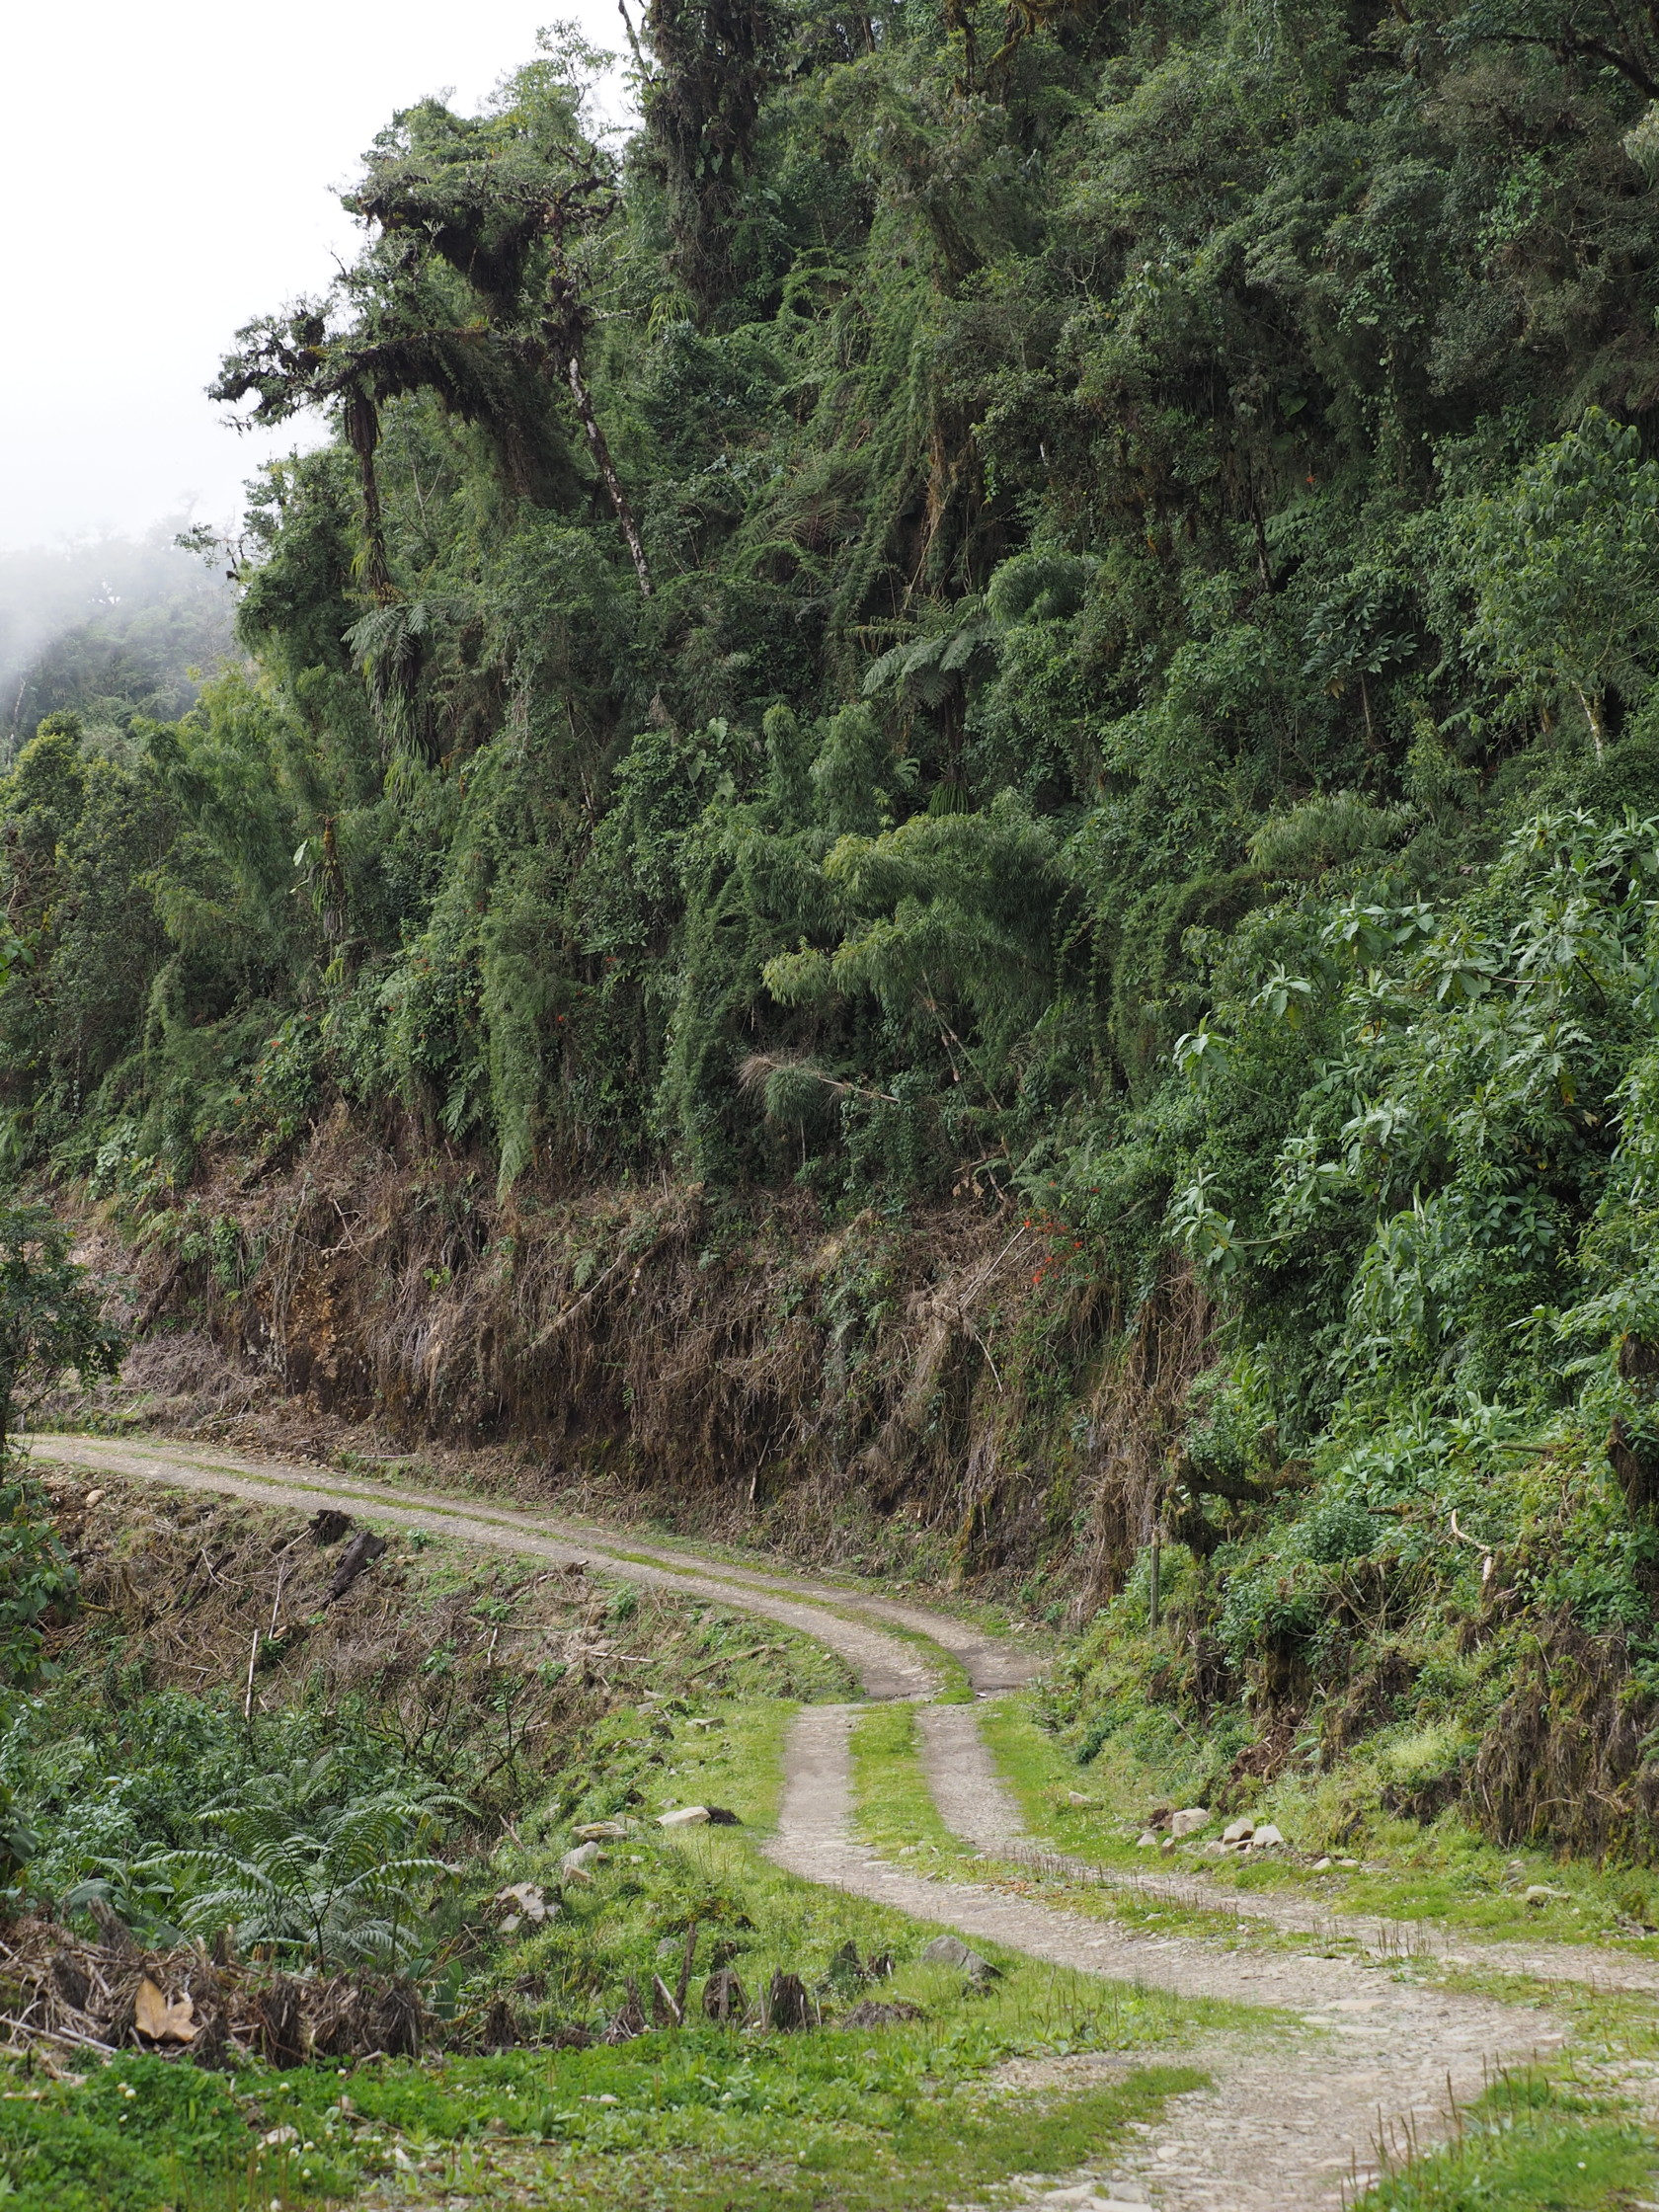
The bus driver stopped at a site that was known to the students; we walked along a dirt road for about 3 hours. This road had zero traffic on it. The road was approximately level, being cut into a steep slope, with the elevation being about 9200 ft.


Photos along the Yungas road
As the objective of the trip to the Yungas was (officially) to practice photography of natural history subjects I will describe the photos that were taken with this in mind. That is, I will explain why I took a photo, and whether it was (in my opinion) successful or not. This is the sort of self-critiquing that a photographer should do – if no one else is around to provide such critiquing.
My personal interest was to photograph epiphytes, tree ferns, the general forest environment (what distinguishes the Yungas from lower elevational forests for example) and whatever animals I came across. I was not focused on bird photography, and though I brought my 300mm lens, given the overcast conditions and nature of most birds in tropical forests – small and fast moving, I didn’t anticipate much success. I focused on macro photography opportunities and general forest shots. For this type of photography I use most often a 40-150mm telephoto zoom and a 12-40mm wider-angle zoom. Close-up shots were with a 60mm macro. All lenses were Olympus “pro-series” lenses. I use Olympus mirrorless cameras (OMD-EM1) now because of 1) their lighter weight (both camera body and lenses) compared with Nikon series DSLR cameras (that I have but rarely use now), 2) better image stabilization (through the Olympus camera body), 3) folding rear viewscreen is essential for low-level photography (my Nikons (D7100, D300s) don’t have – though newer ones do) and 4) I like the image quality more than the Nikon’s. These are my opinions, yours may differ.

Documenting participants in the activity
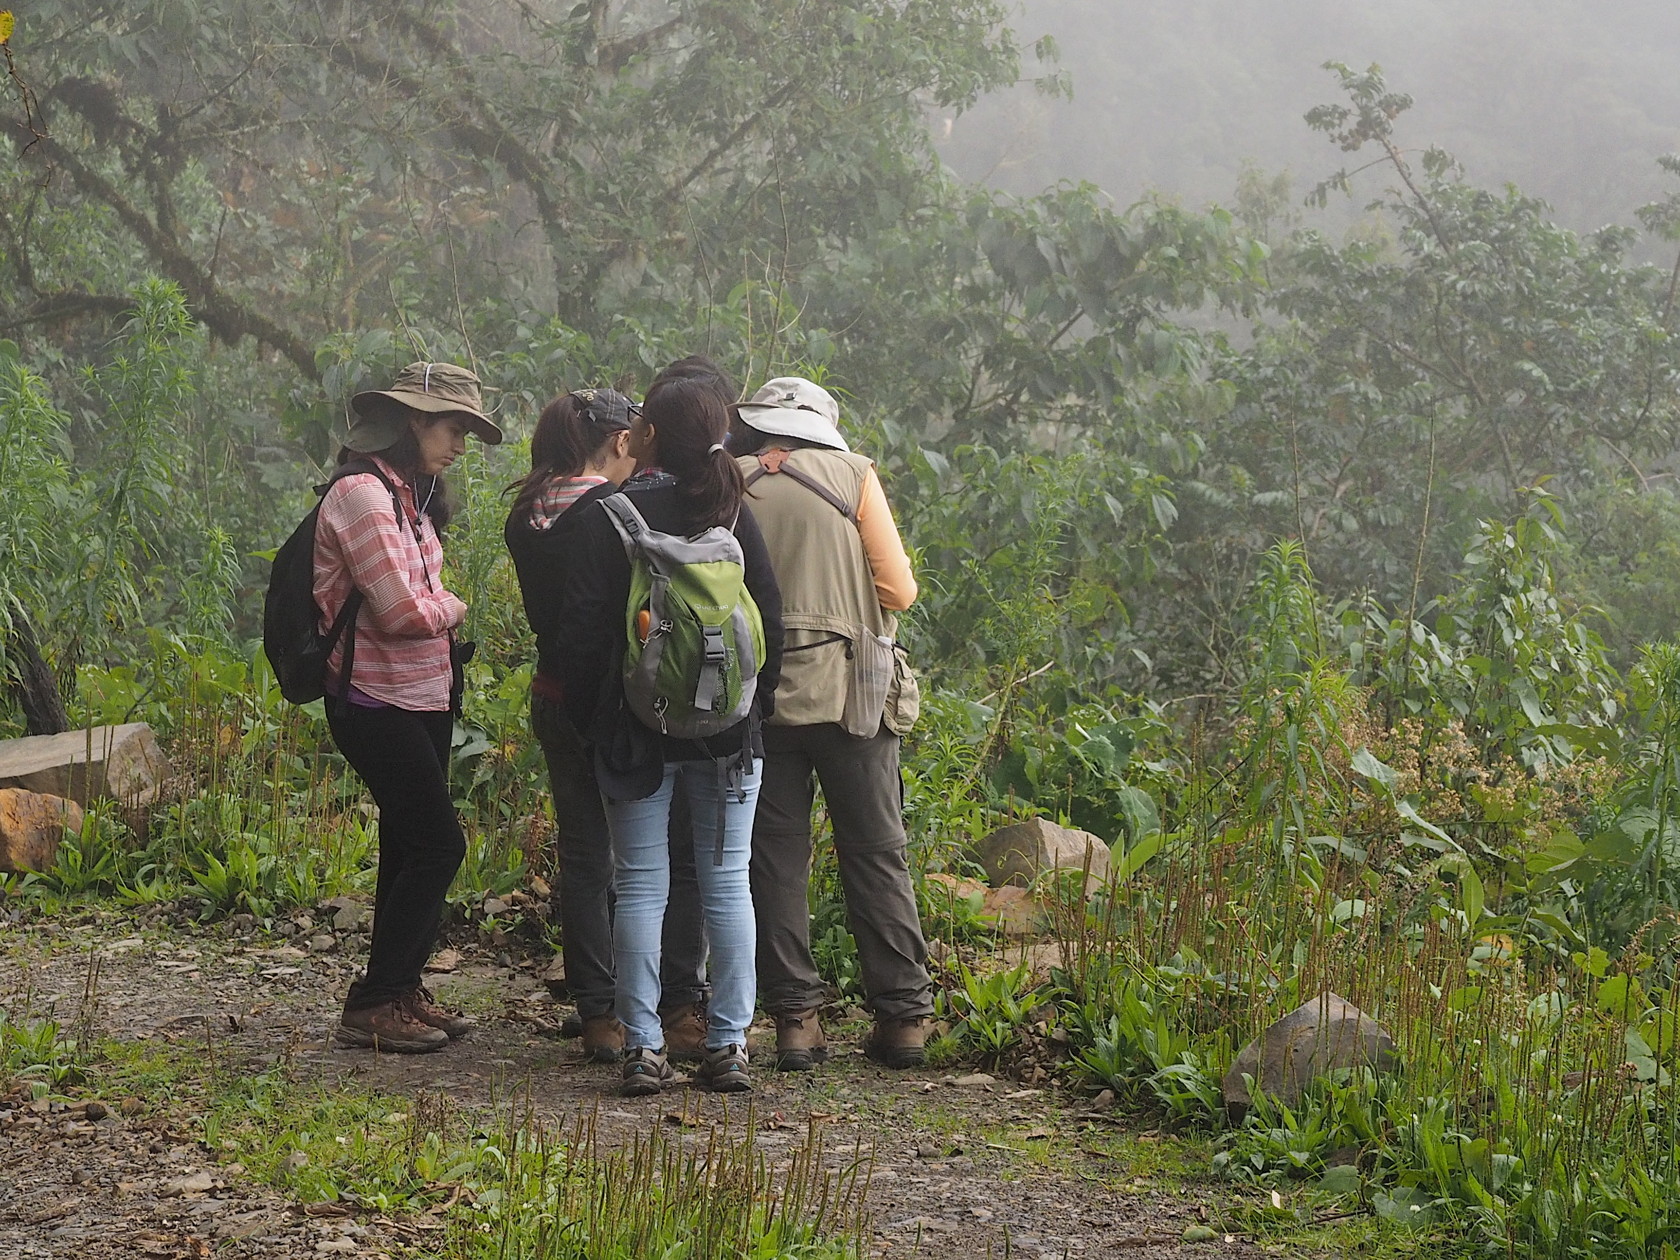
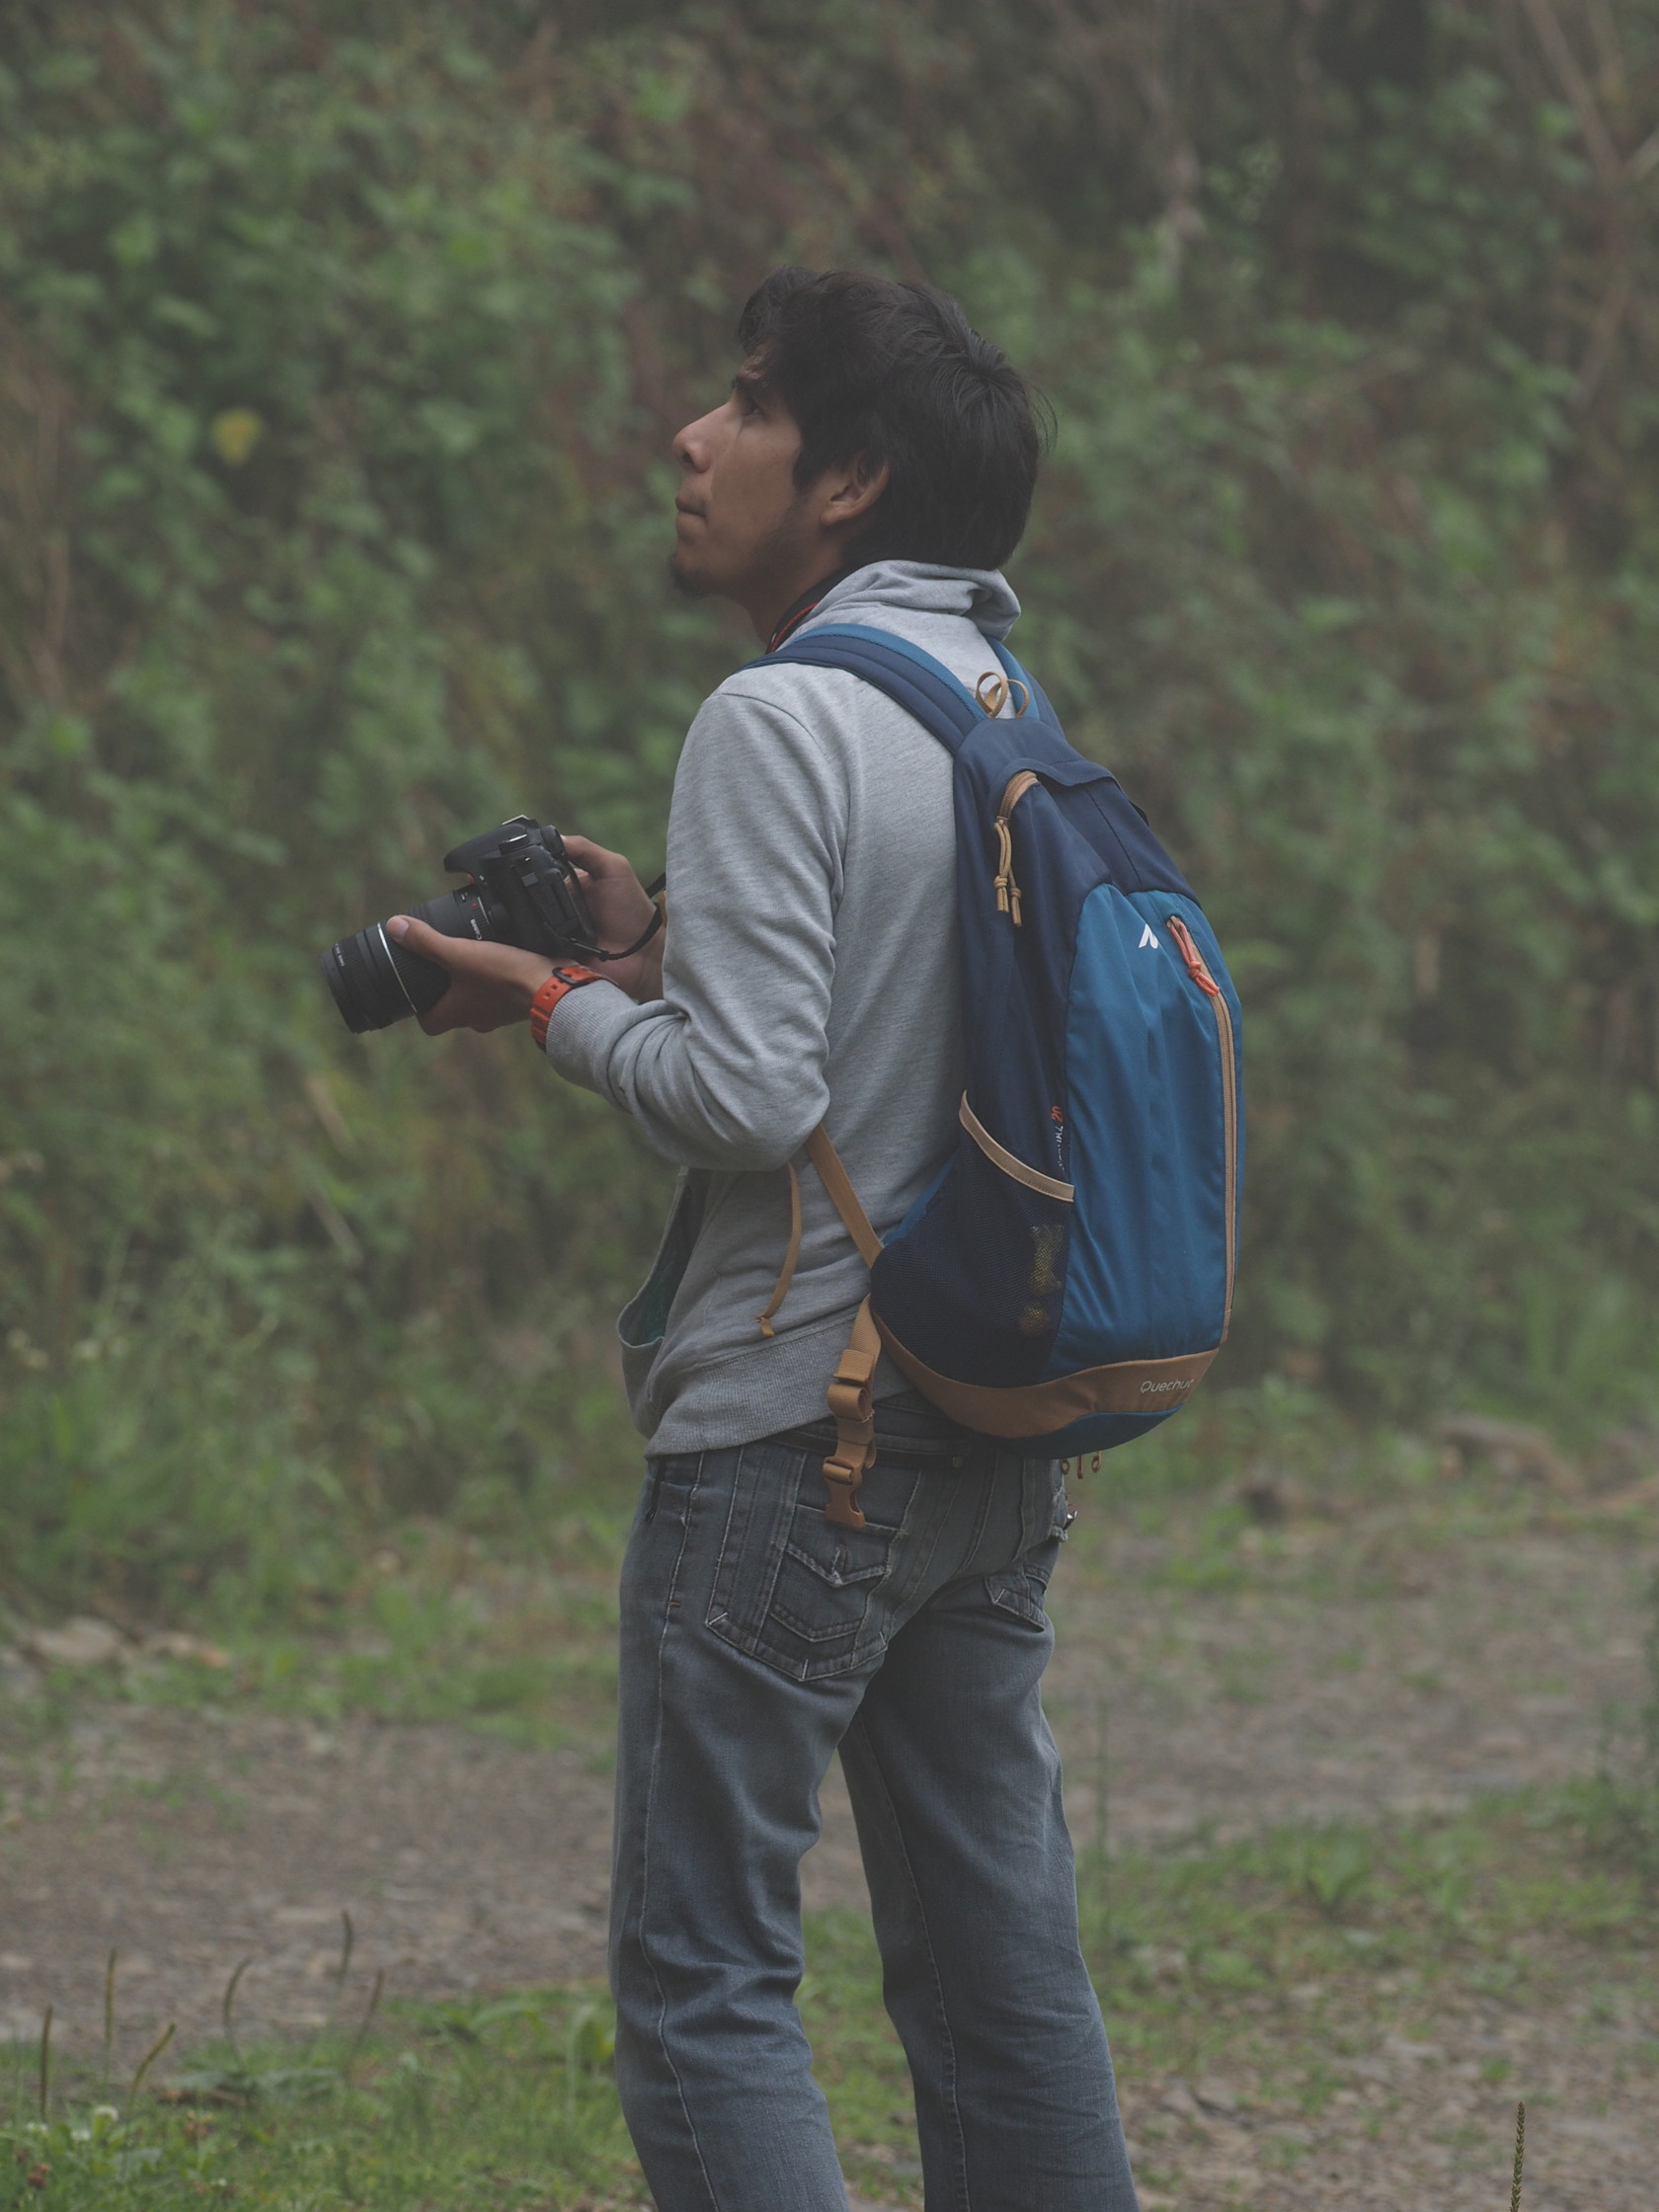
To show the activity involved, one needs to photograph the participants involved in their activity. This is best done when they are not aware of them being the subject of the photograph! A telephone lens helps in this – you can be a good distance away from the people being photographed, so more “natural” poses are shown. Below are a few examples of where this worked – and where it didn’t… See the individual photos for a discussion.


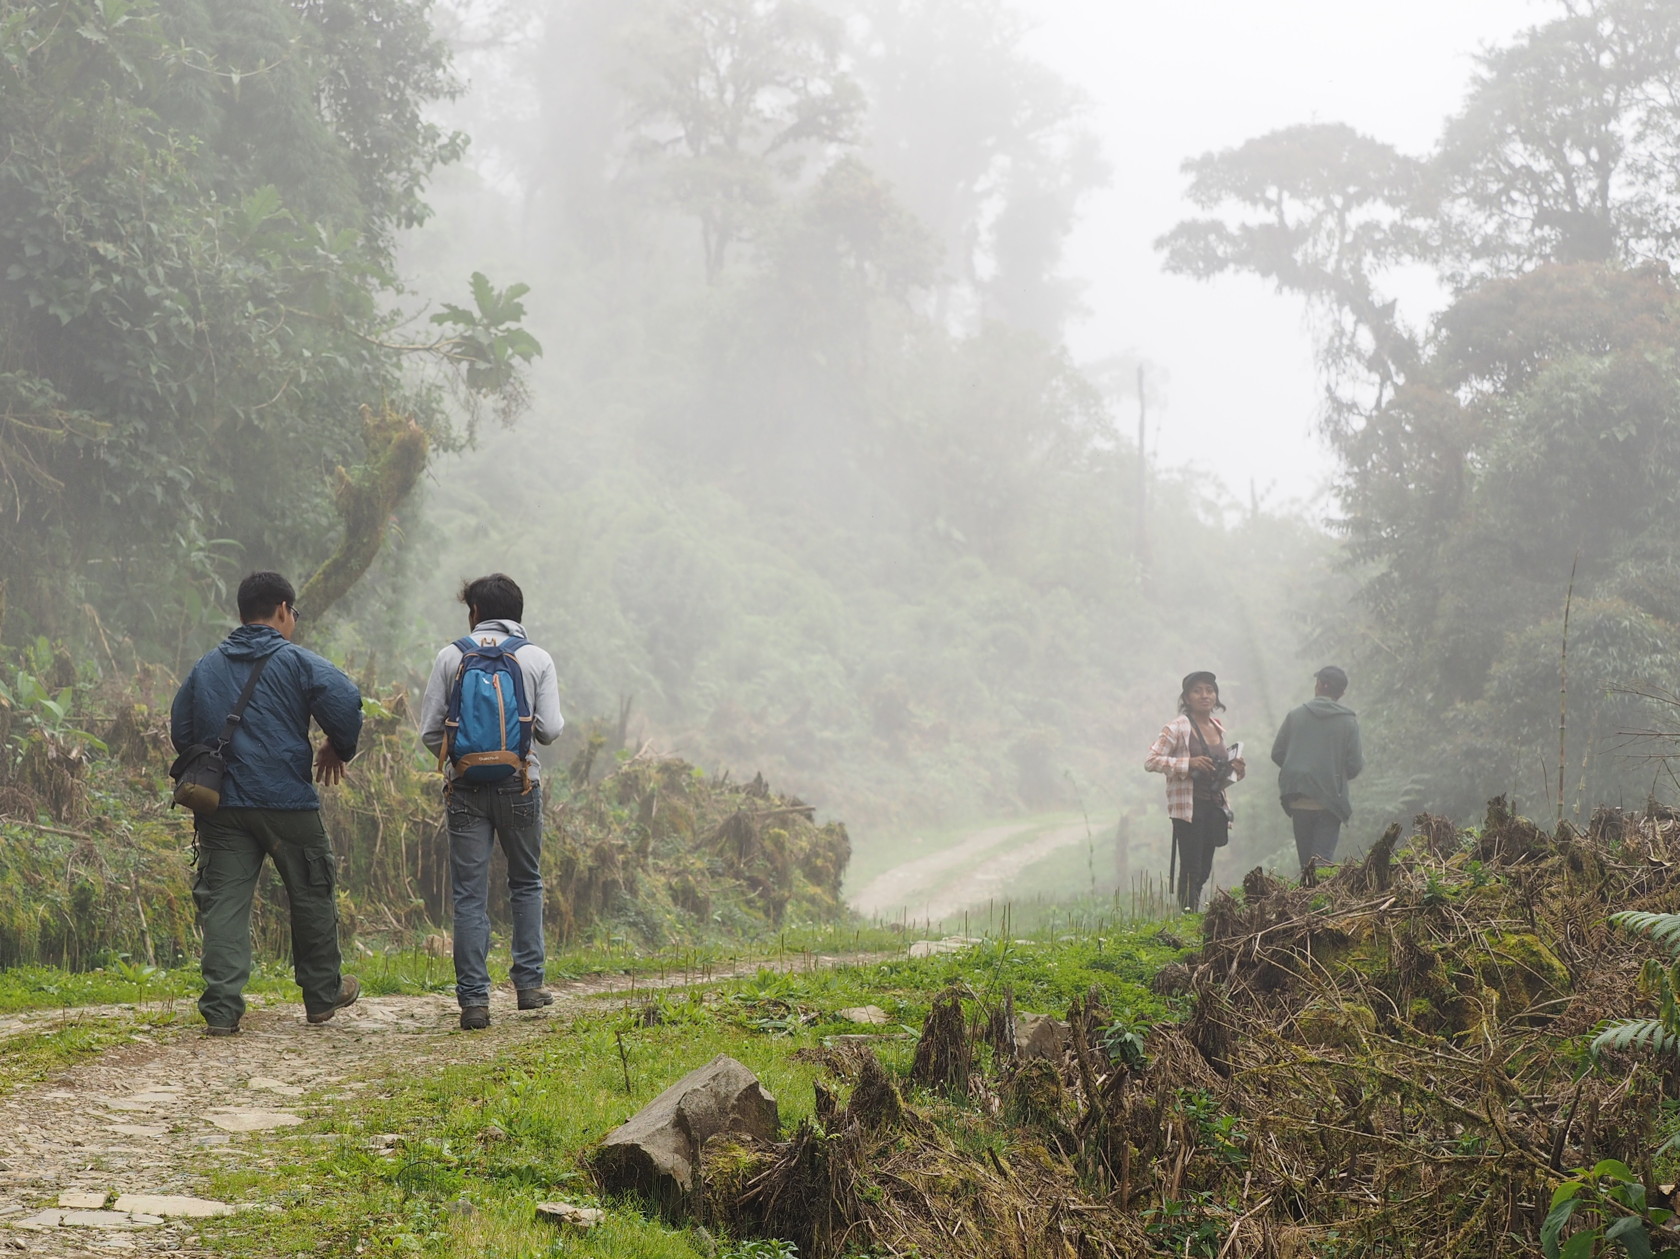


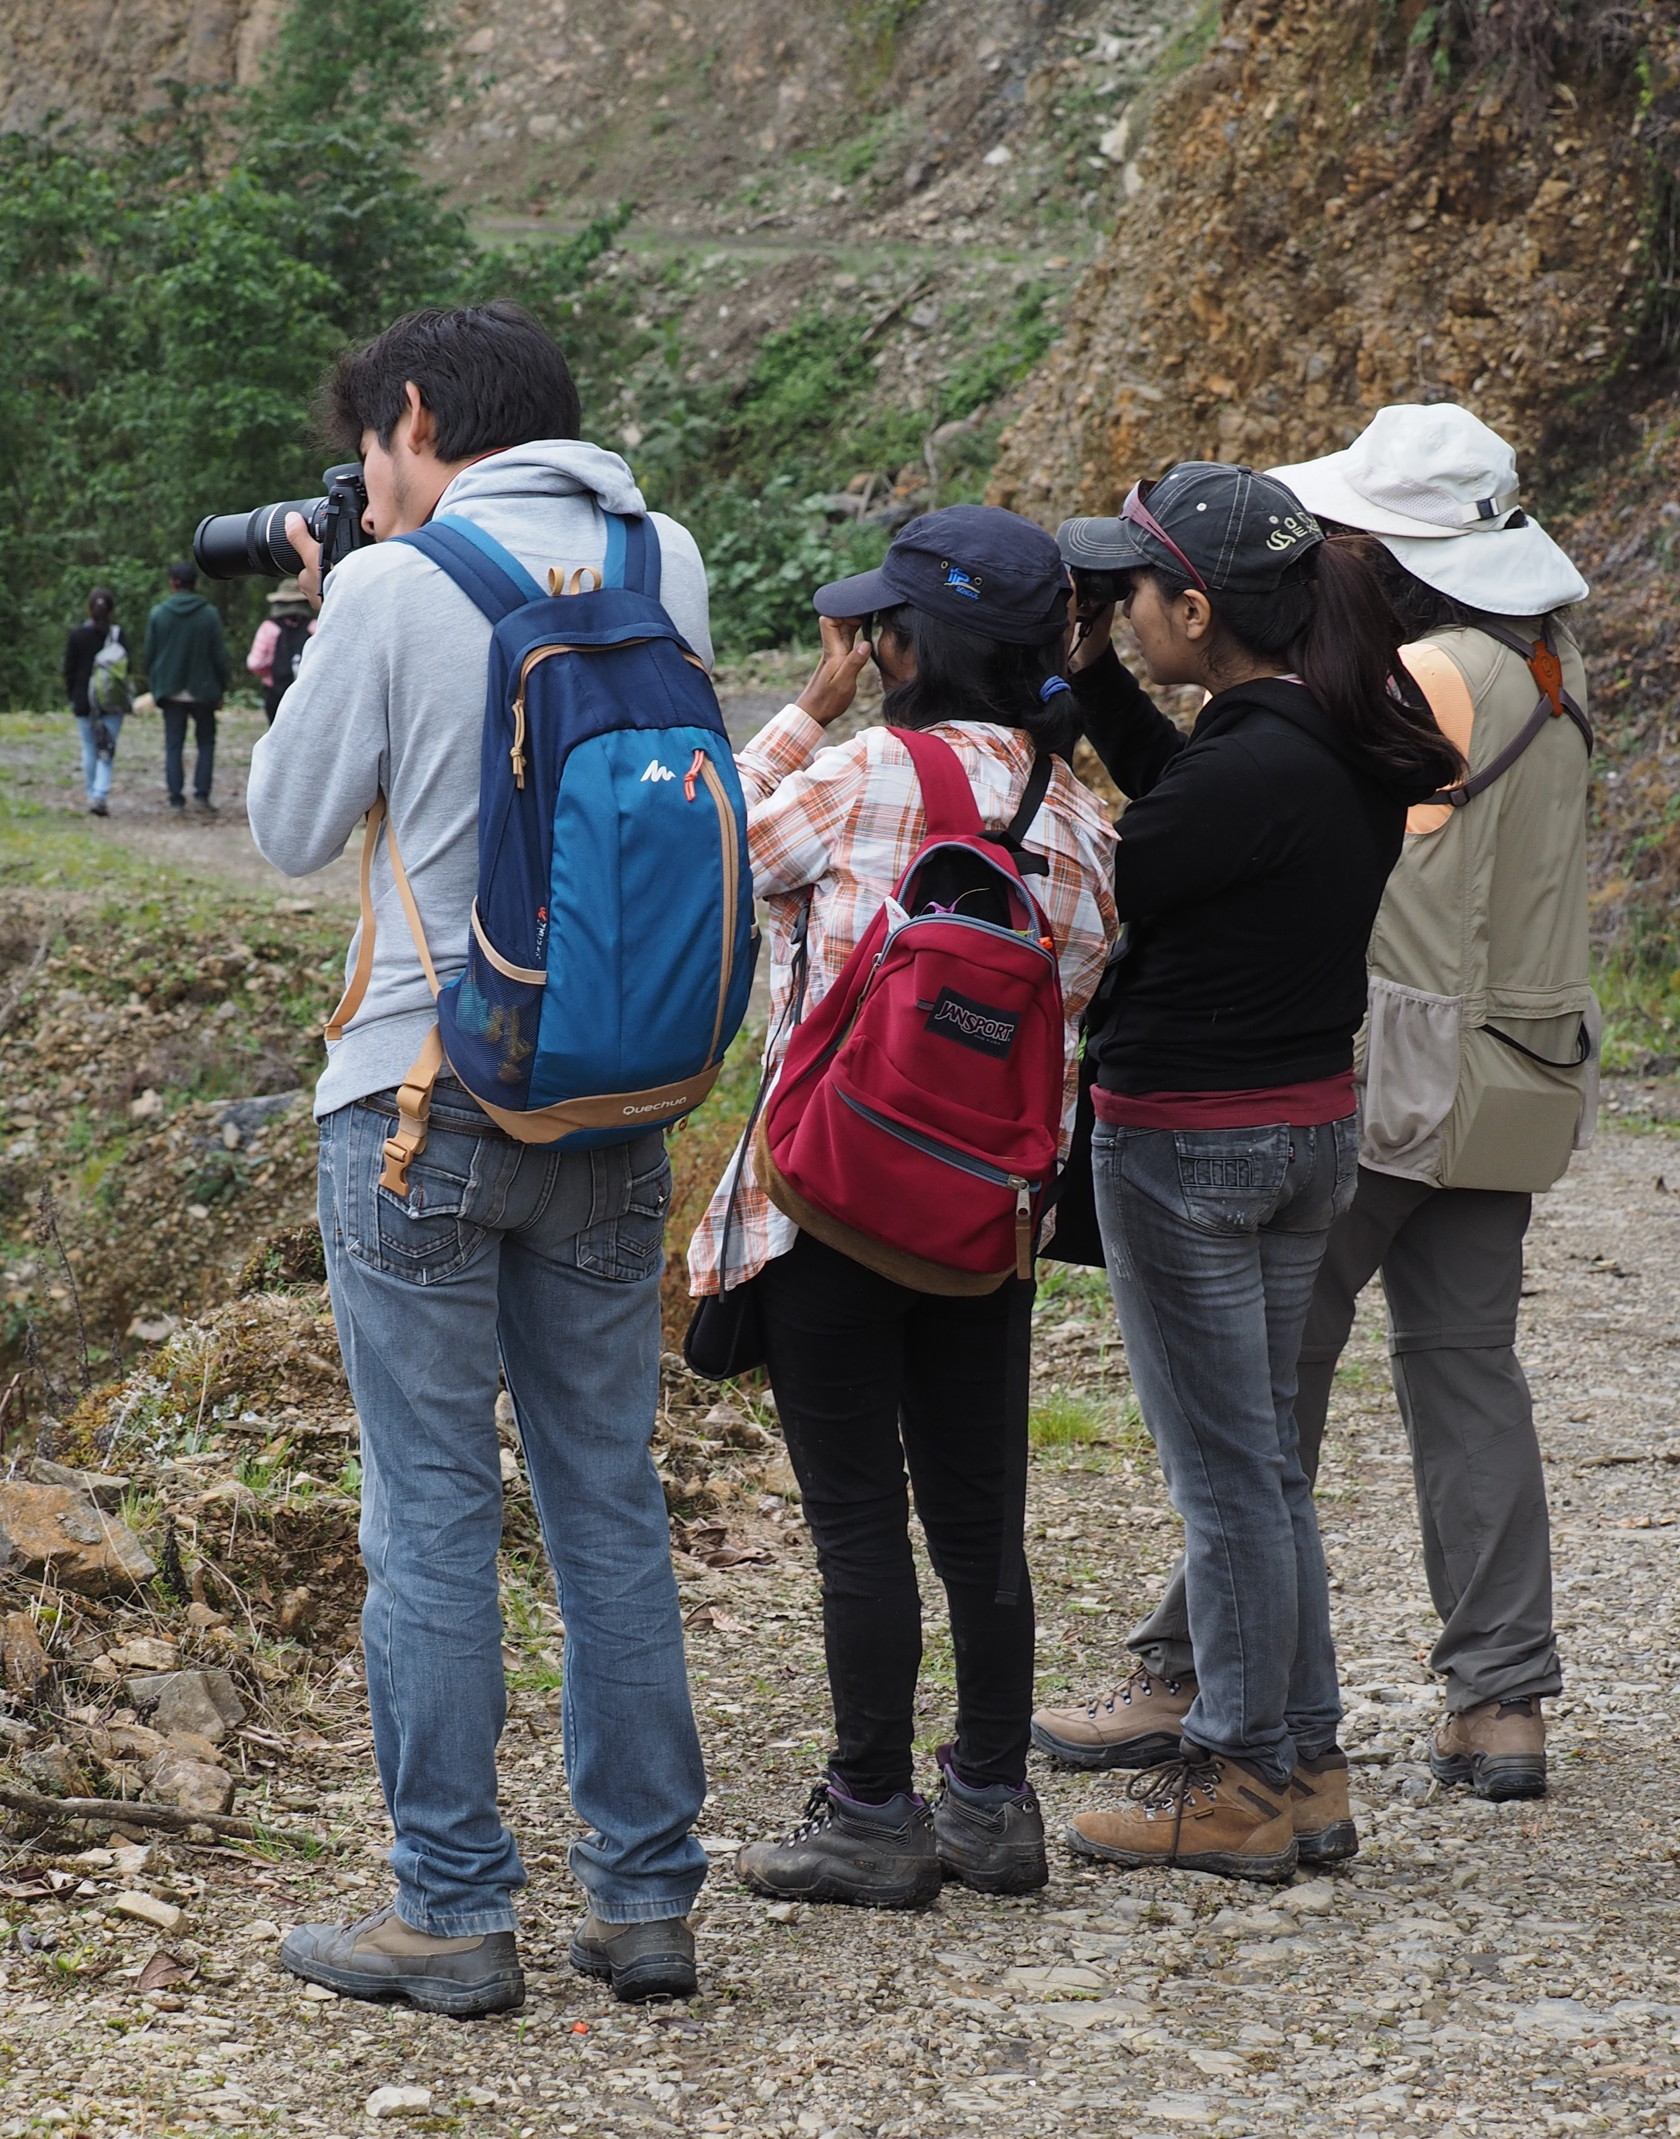
Let’s consider one photo and some possible crops to it. Below is the original photo. It isn’t ideal – the person on the left, taking a photo – has a distracting background of two individuals behind his camera. I should have waited until these people had walked farther on – out of view. But the photo opportunity might have been missed. Actually, I probably didn’t even notice the people in the background. The photo has a positive aspect in that it shows the road climbing and disappearing into the fog. But the crop is too tight – I should have allowed more space to show the road.

Consider a crop of the image above (Fig. 5). Here we are just focusing on the individuals, not the surroundings. This photo might be used to emphasize the differing field clothes worn by the participants. Long pants, hats and backpacks being common (though not universally used). And everyone has boots.
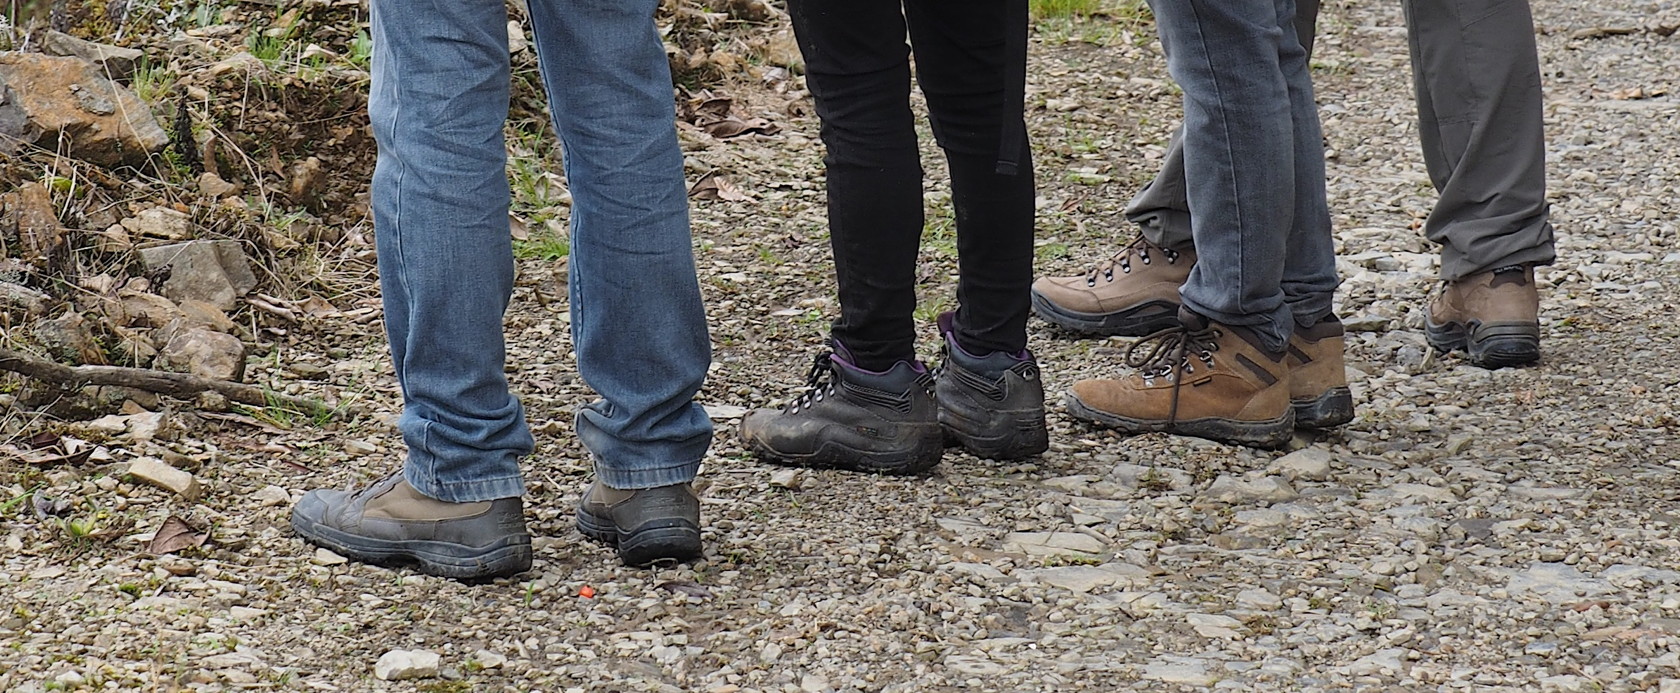
Now consider a possible crop (Fig 6). Here only the lower legs and boots are evident. Such a photo could be used to emphasize that for such a field excursion – boots and long pants are required. Such a photo might be used, for example, in a presentation to beginning biology students on how to dress for the field. No flip-flops, sandals, sneakers, or high heels!
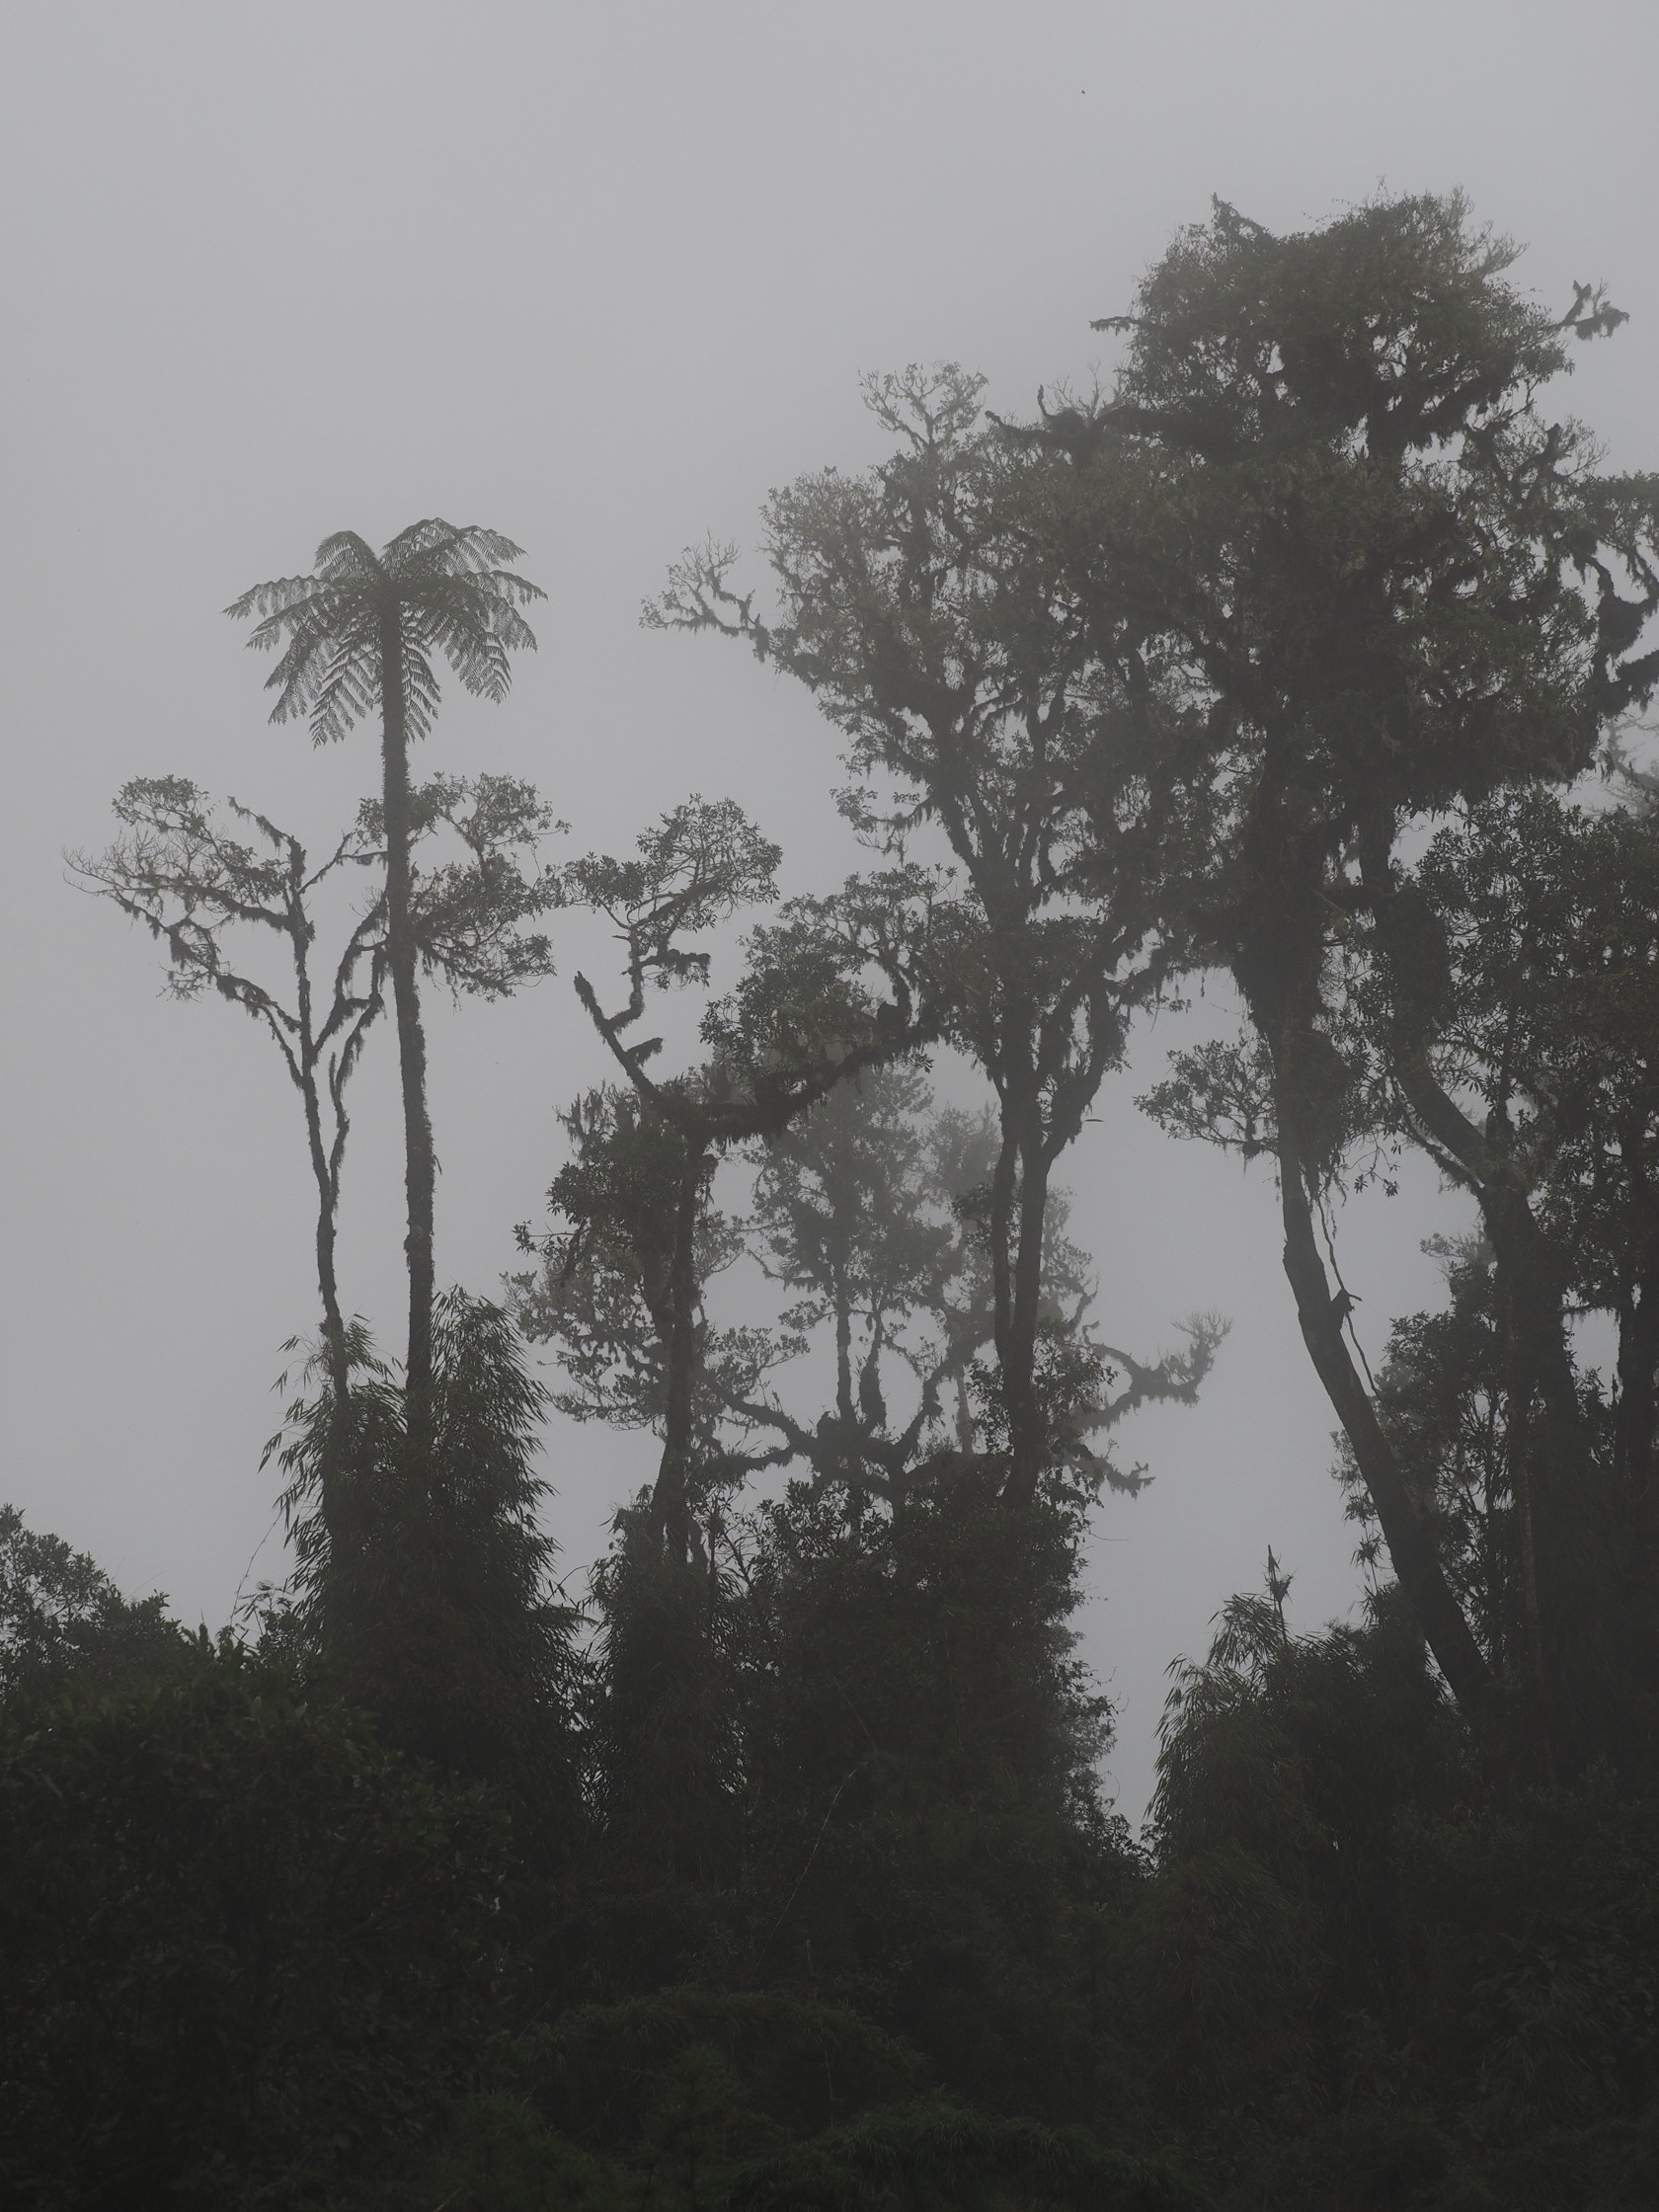
Landscapes
Here we show some landscape photos along the Yungas road and discuss what works best. Three images are shown in Fig 7. Which do you like best? Least? See the caption for each photo for a discussion.
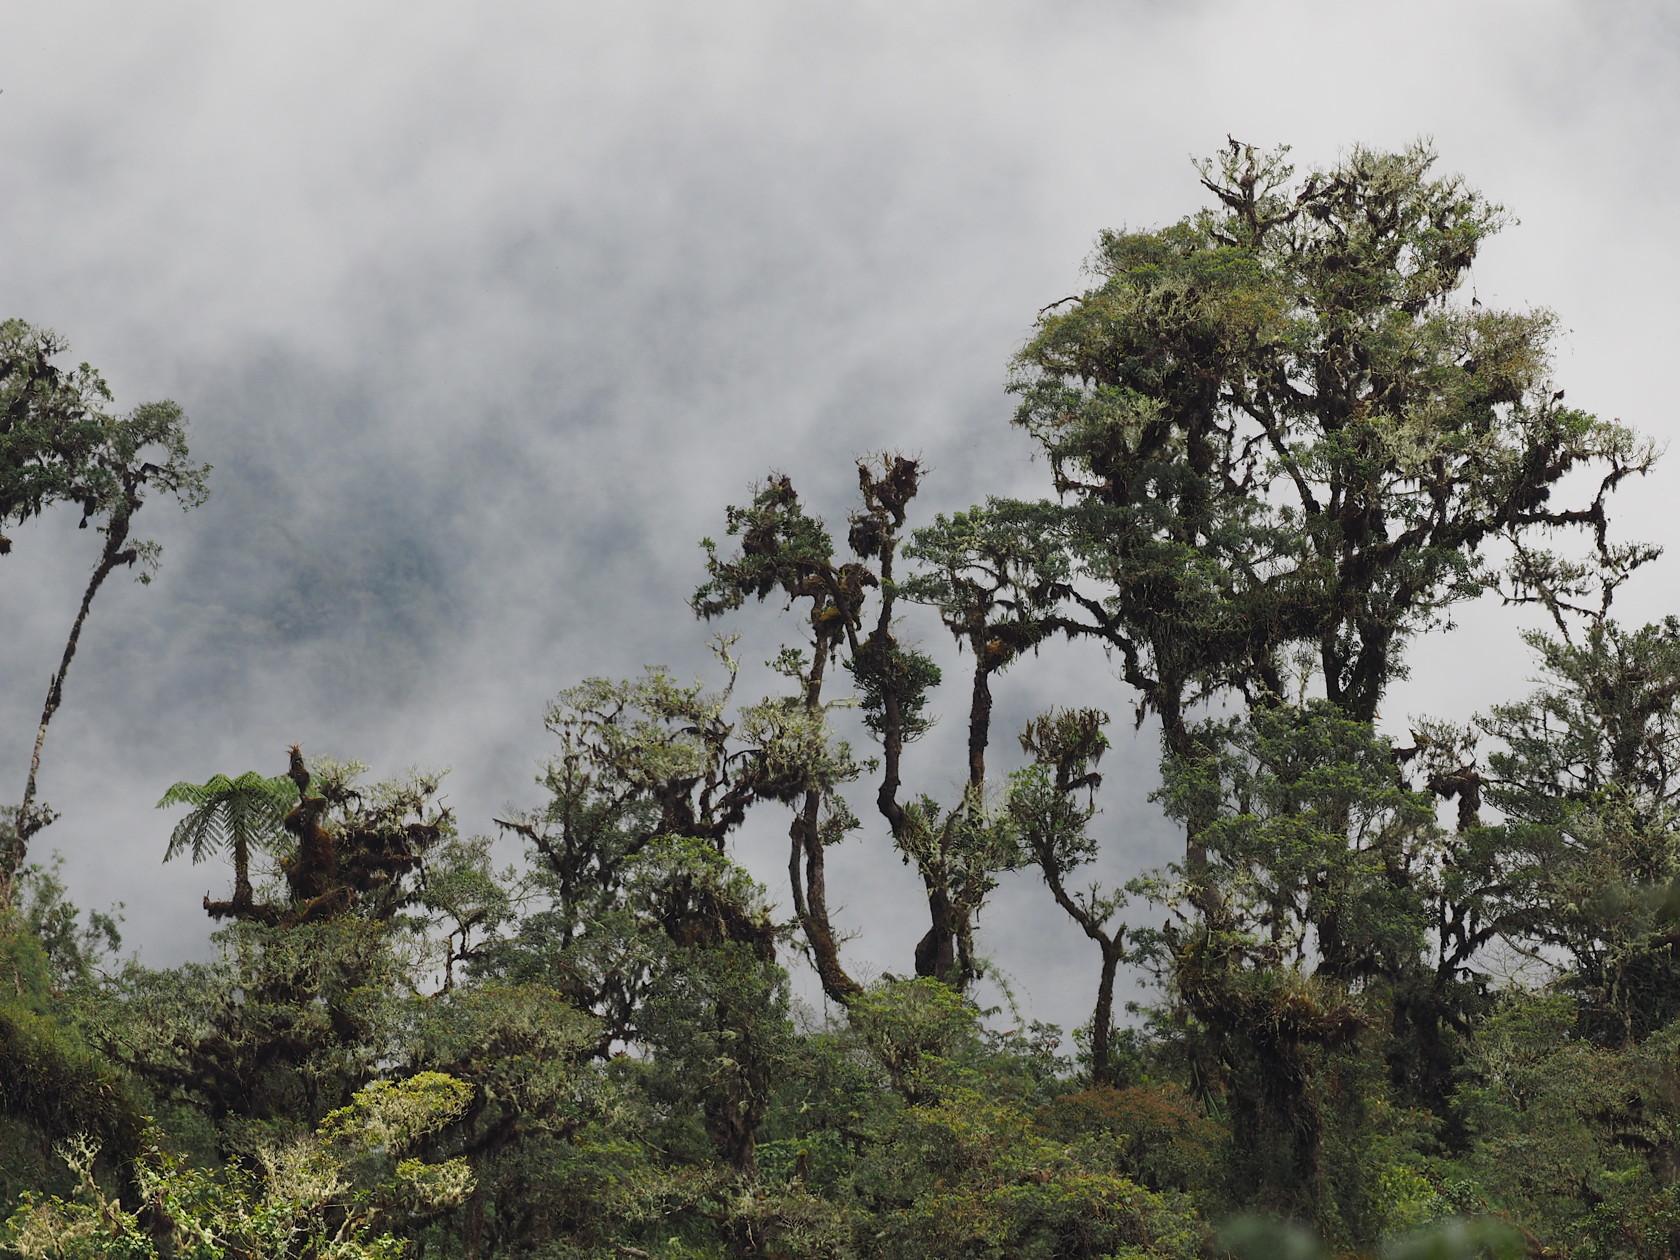
A common problem is tropical forest photos is shown in the image below. I took this shooting across at the slope:
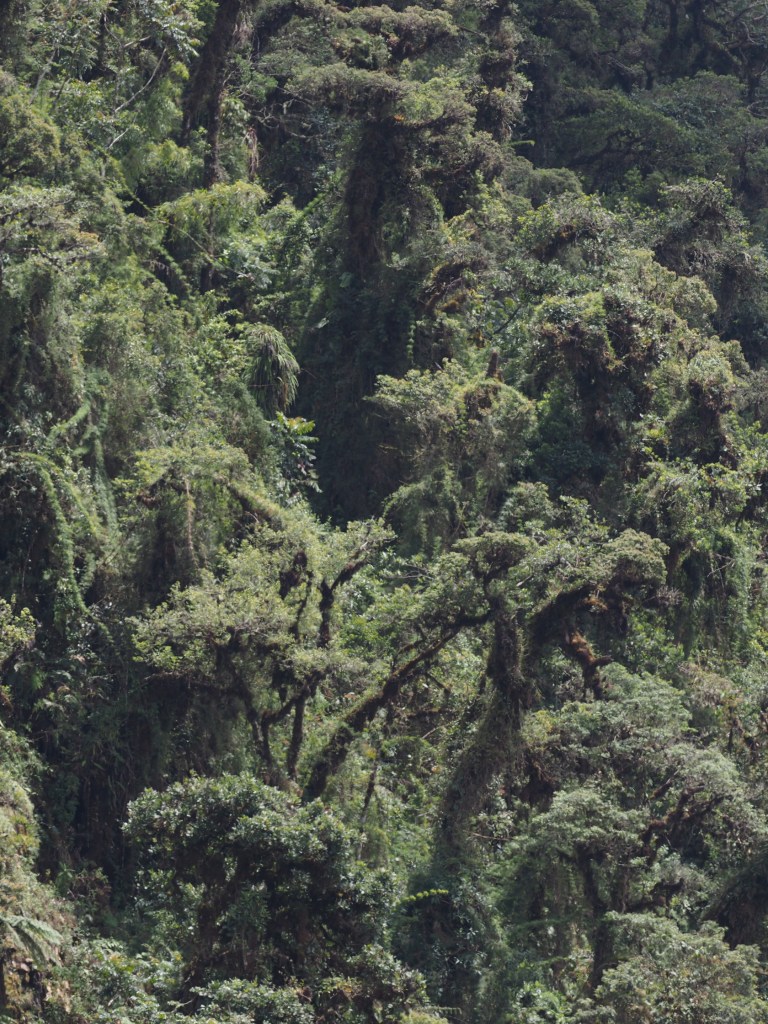
There is sunlight and the result is harsh shadows and uniform “greenness”. Scale is not apparent, and the photo isn’t close enough to clearly make out the epiphytes.
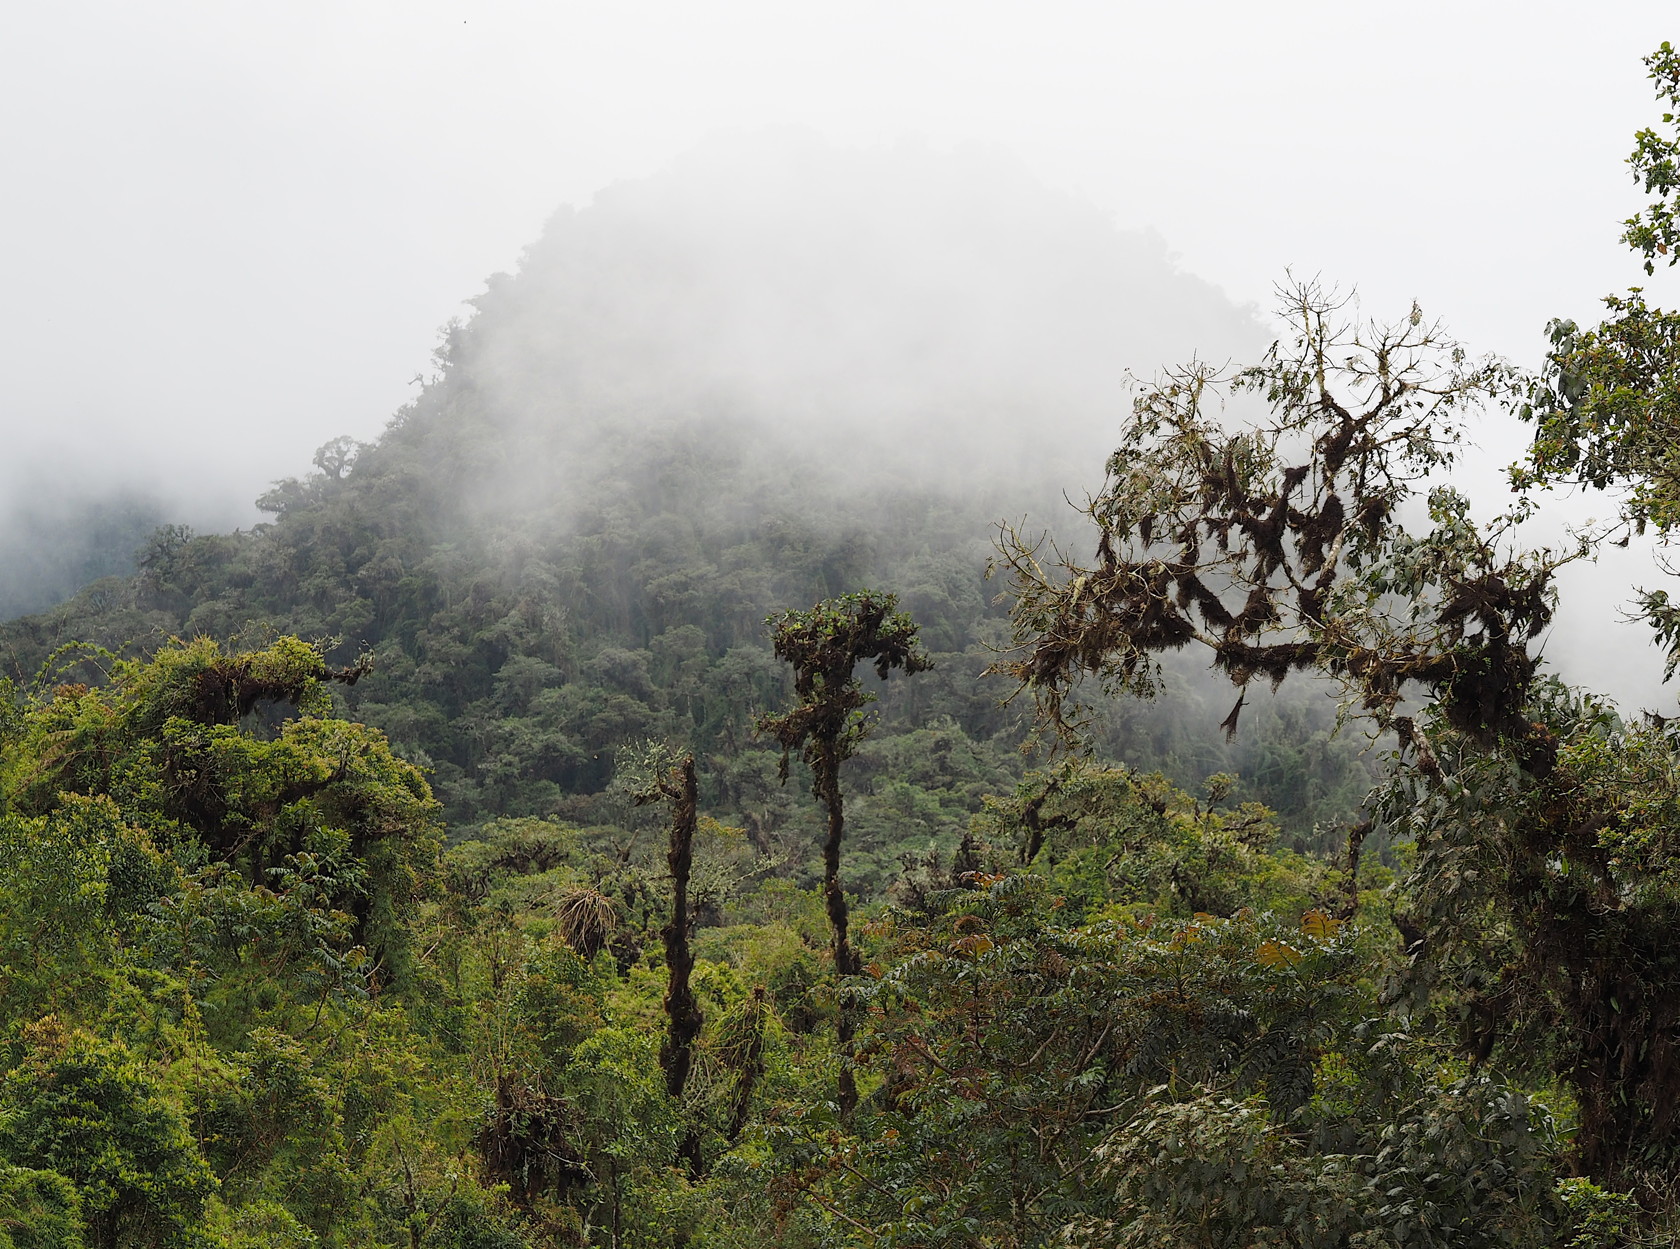
Below are three photos that try to depict the environment of the Yungas forest. Which one do you like the most? The least? See my comments in the tabs for each image.


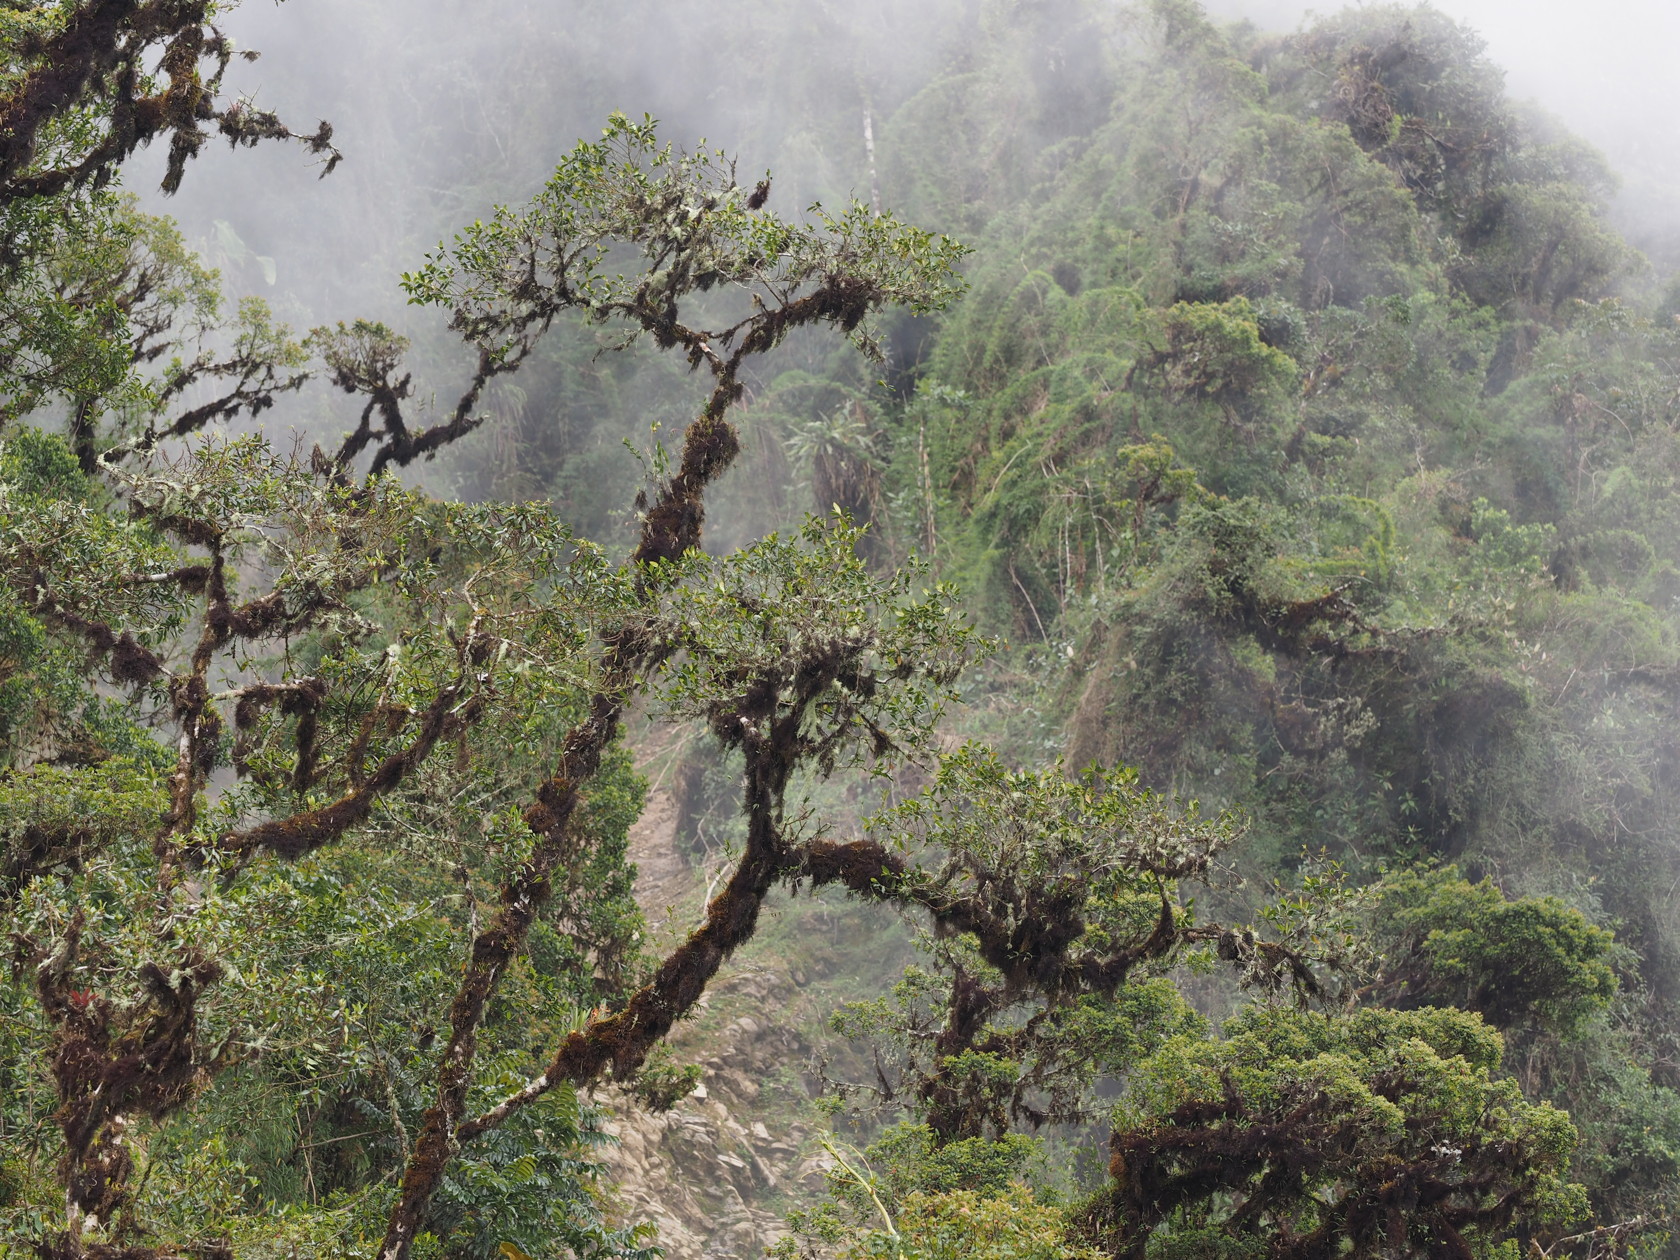
Now consider the two photos below. They are taken from similar locations, only with different zoom settings on the lense and with different compositions. Which photo do you like more? What is the subject here – if this is in the “landscape” category?
What does this photo show?


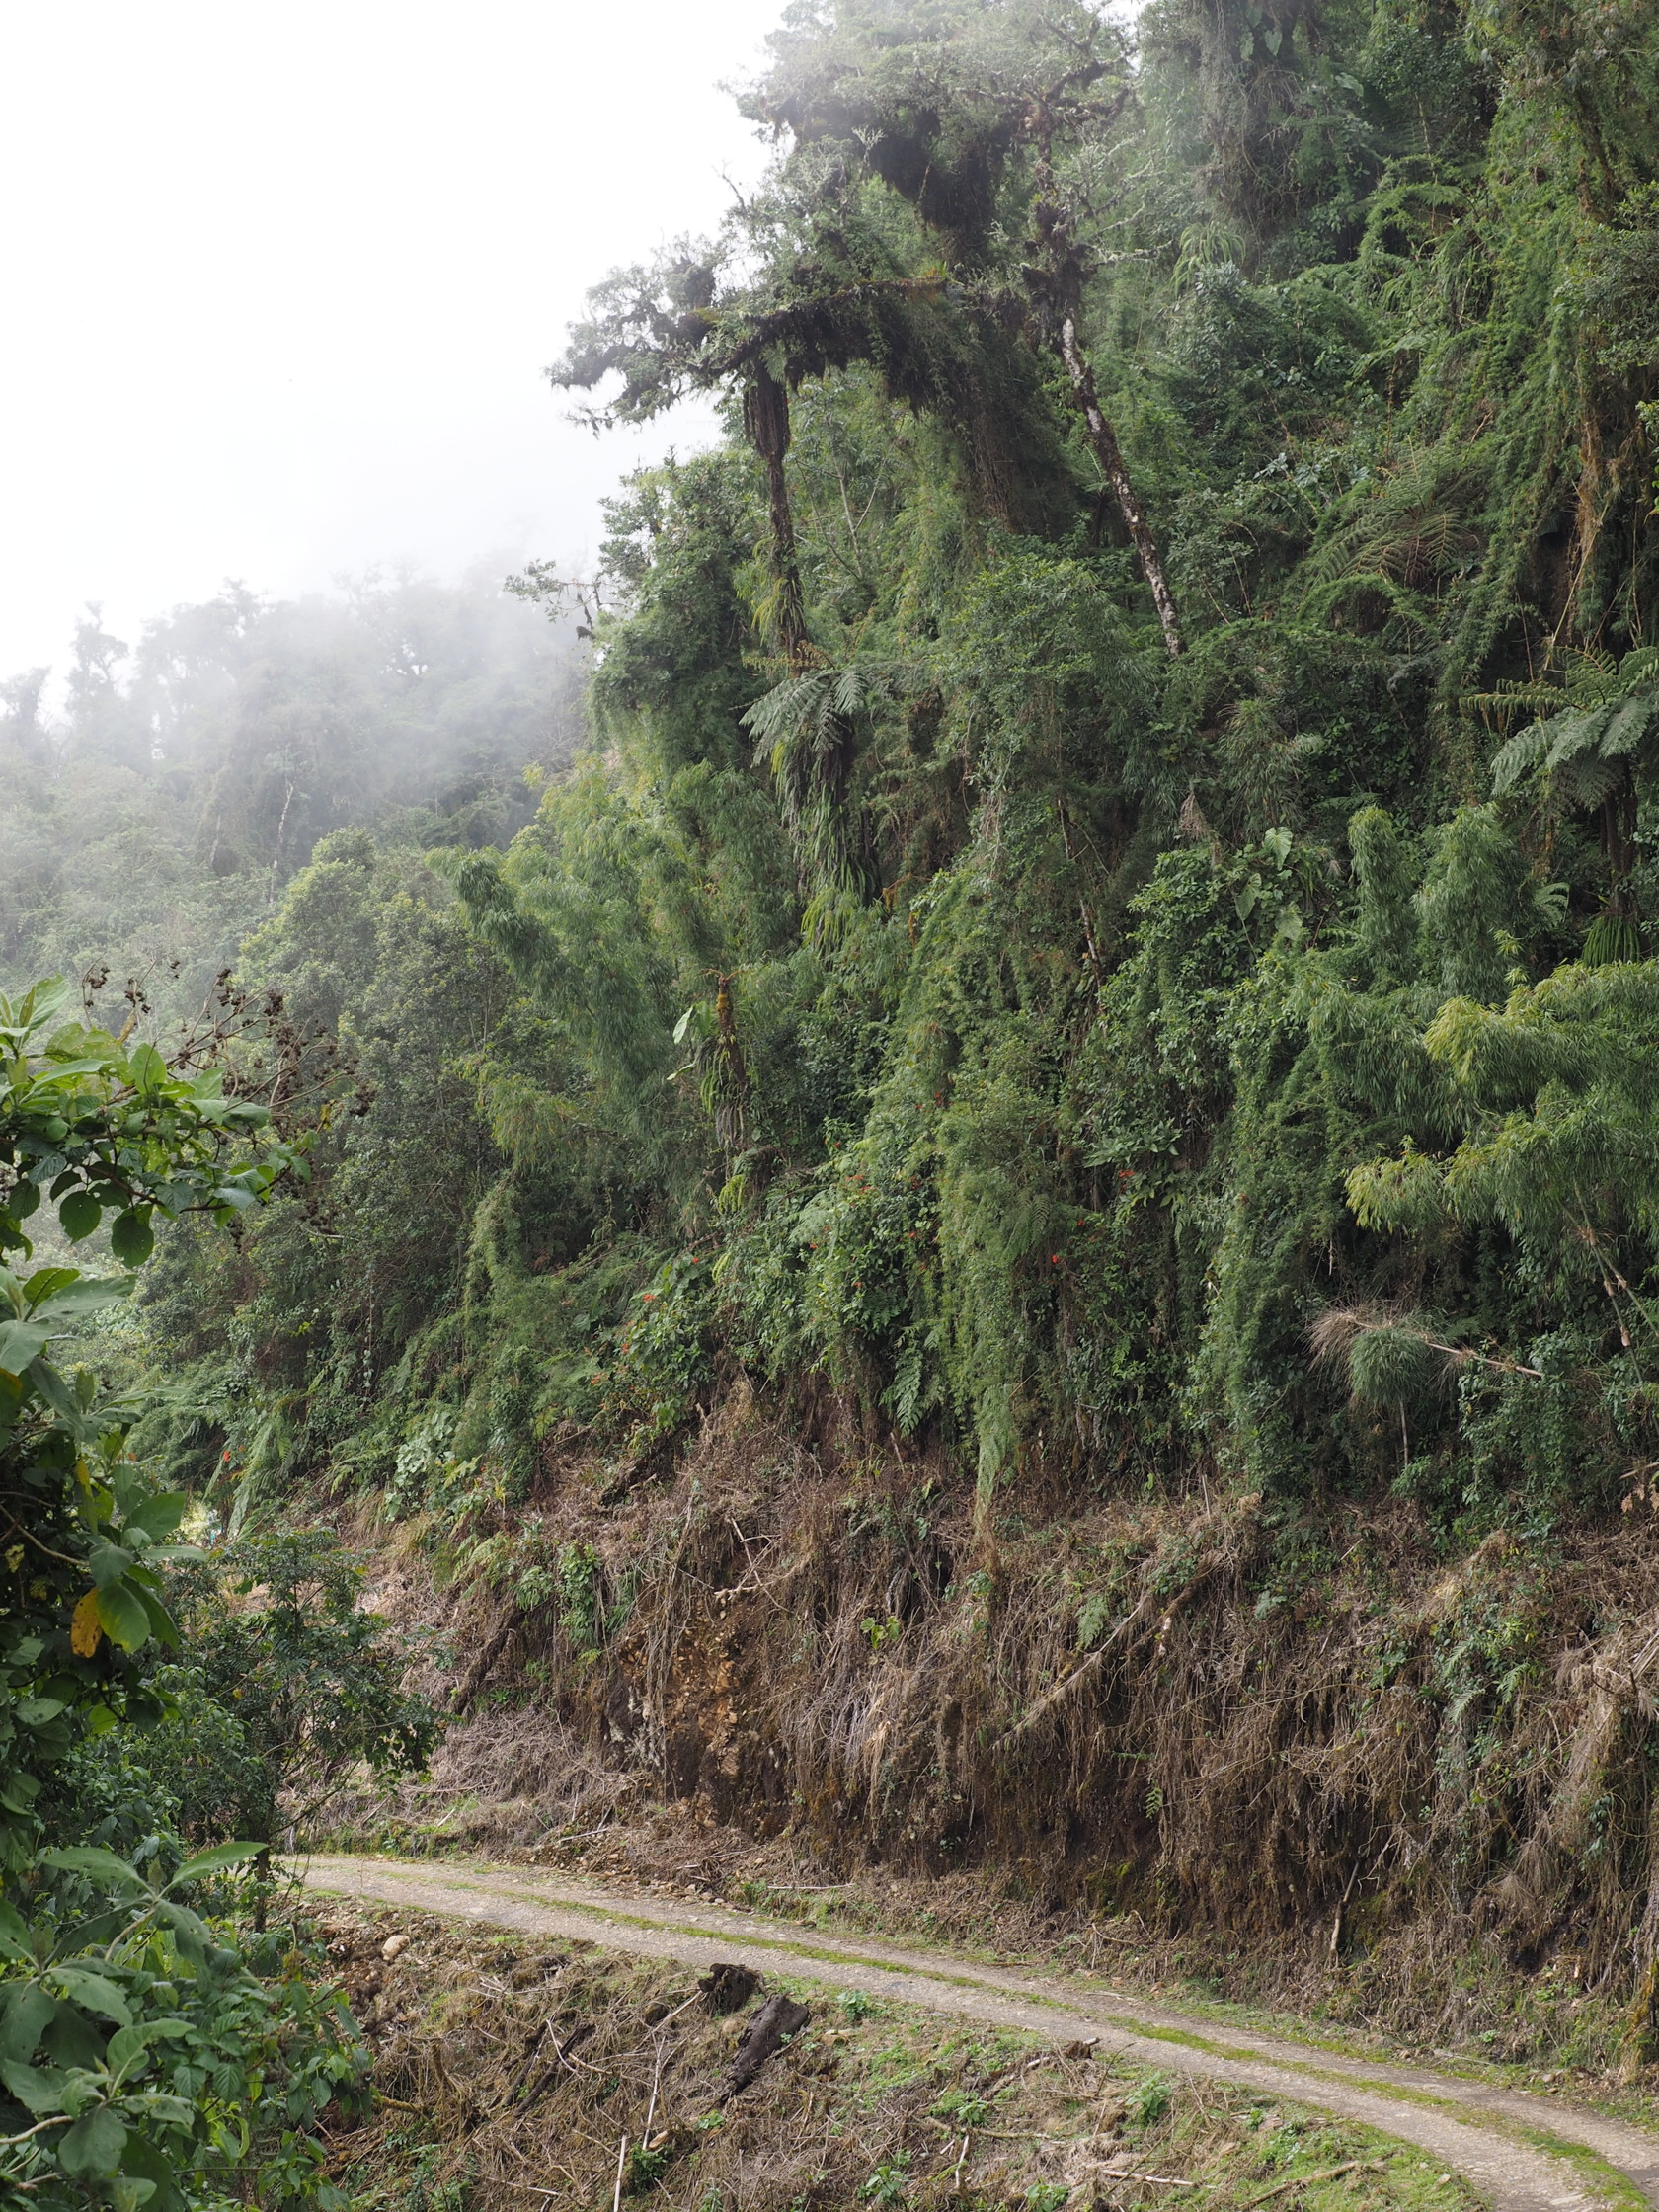
A photo I like, that show the ambience of the hike, albeit not pristine is the following:

Below are two images, with slightly different crops. Which one would you select if space in a publication allowed only one of them to be used (this is almost always the case)?


Some of the plants
One of the few applications of a long telephoto in a tropical forest (besides bird photography) is to take photos of epiphytes – these might be high in trees. Here is one
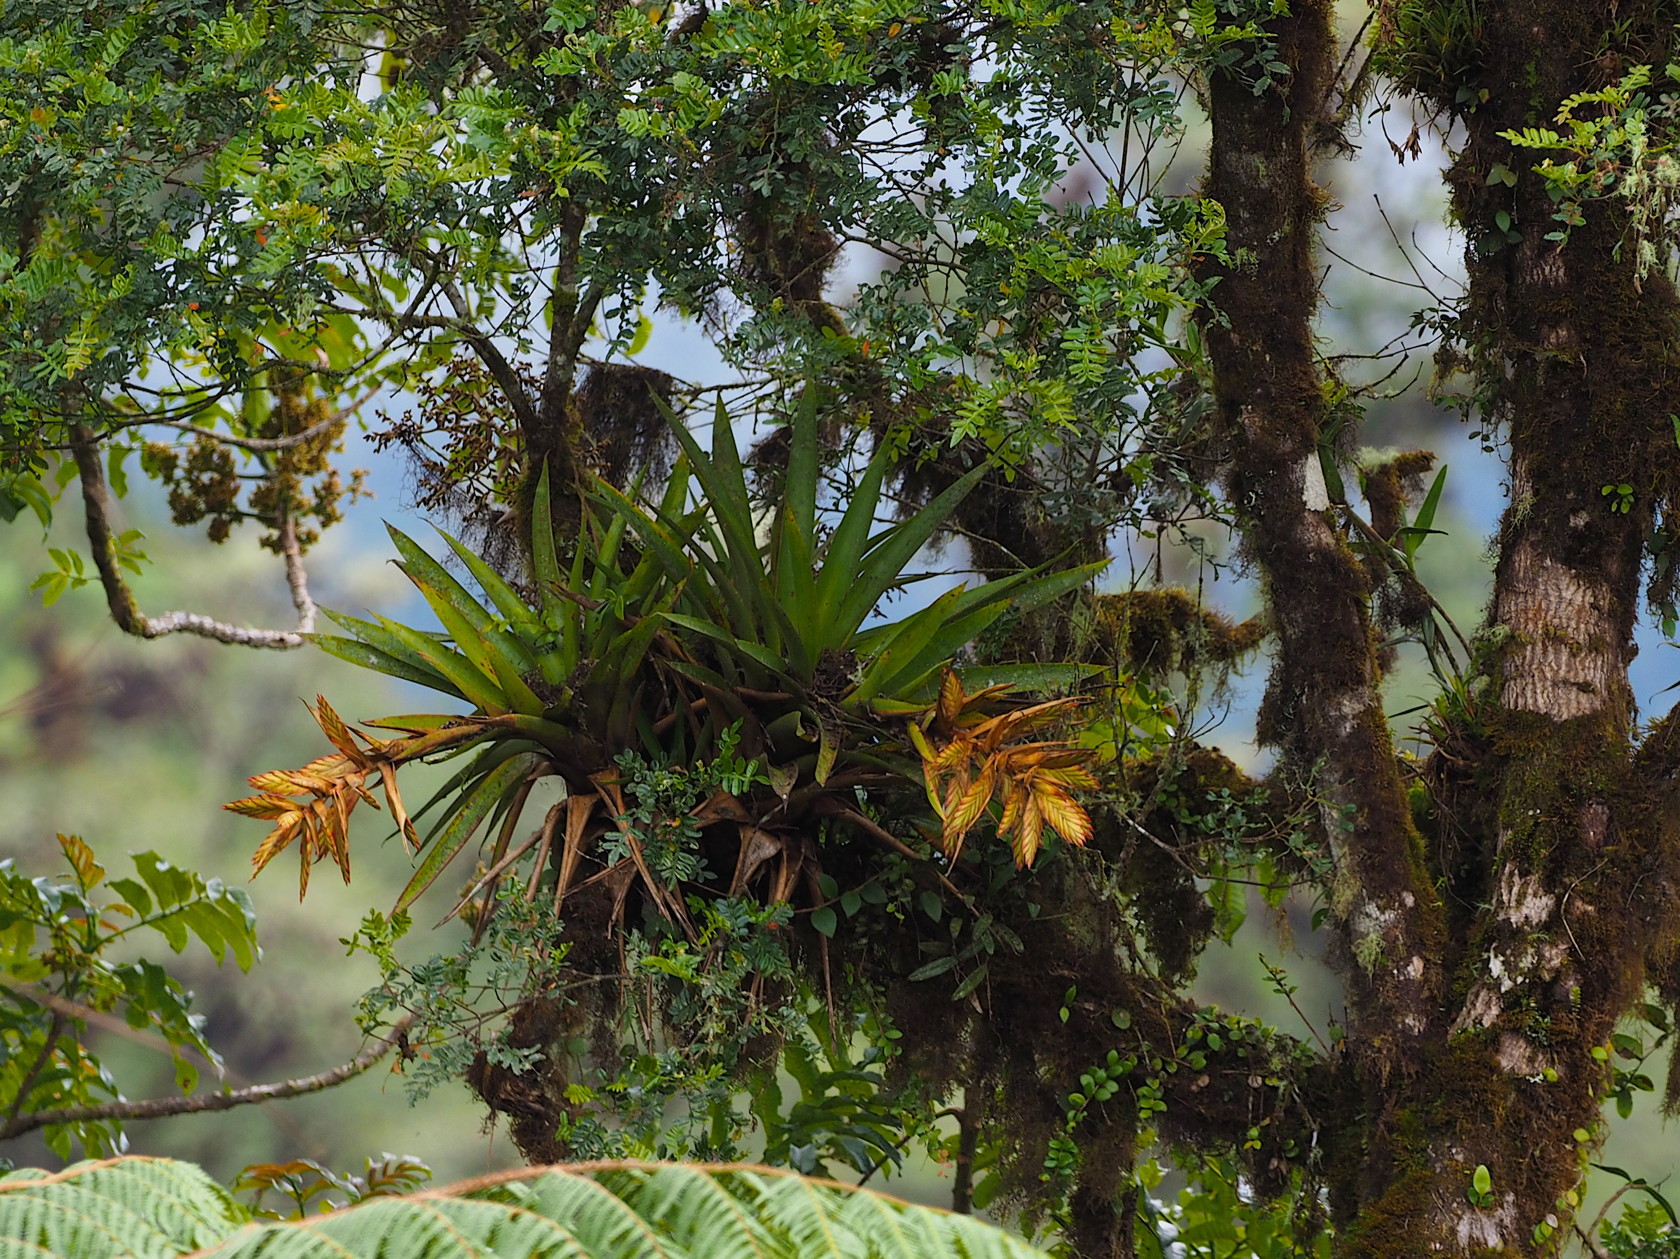
from the Yungas hike – it is one of the relatively few tank bromeliads that I saw along the route. This is a crop from the original image.
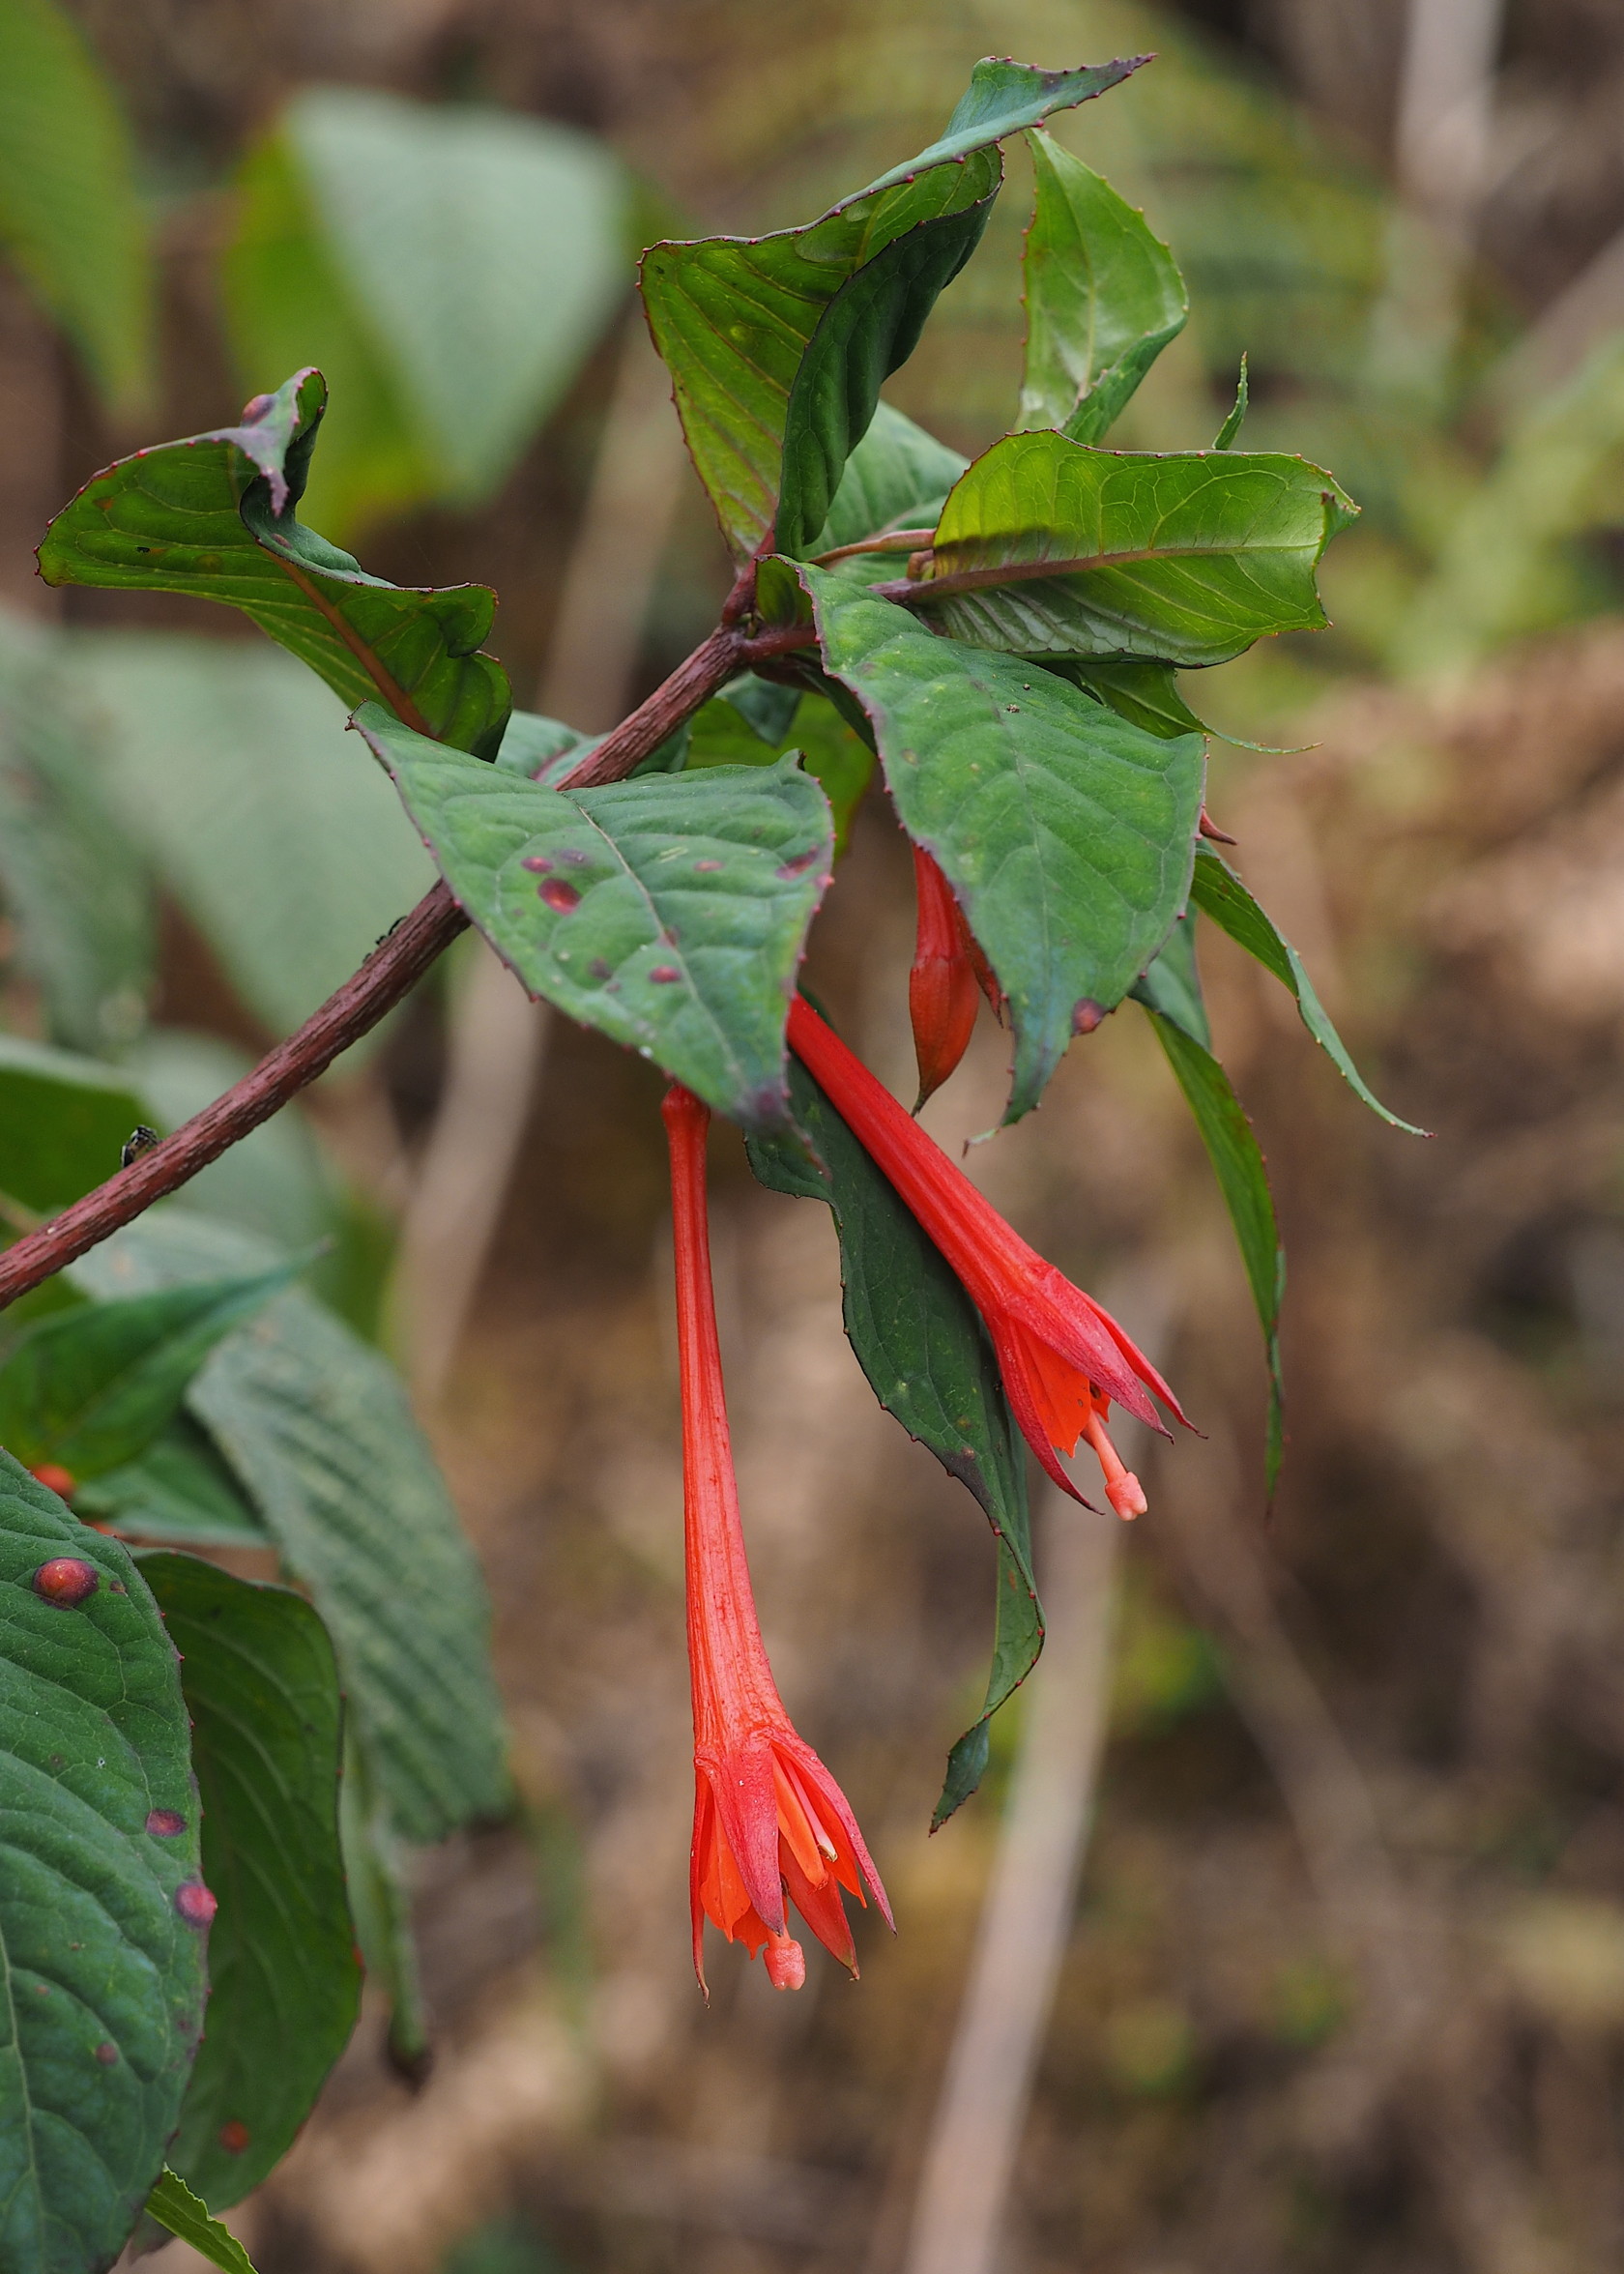
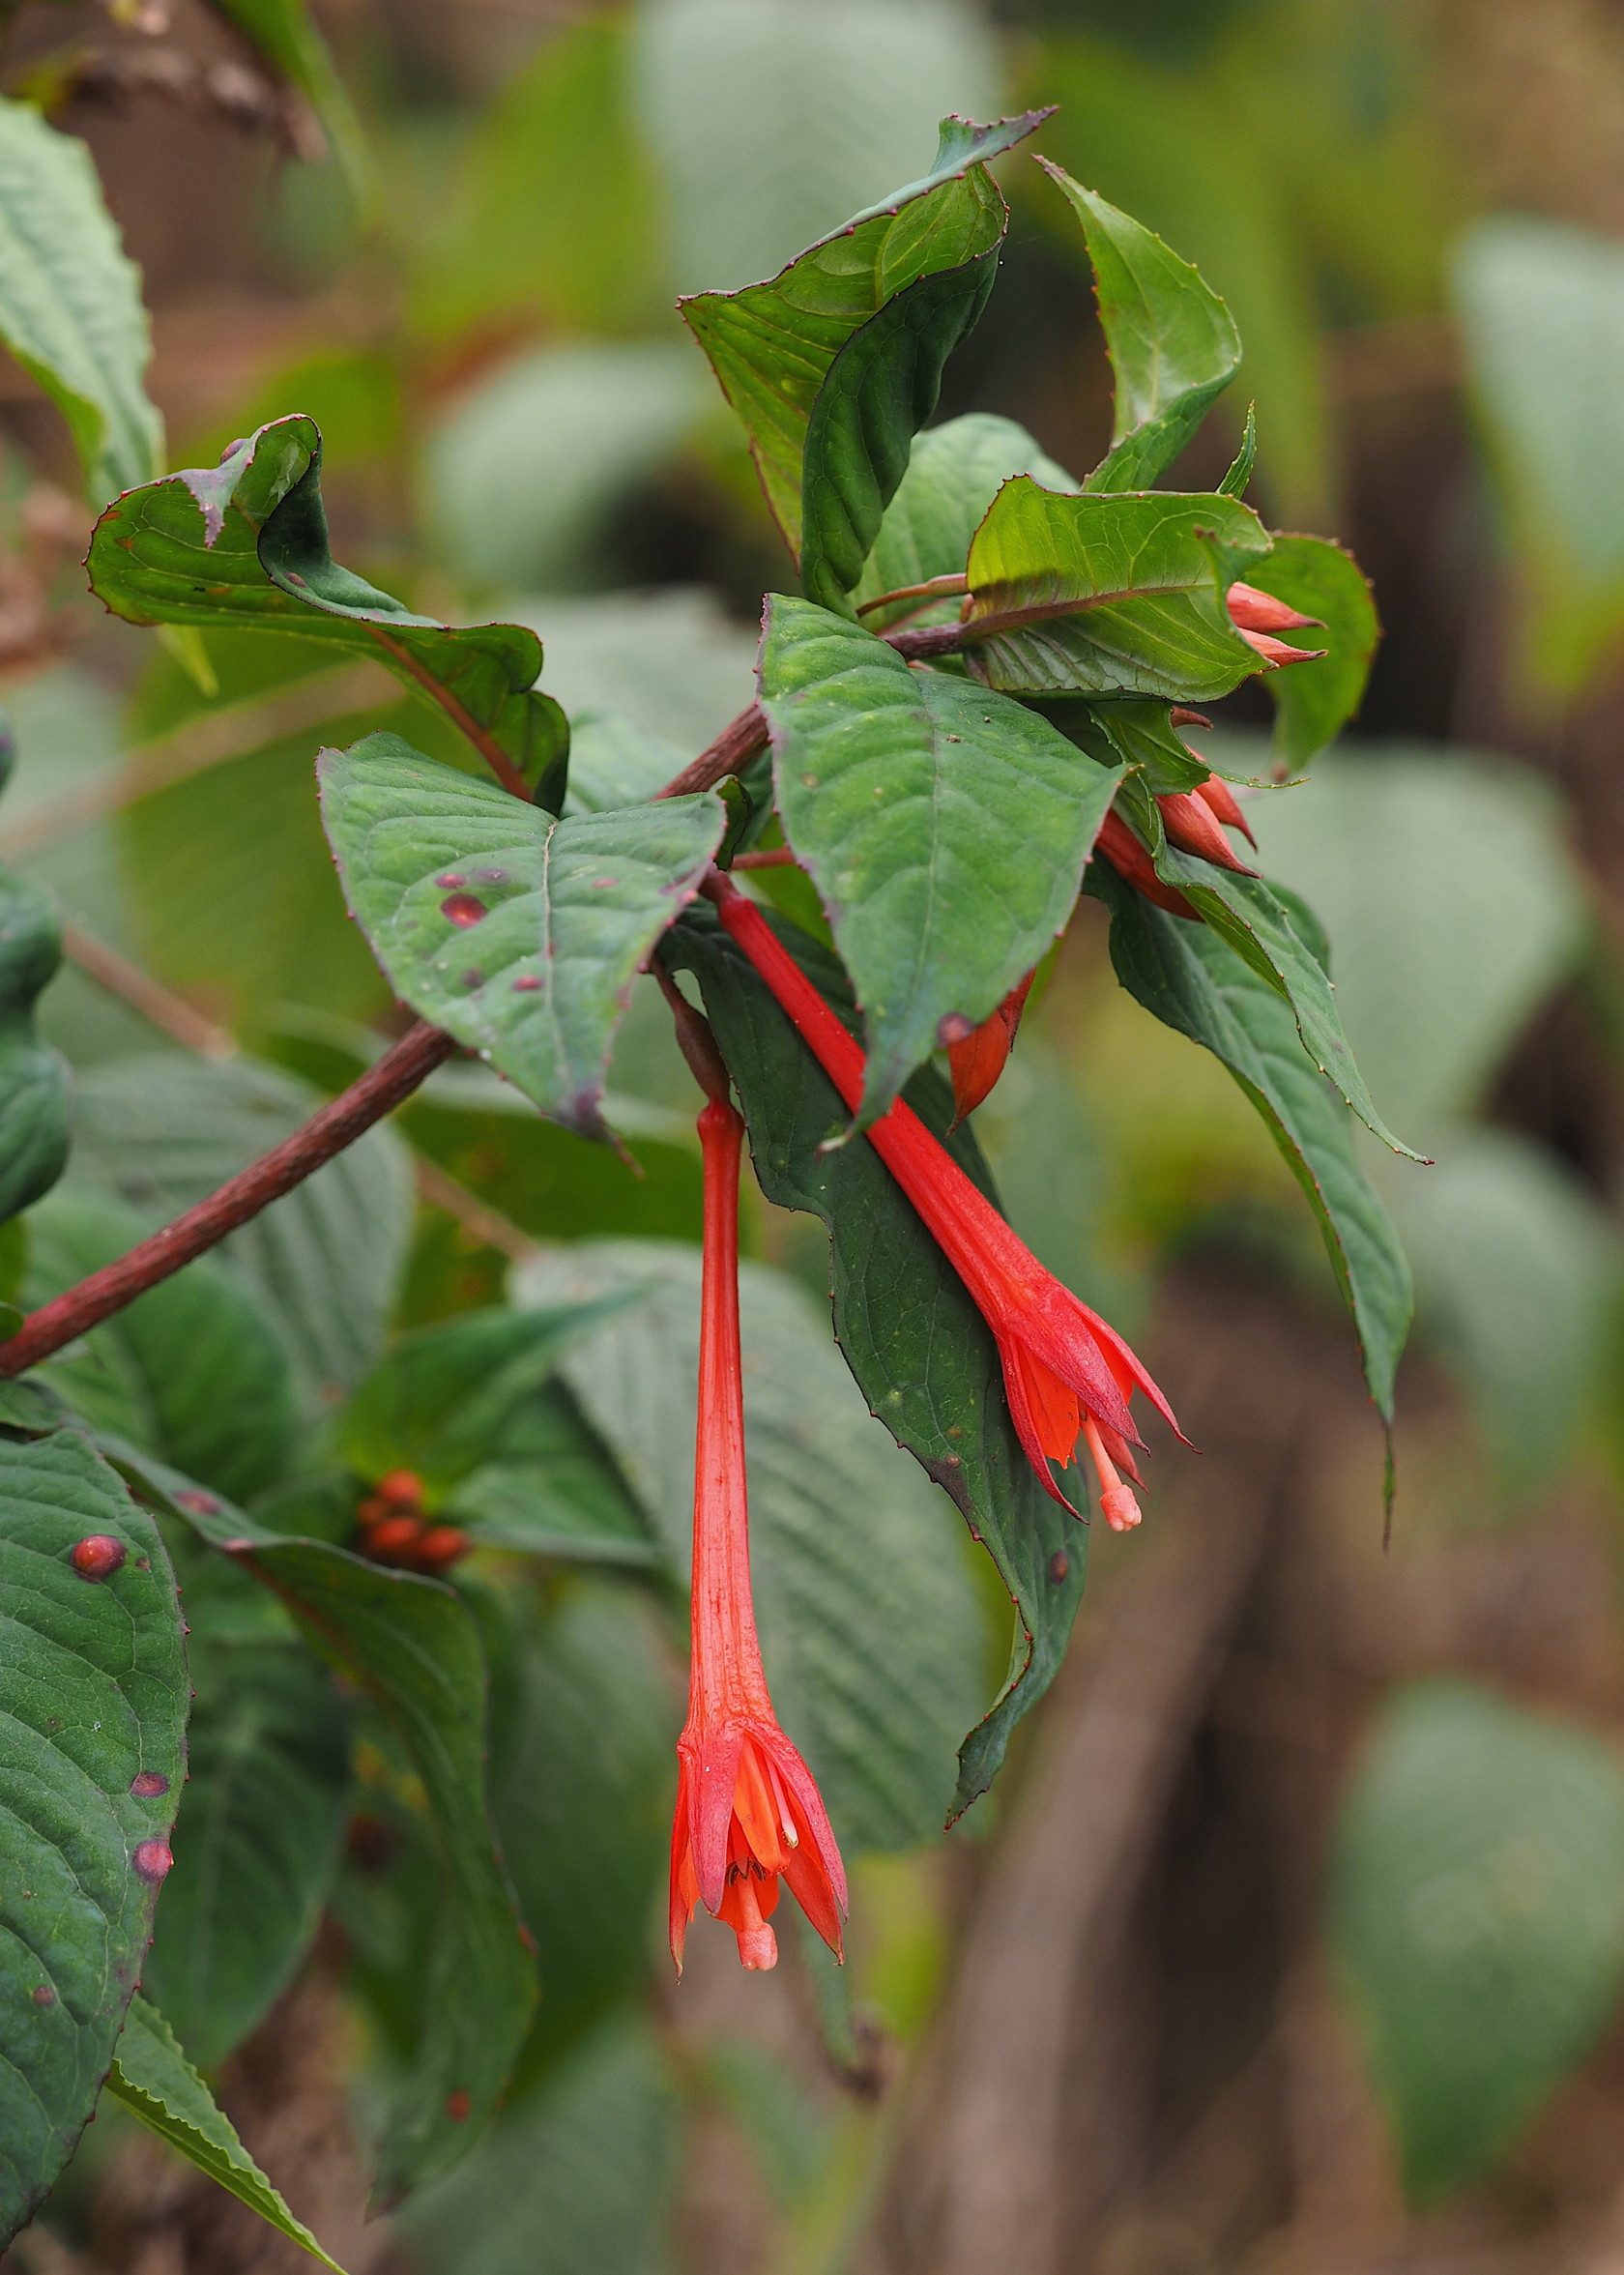
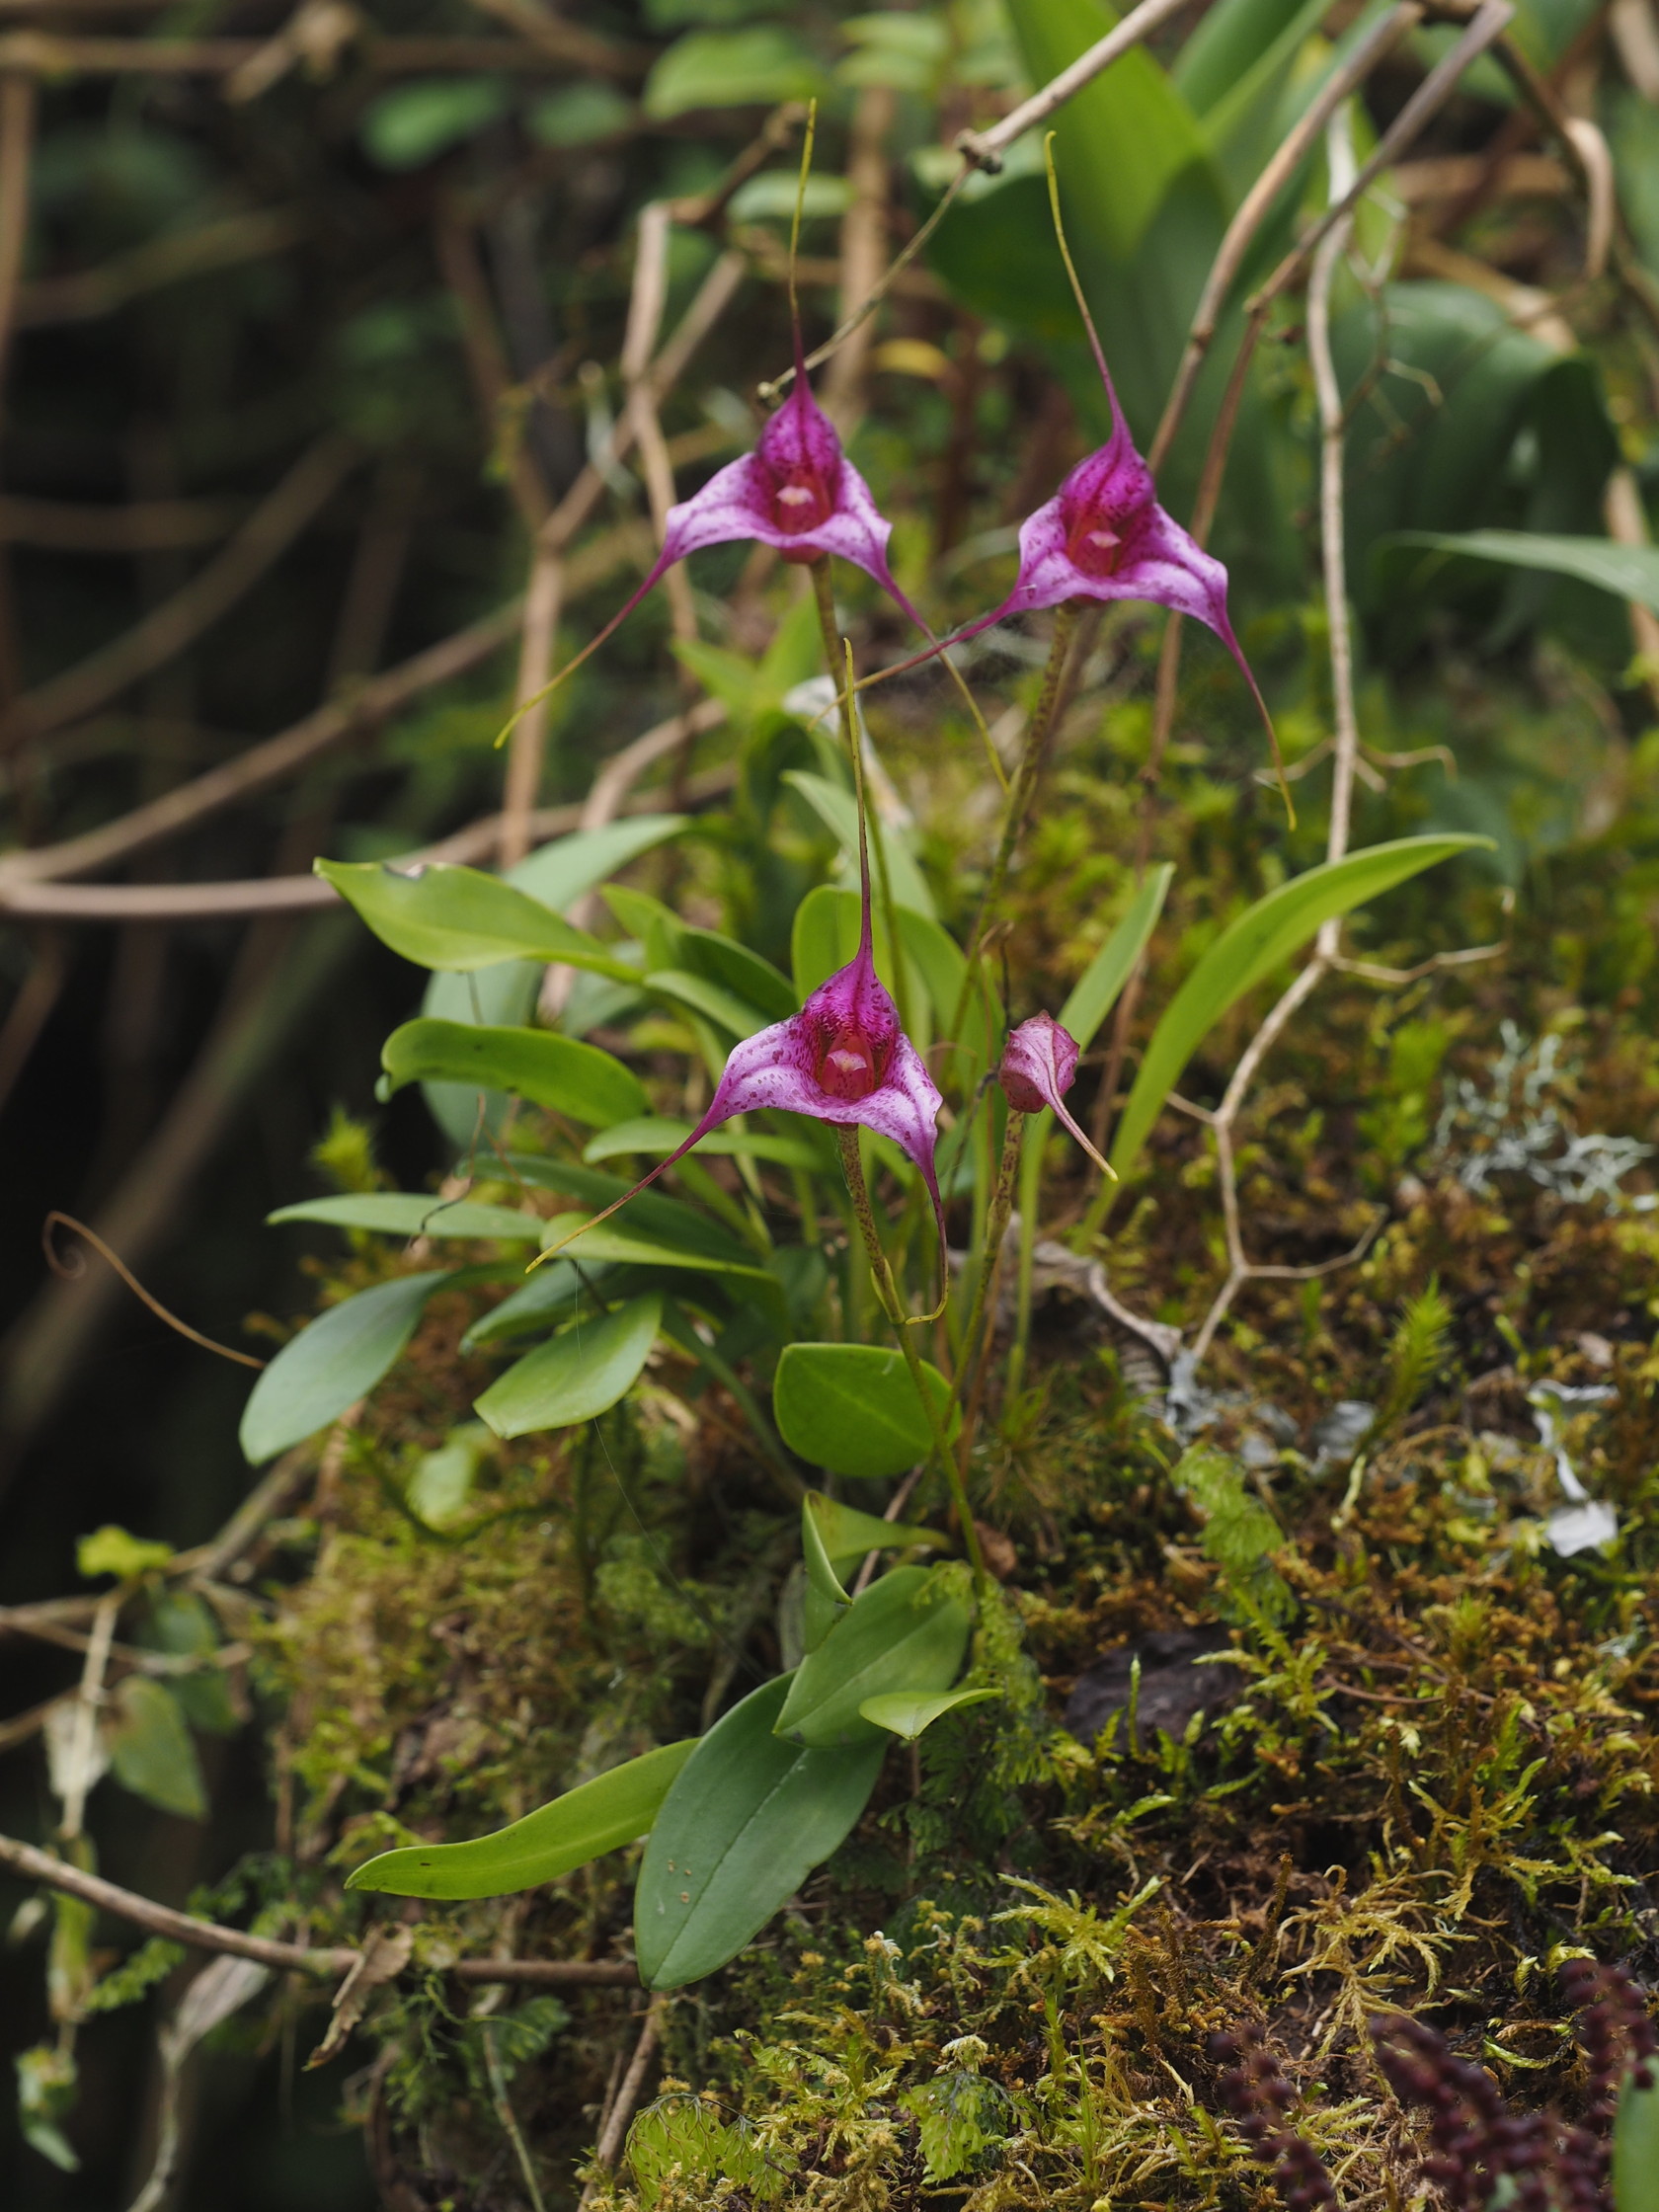
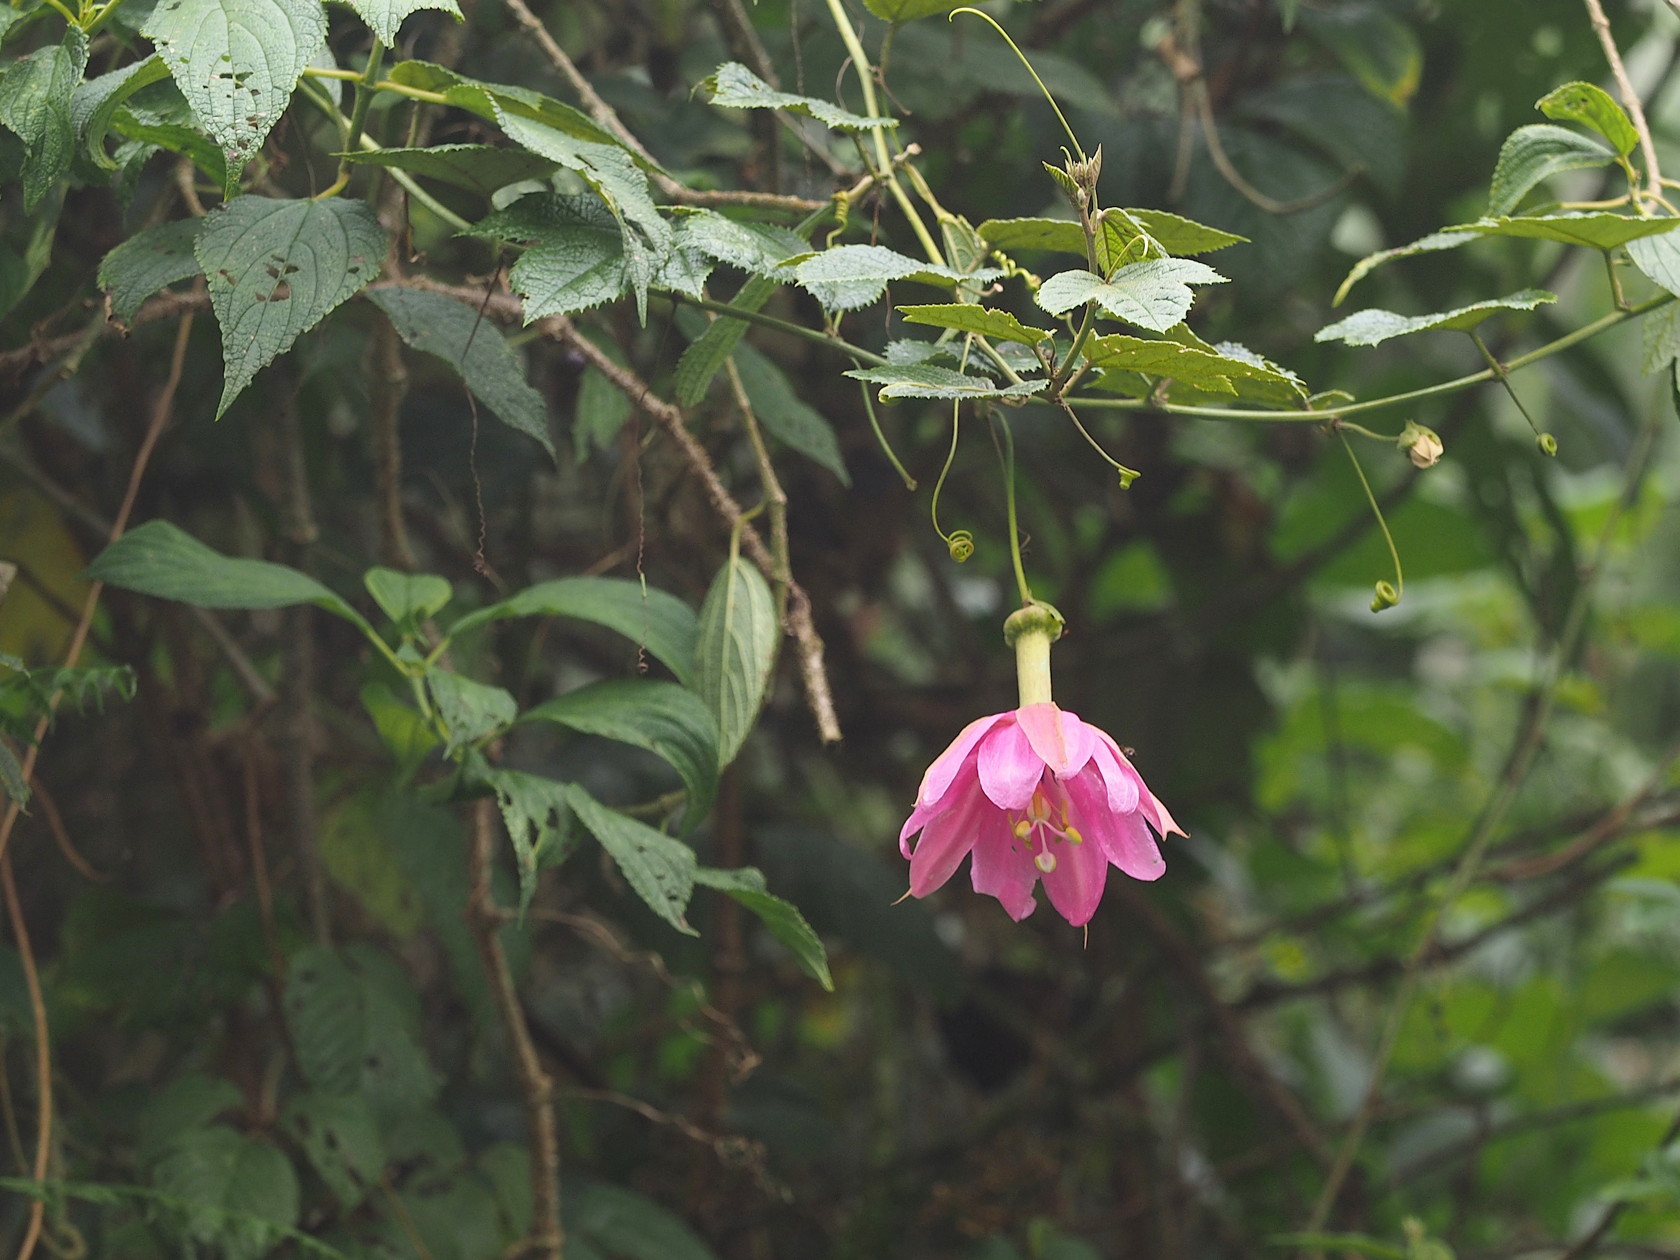
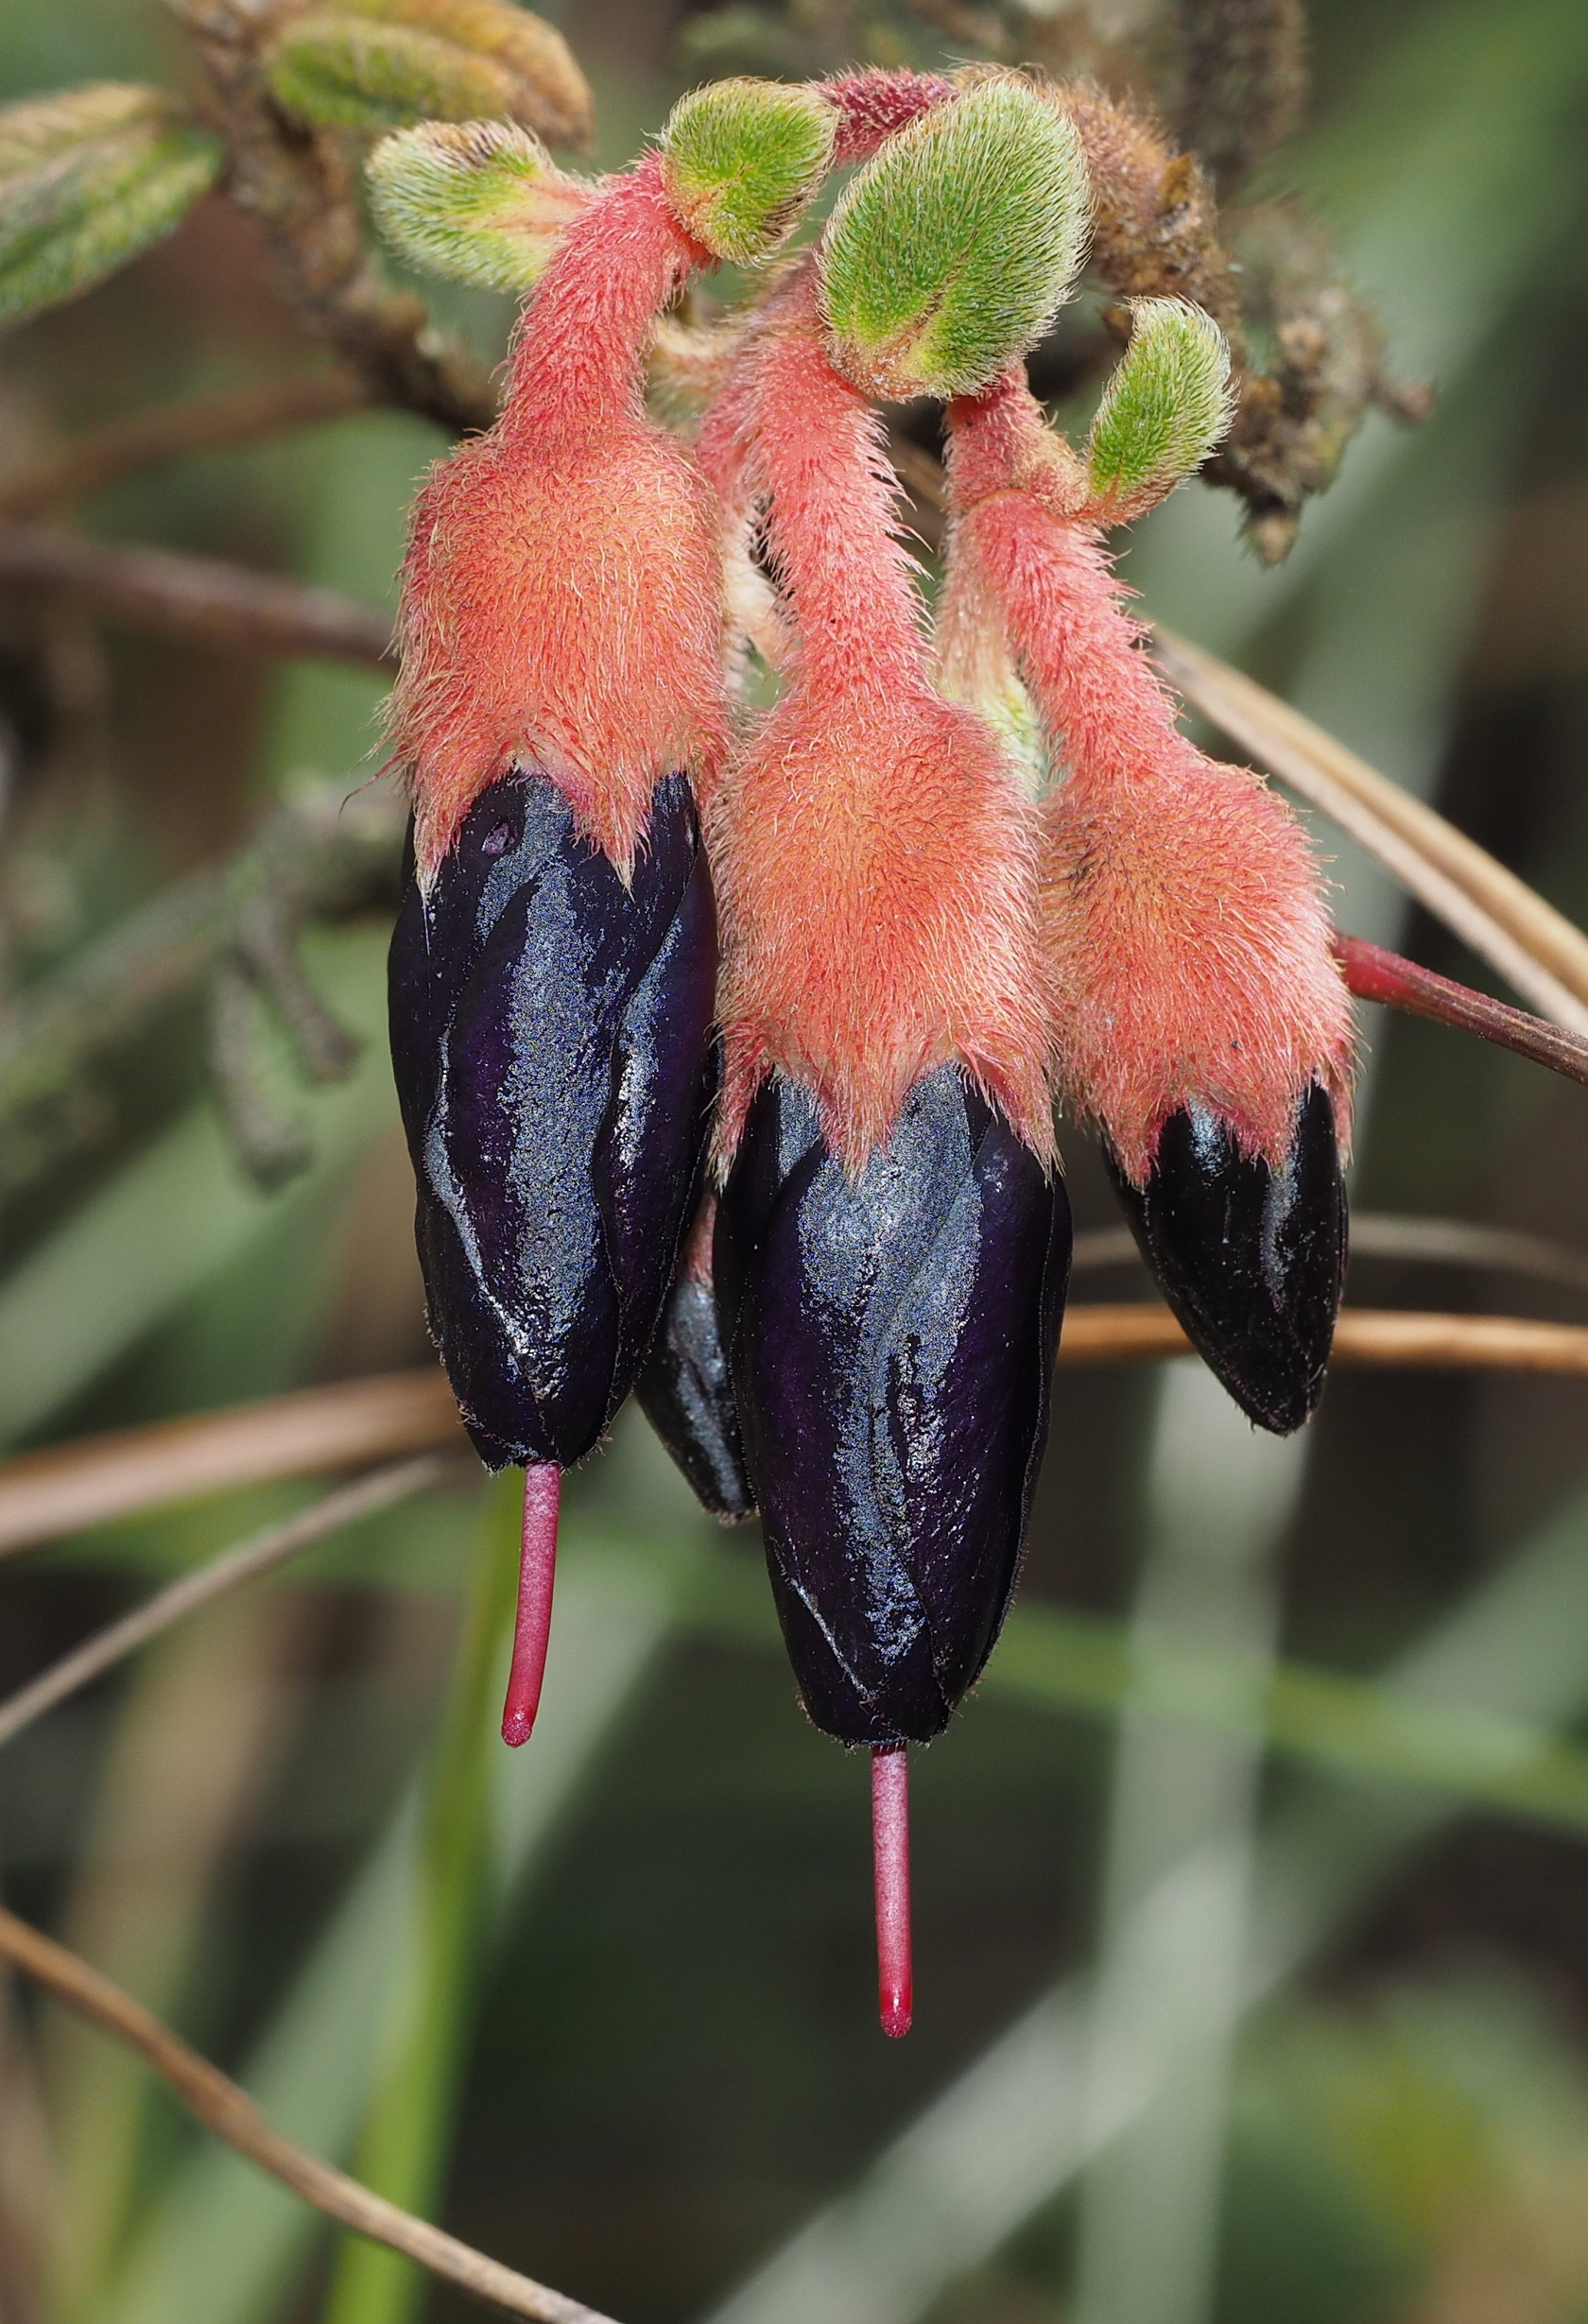
Flowers
Flowers should not be a large part of the overall Yungas biomass at any time of the year, but some interesting flowers were present. Below are some of the ones I noticed – and attempted to photograph. I show different versions of some of the flowers to make points about composition or lighting. The details are in the captions to each image.


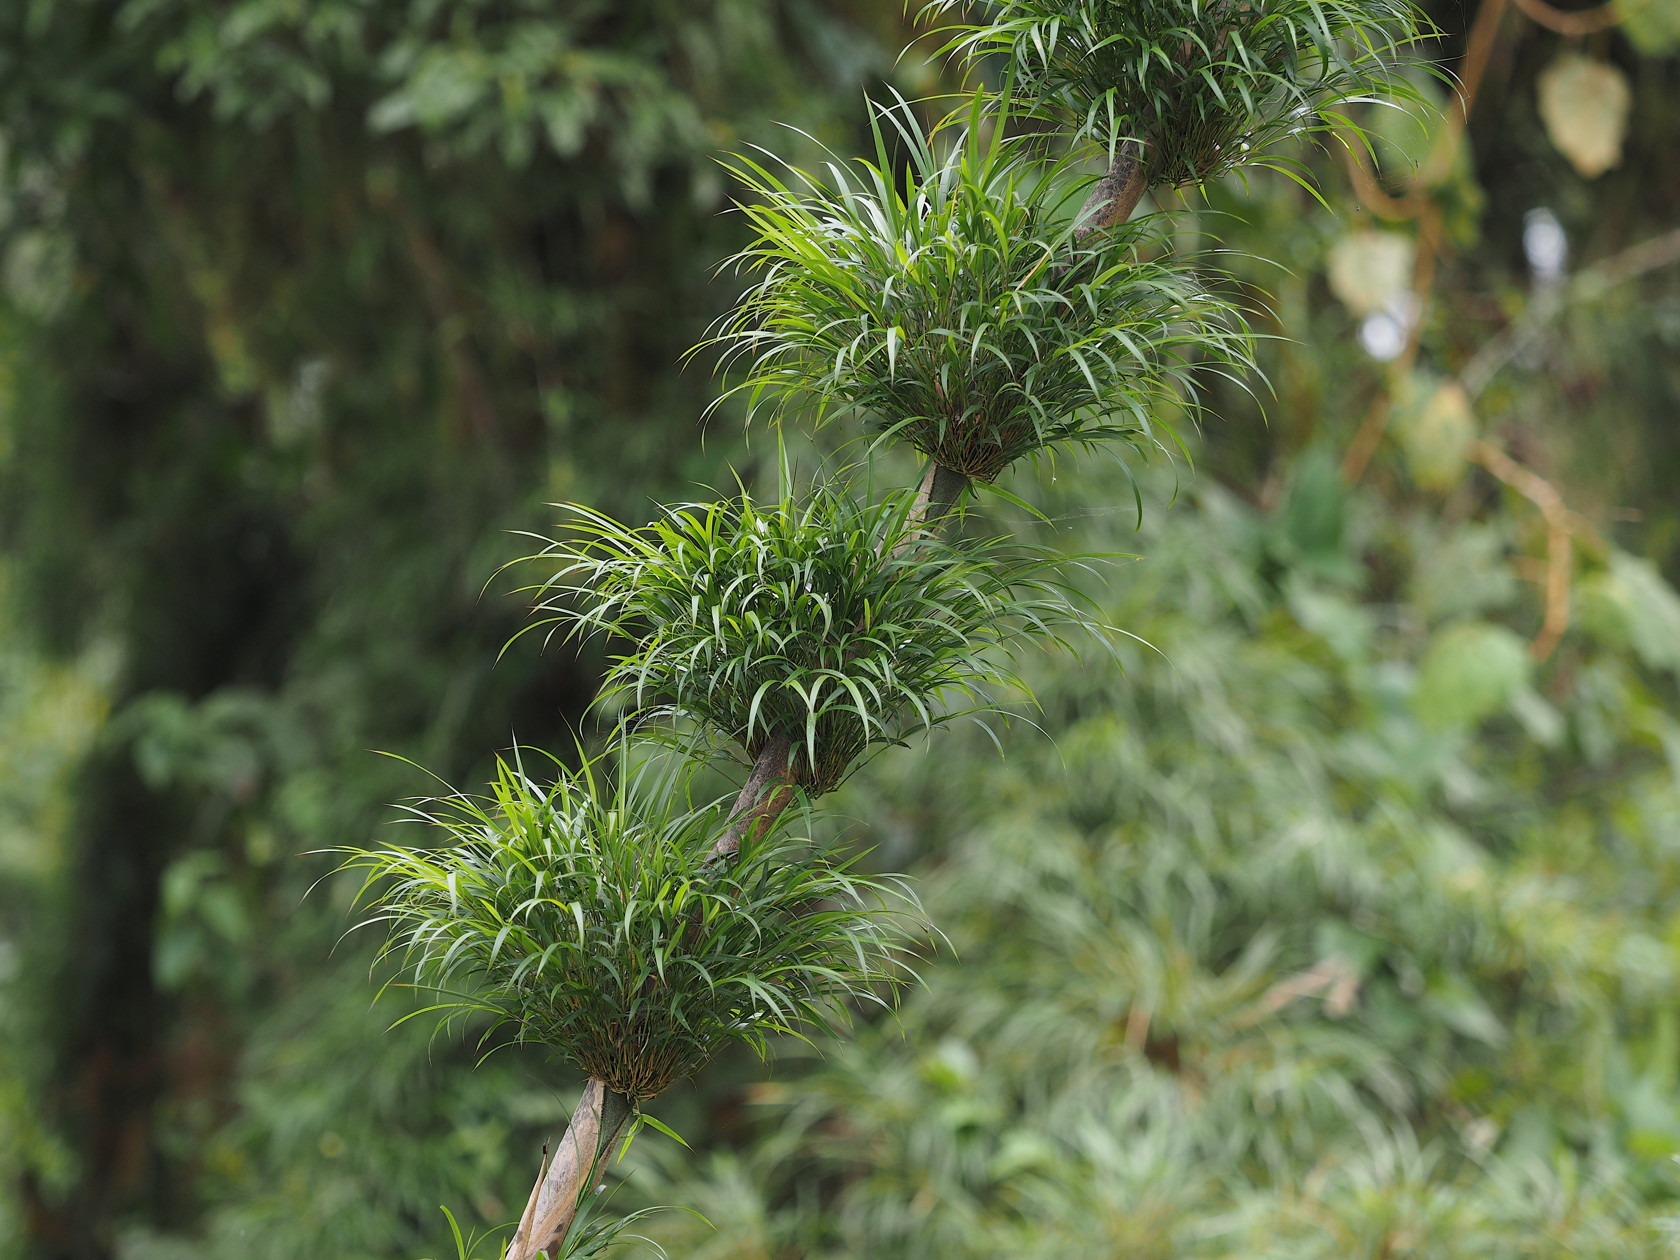
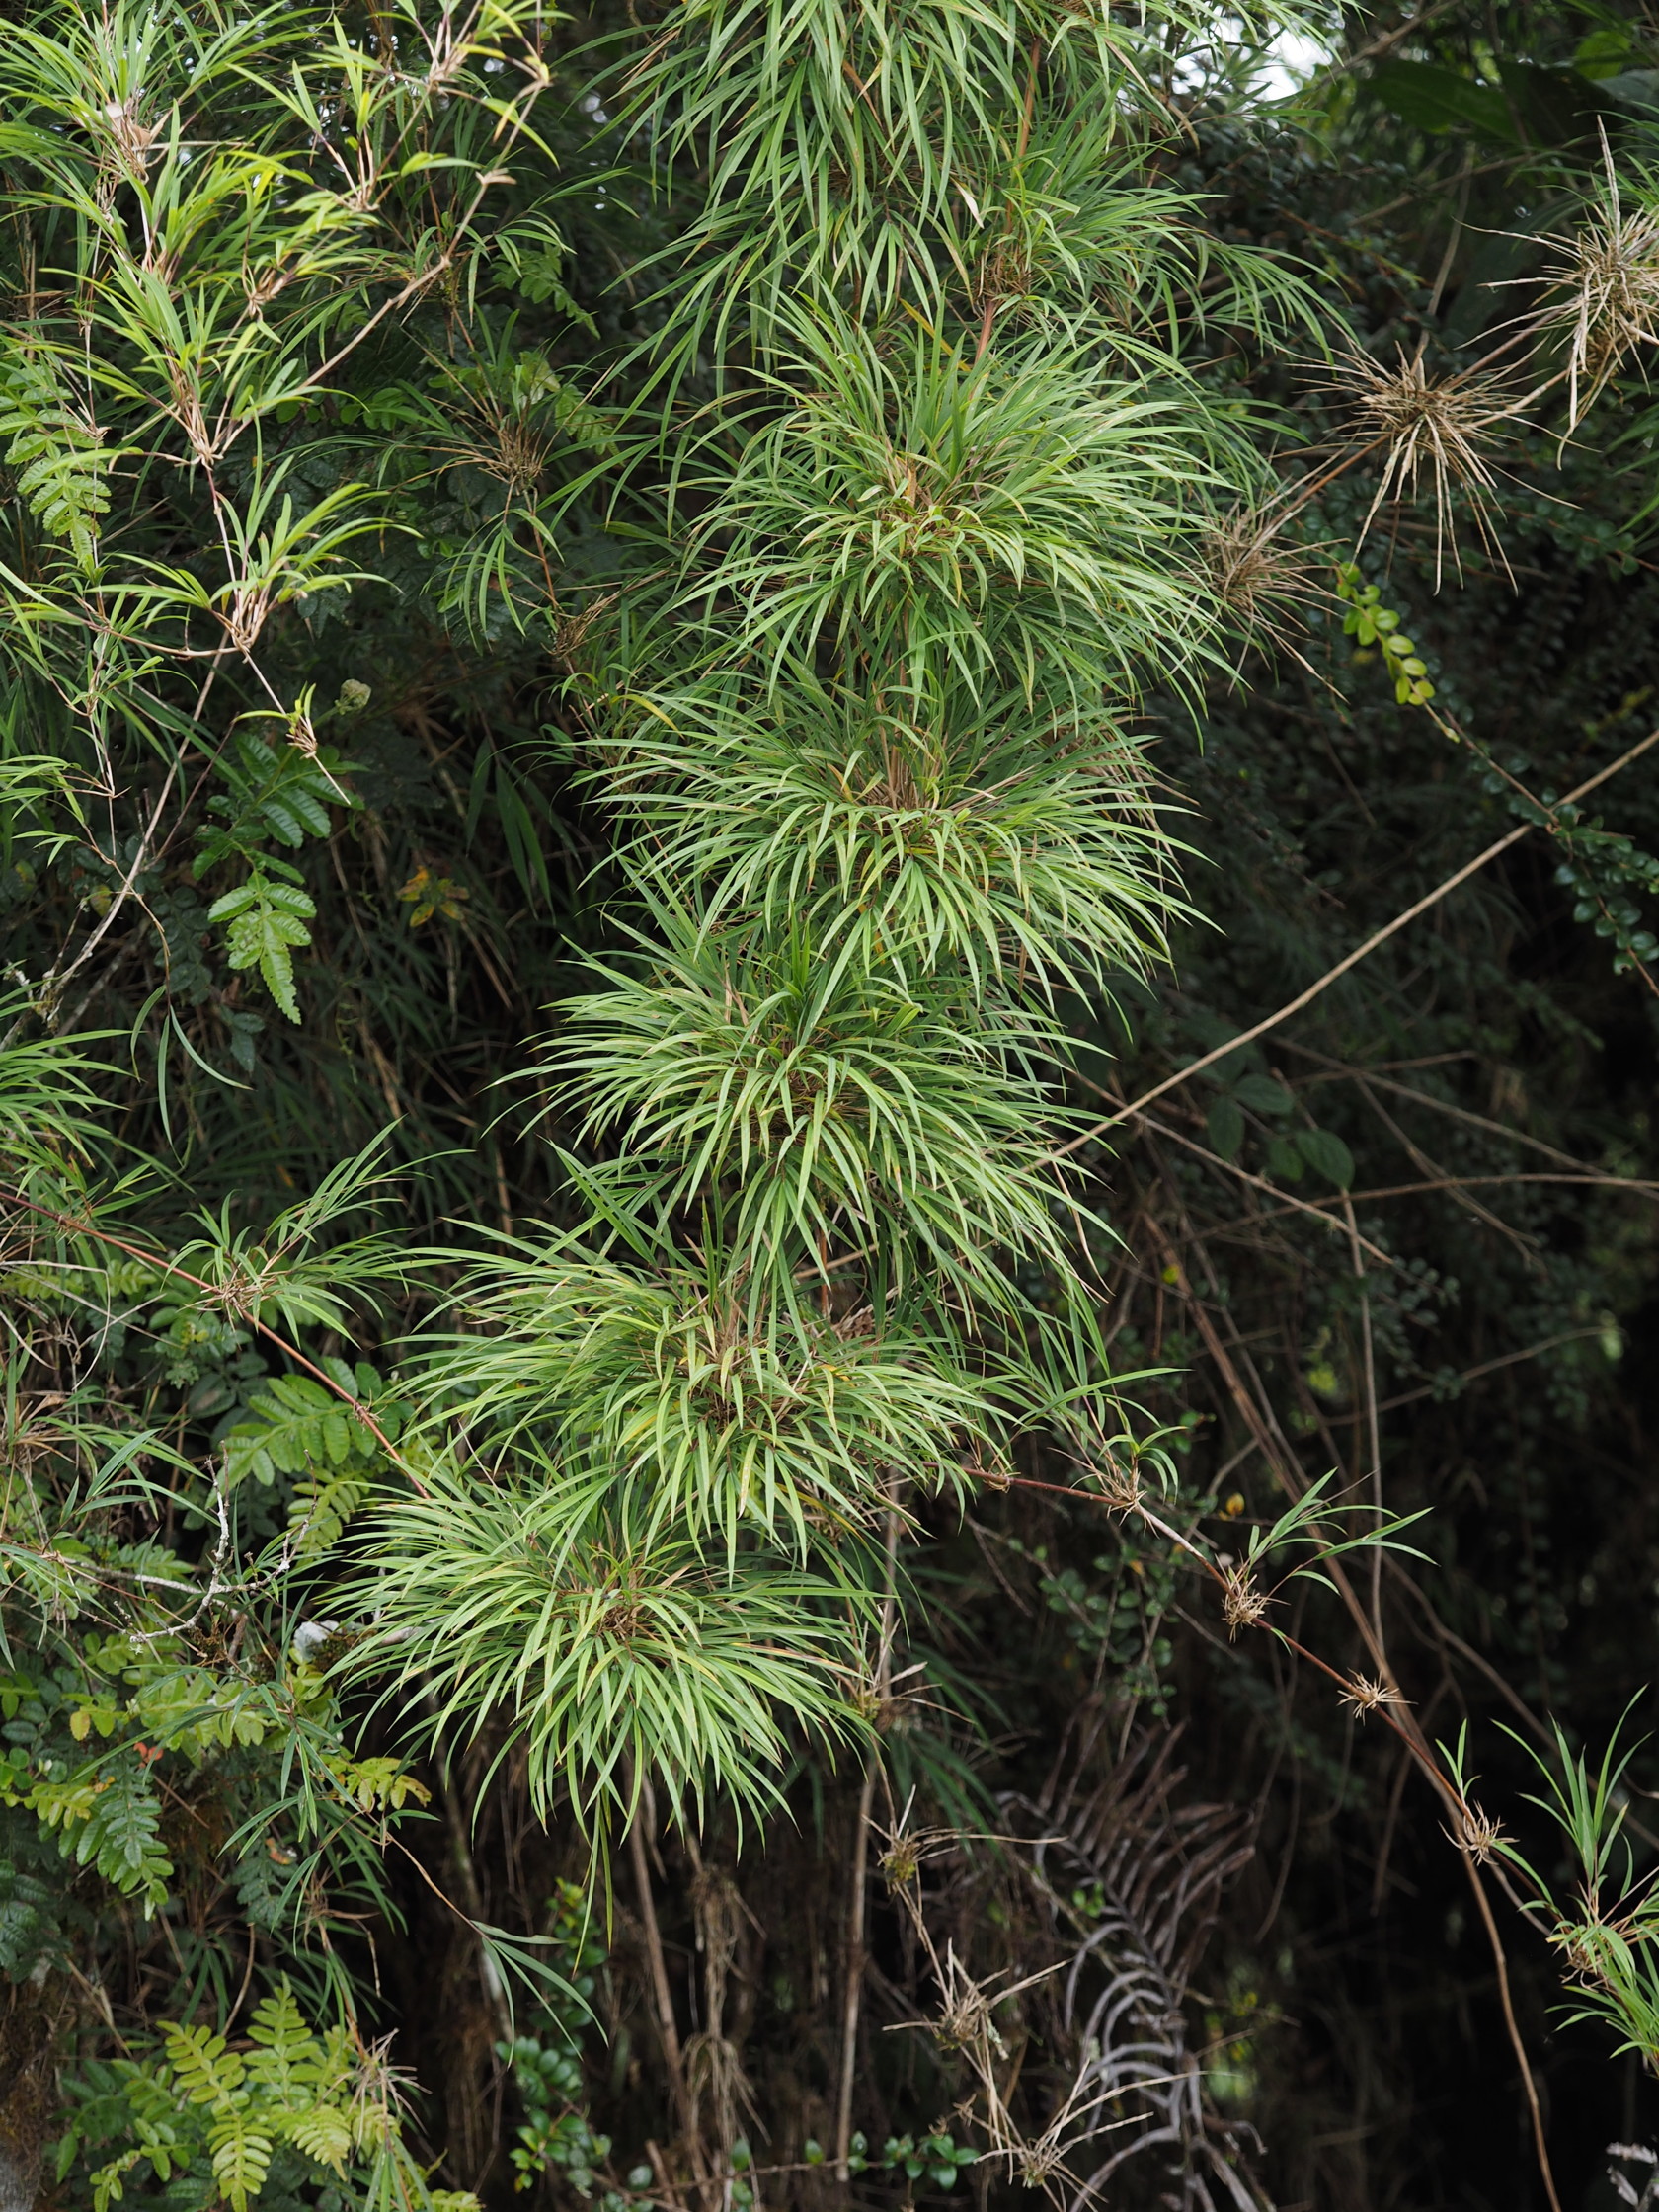
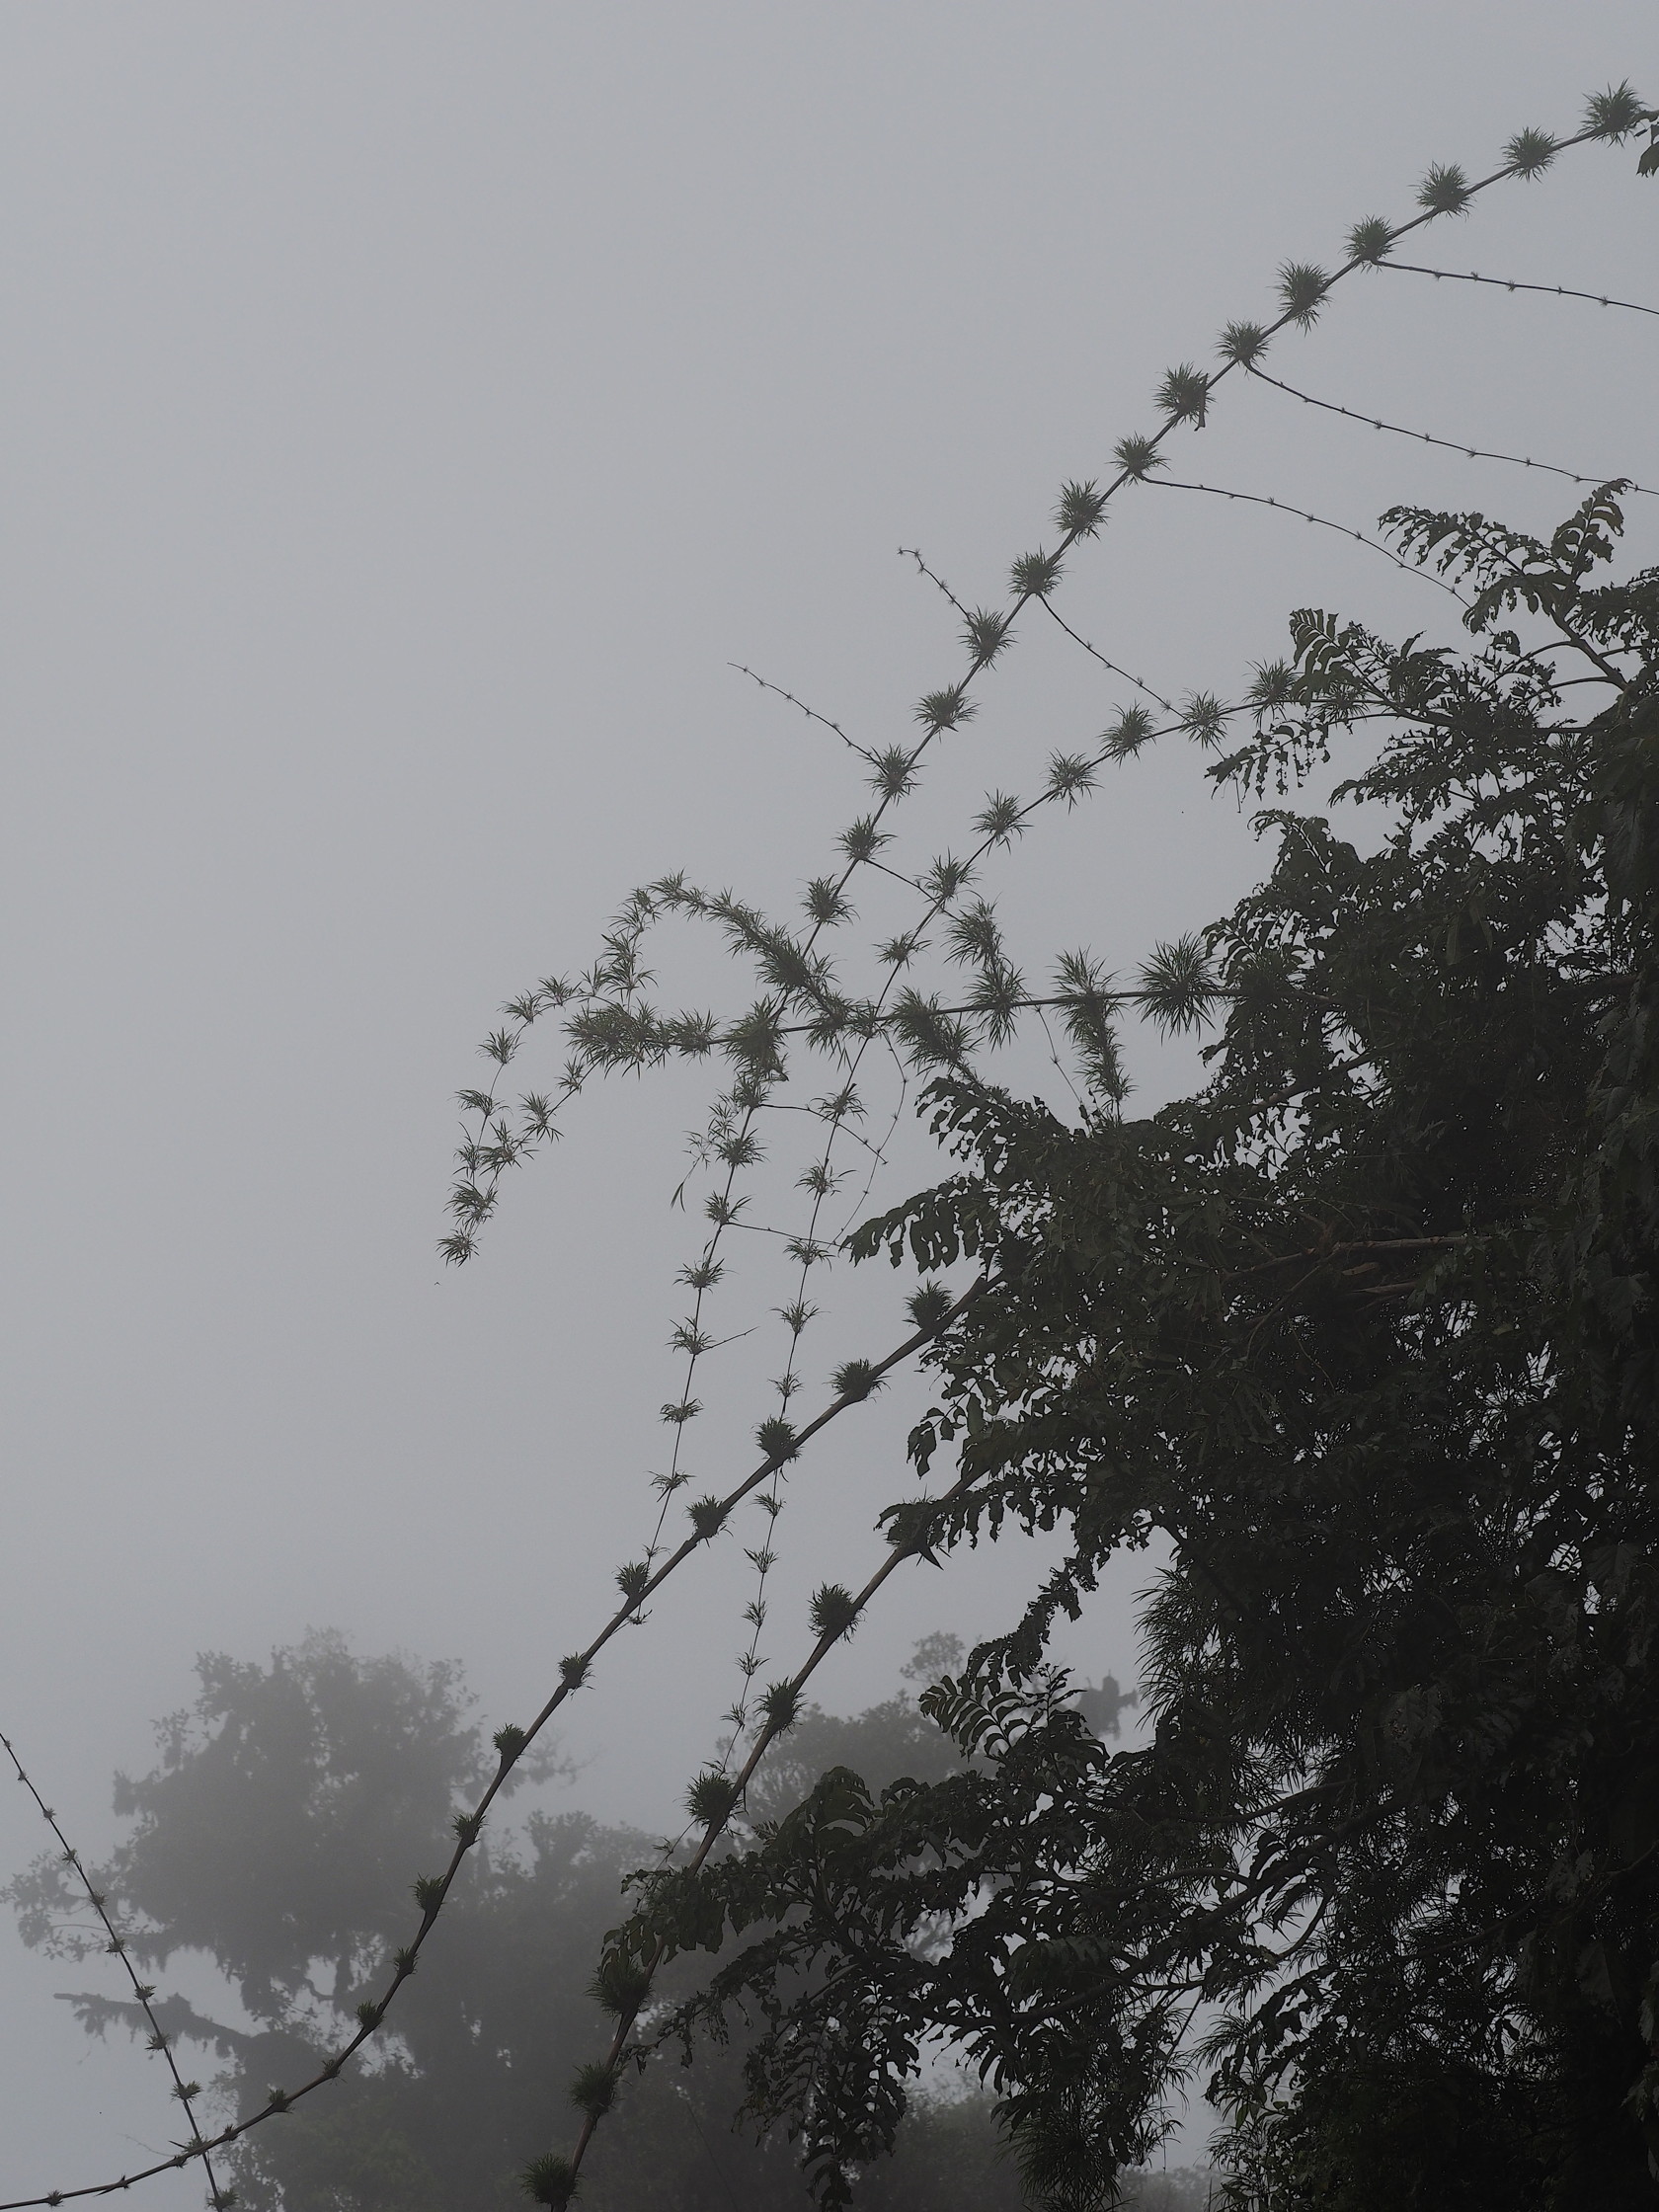
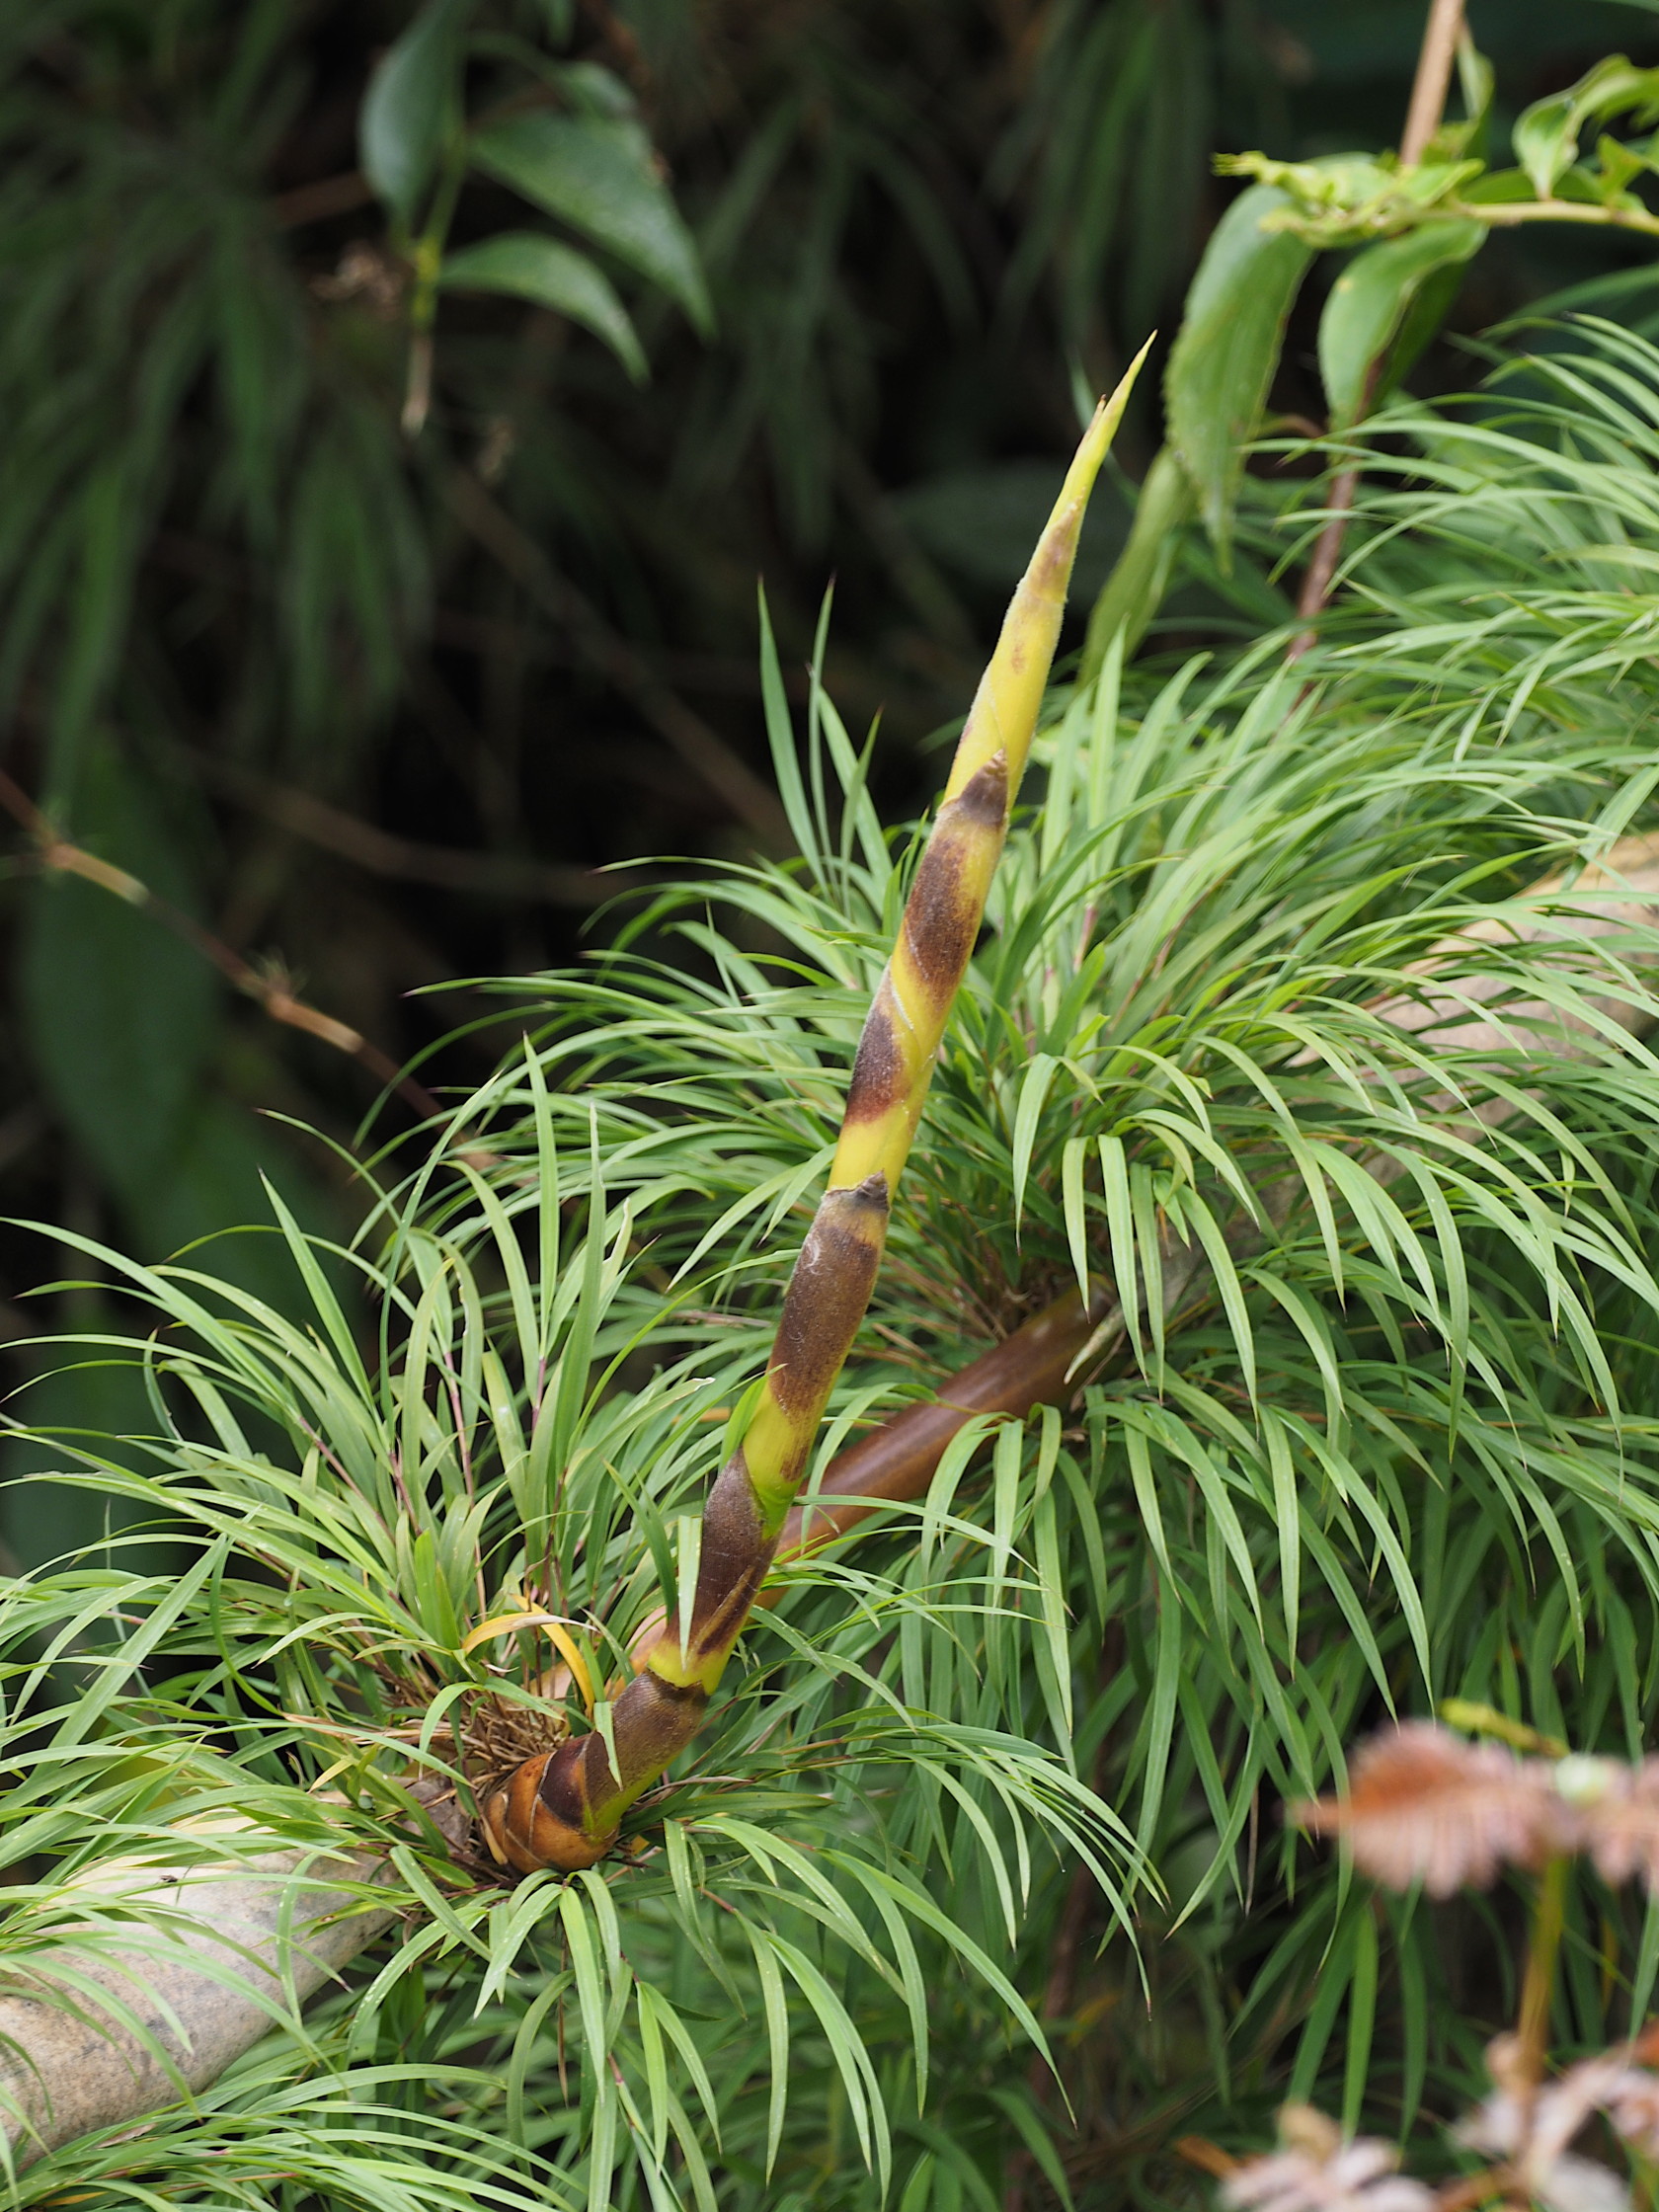
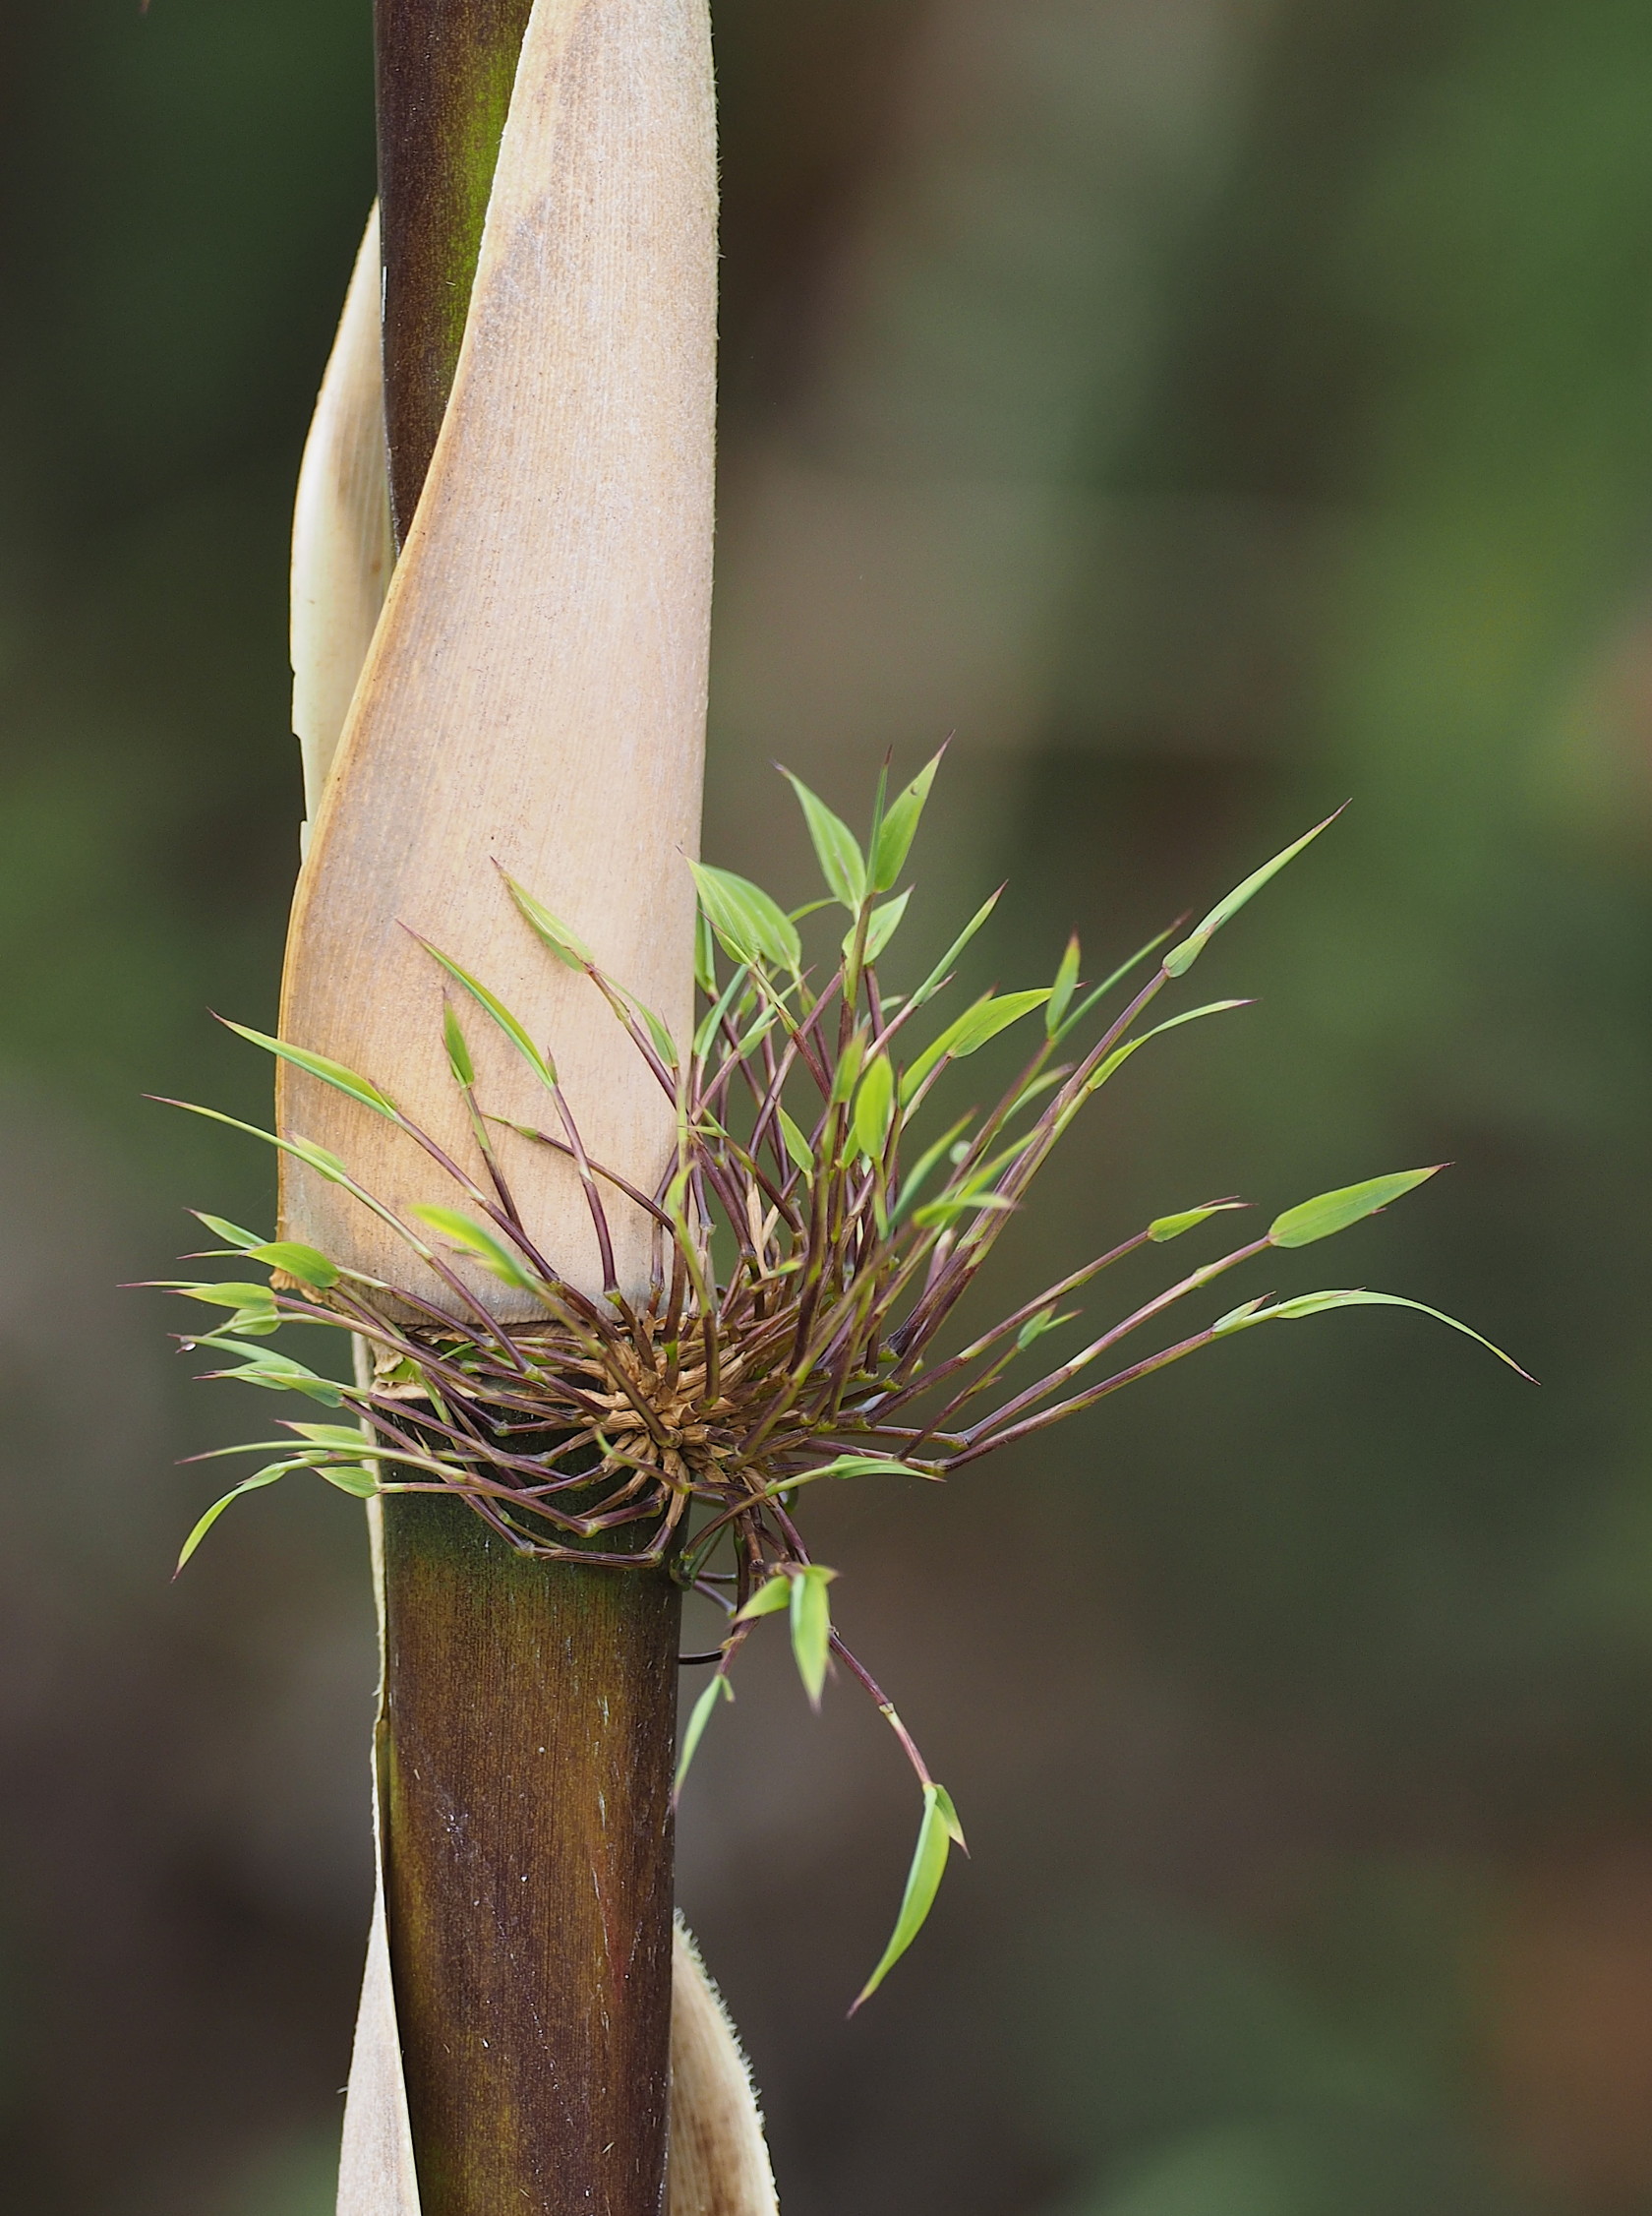
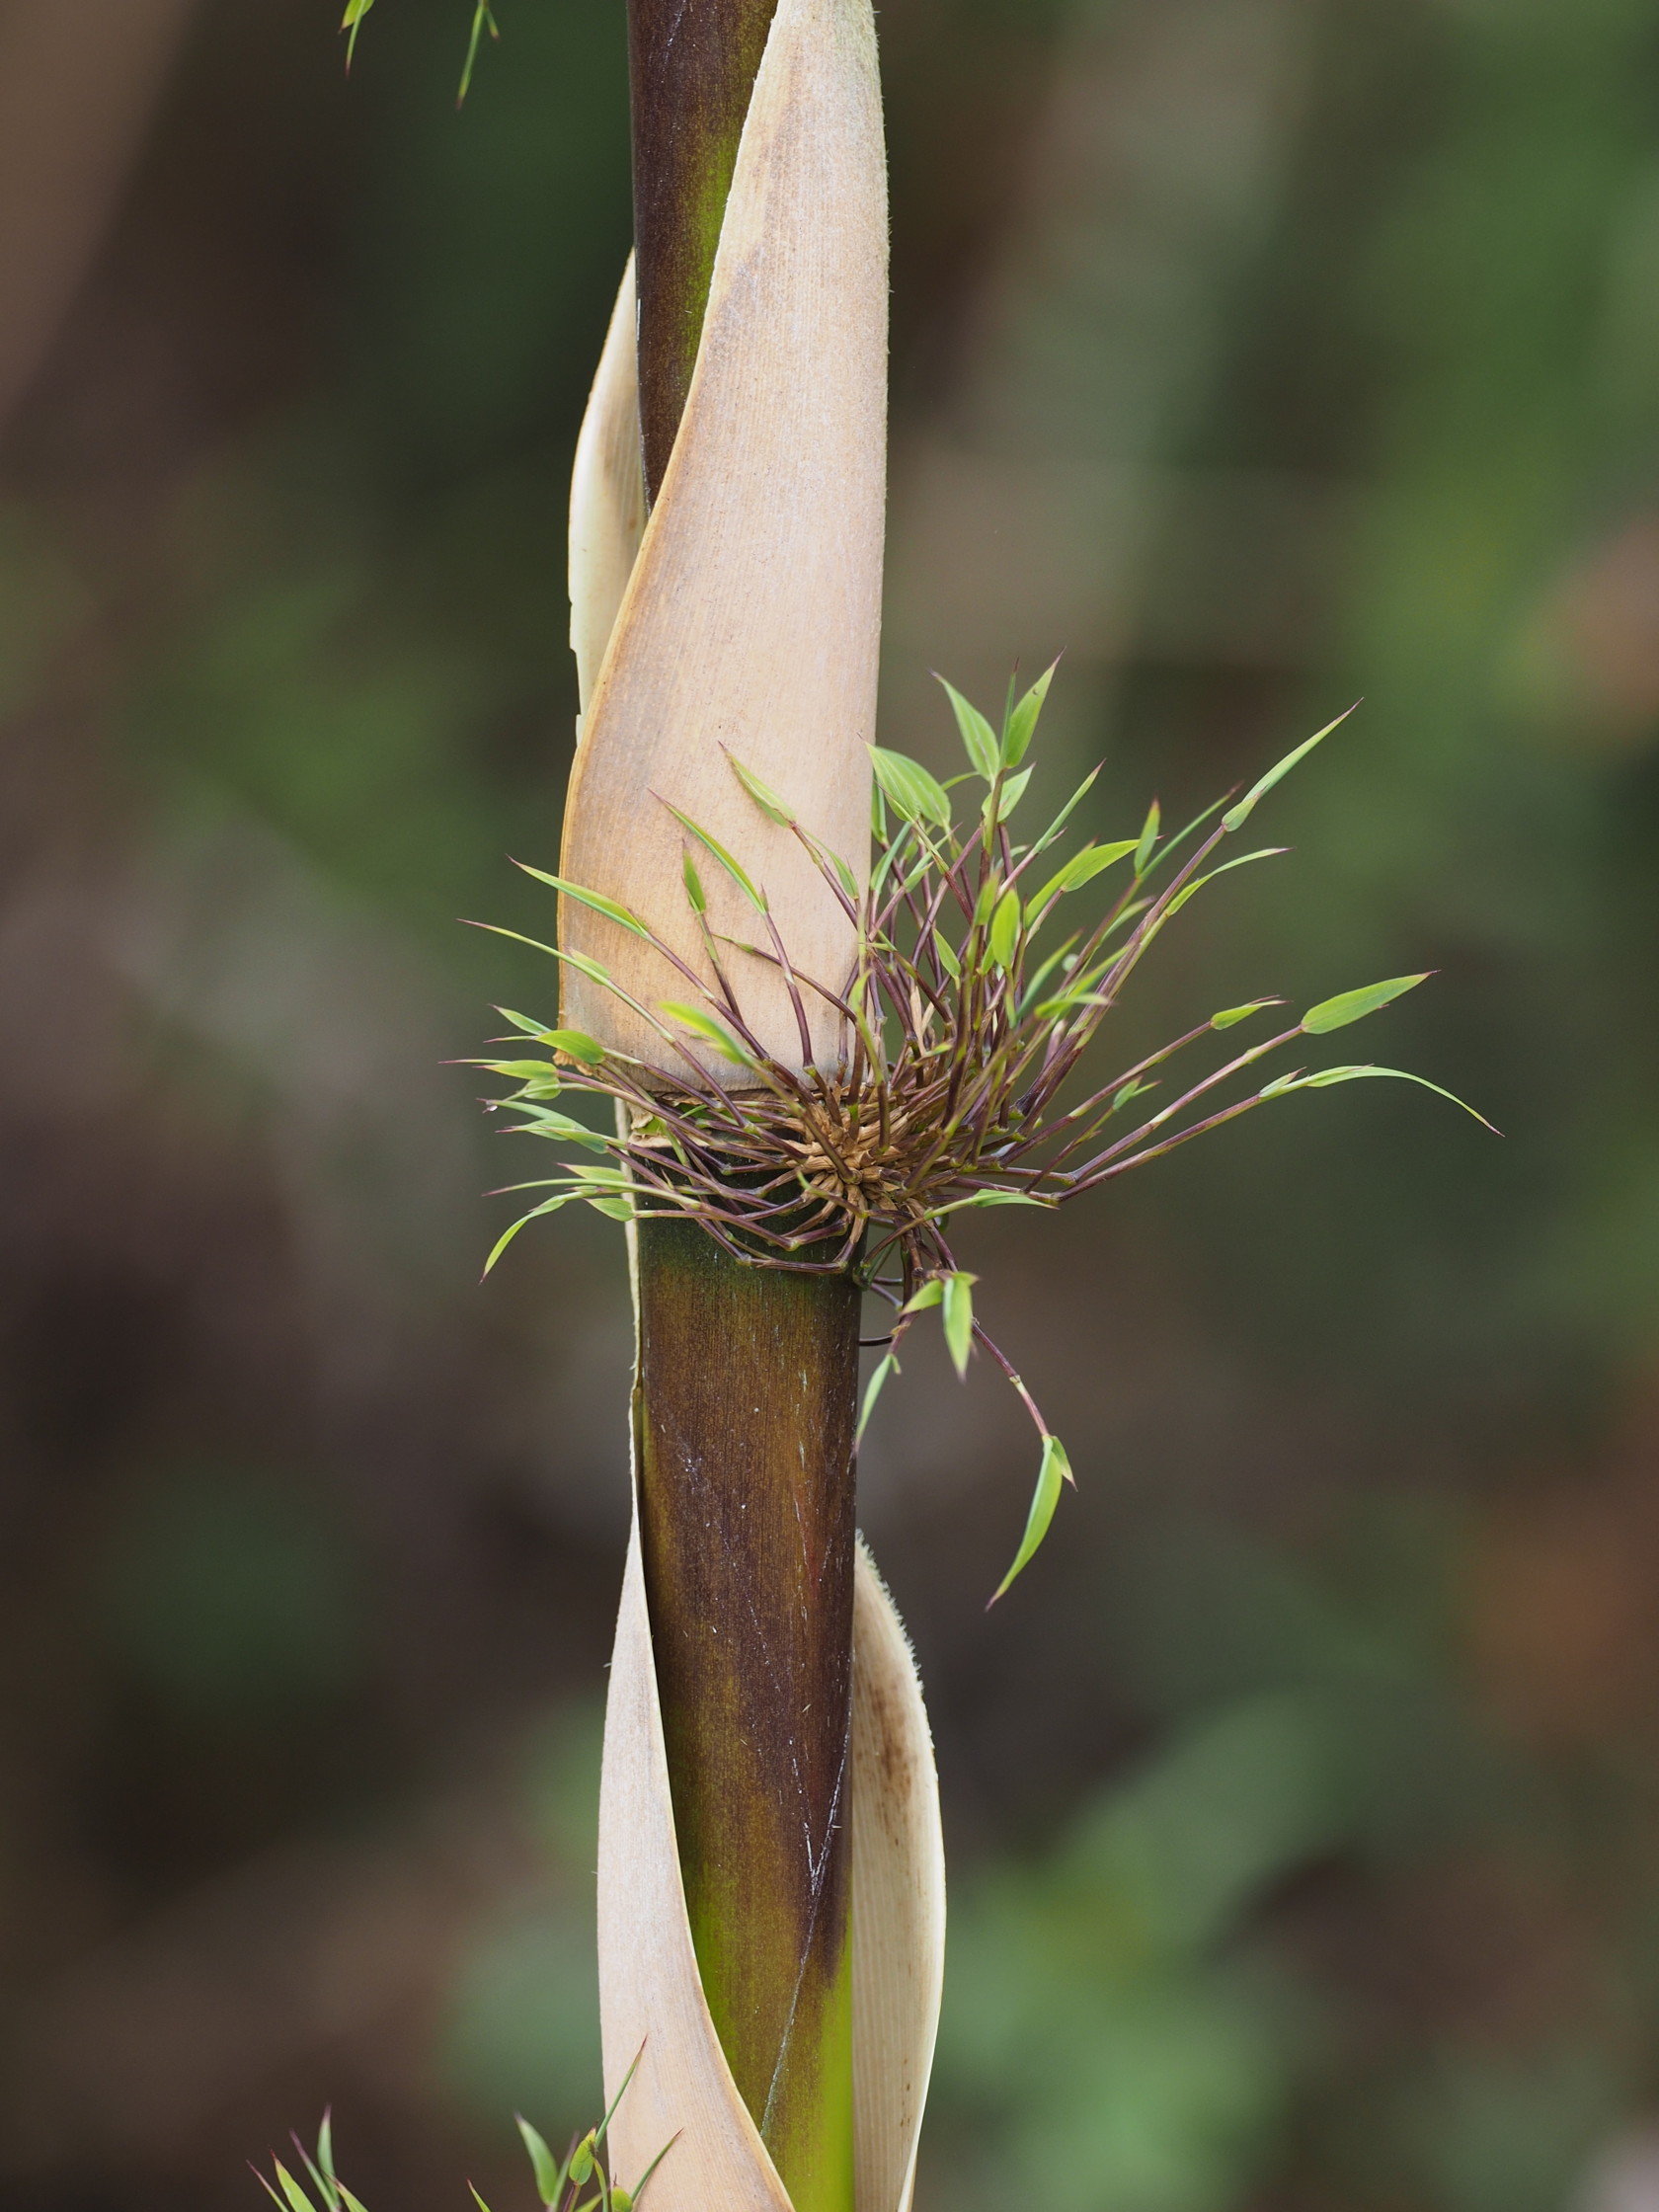
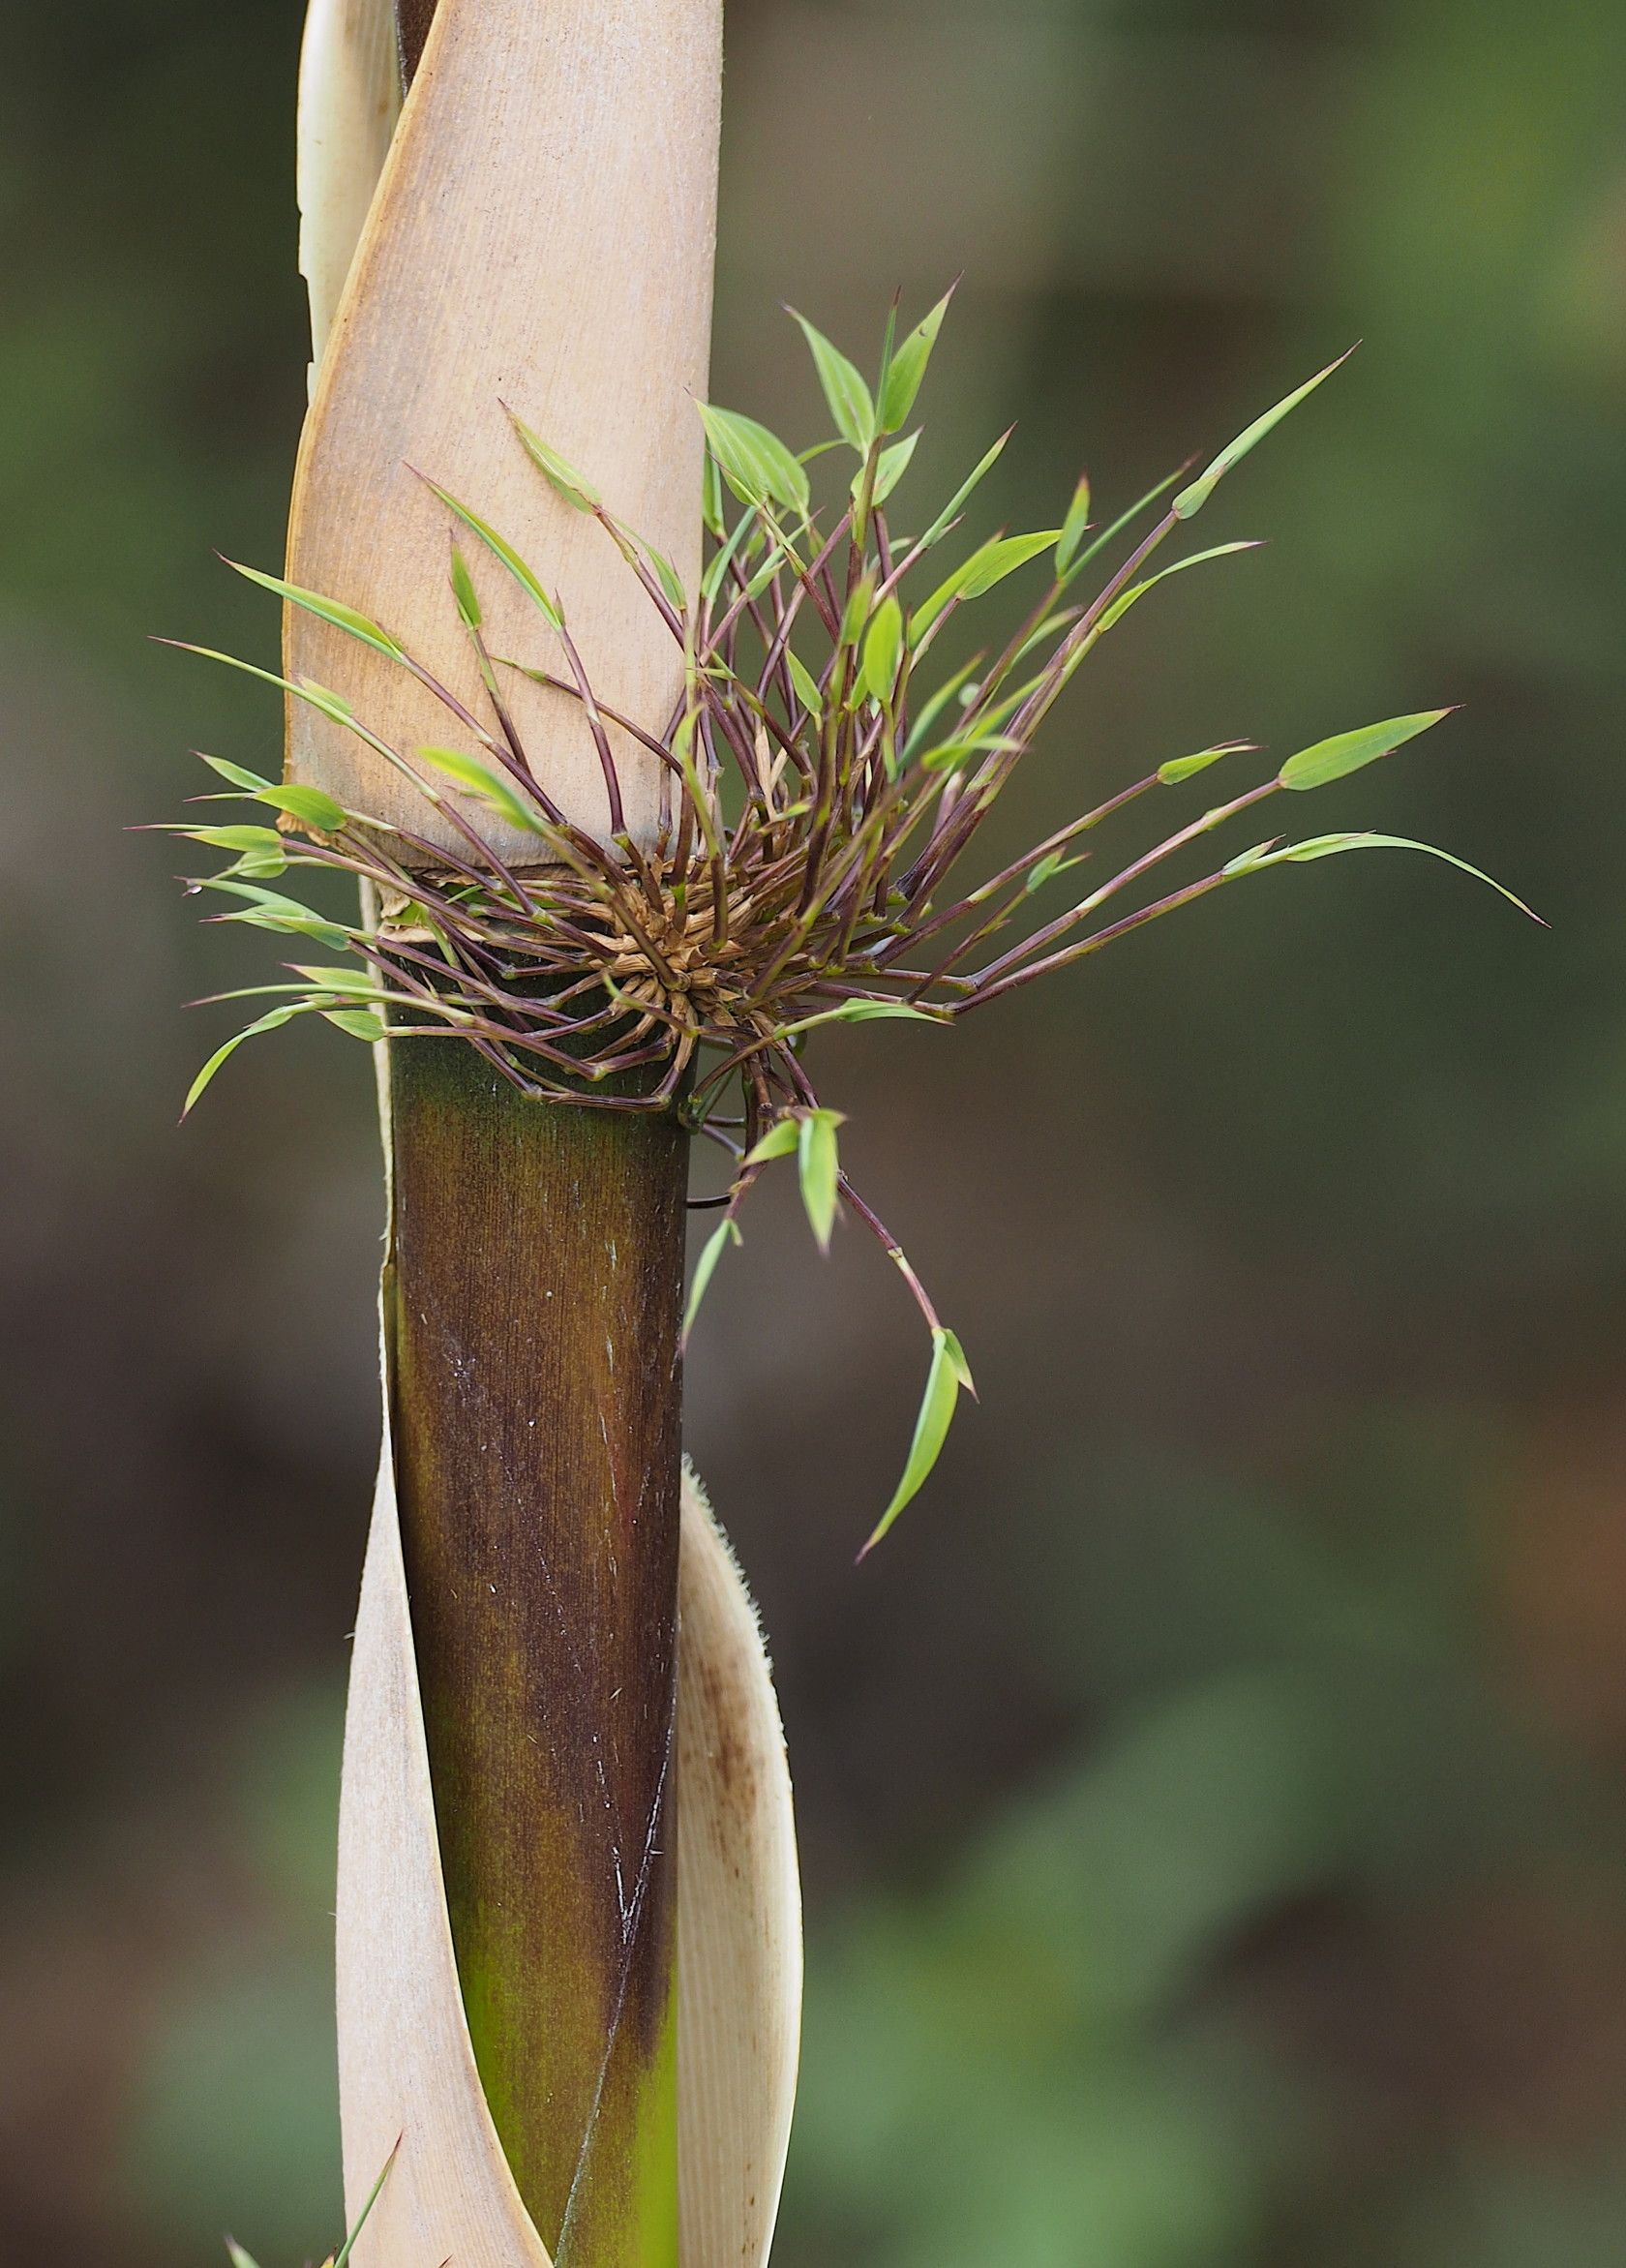
Bamboo
Bamboo is a so-called pioneer plant – it establishes itself in disturbed areas such as landslides, fire burns etc. Thus, it was common along the Yungas road we walked. There are many species, most in Asia but some in South America. The bamboo in Bolivia can be summarized here. I tried photographing the bamboo in different aspects, trying to show some of its interesting characteristics.


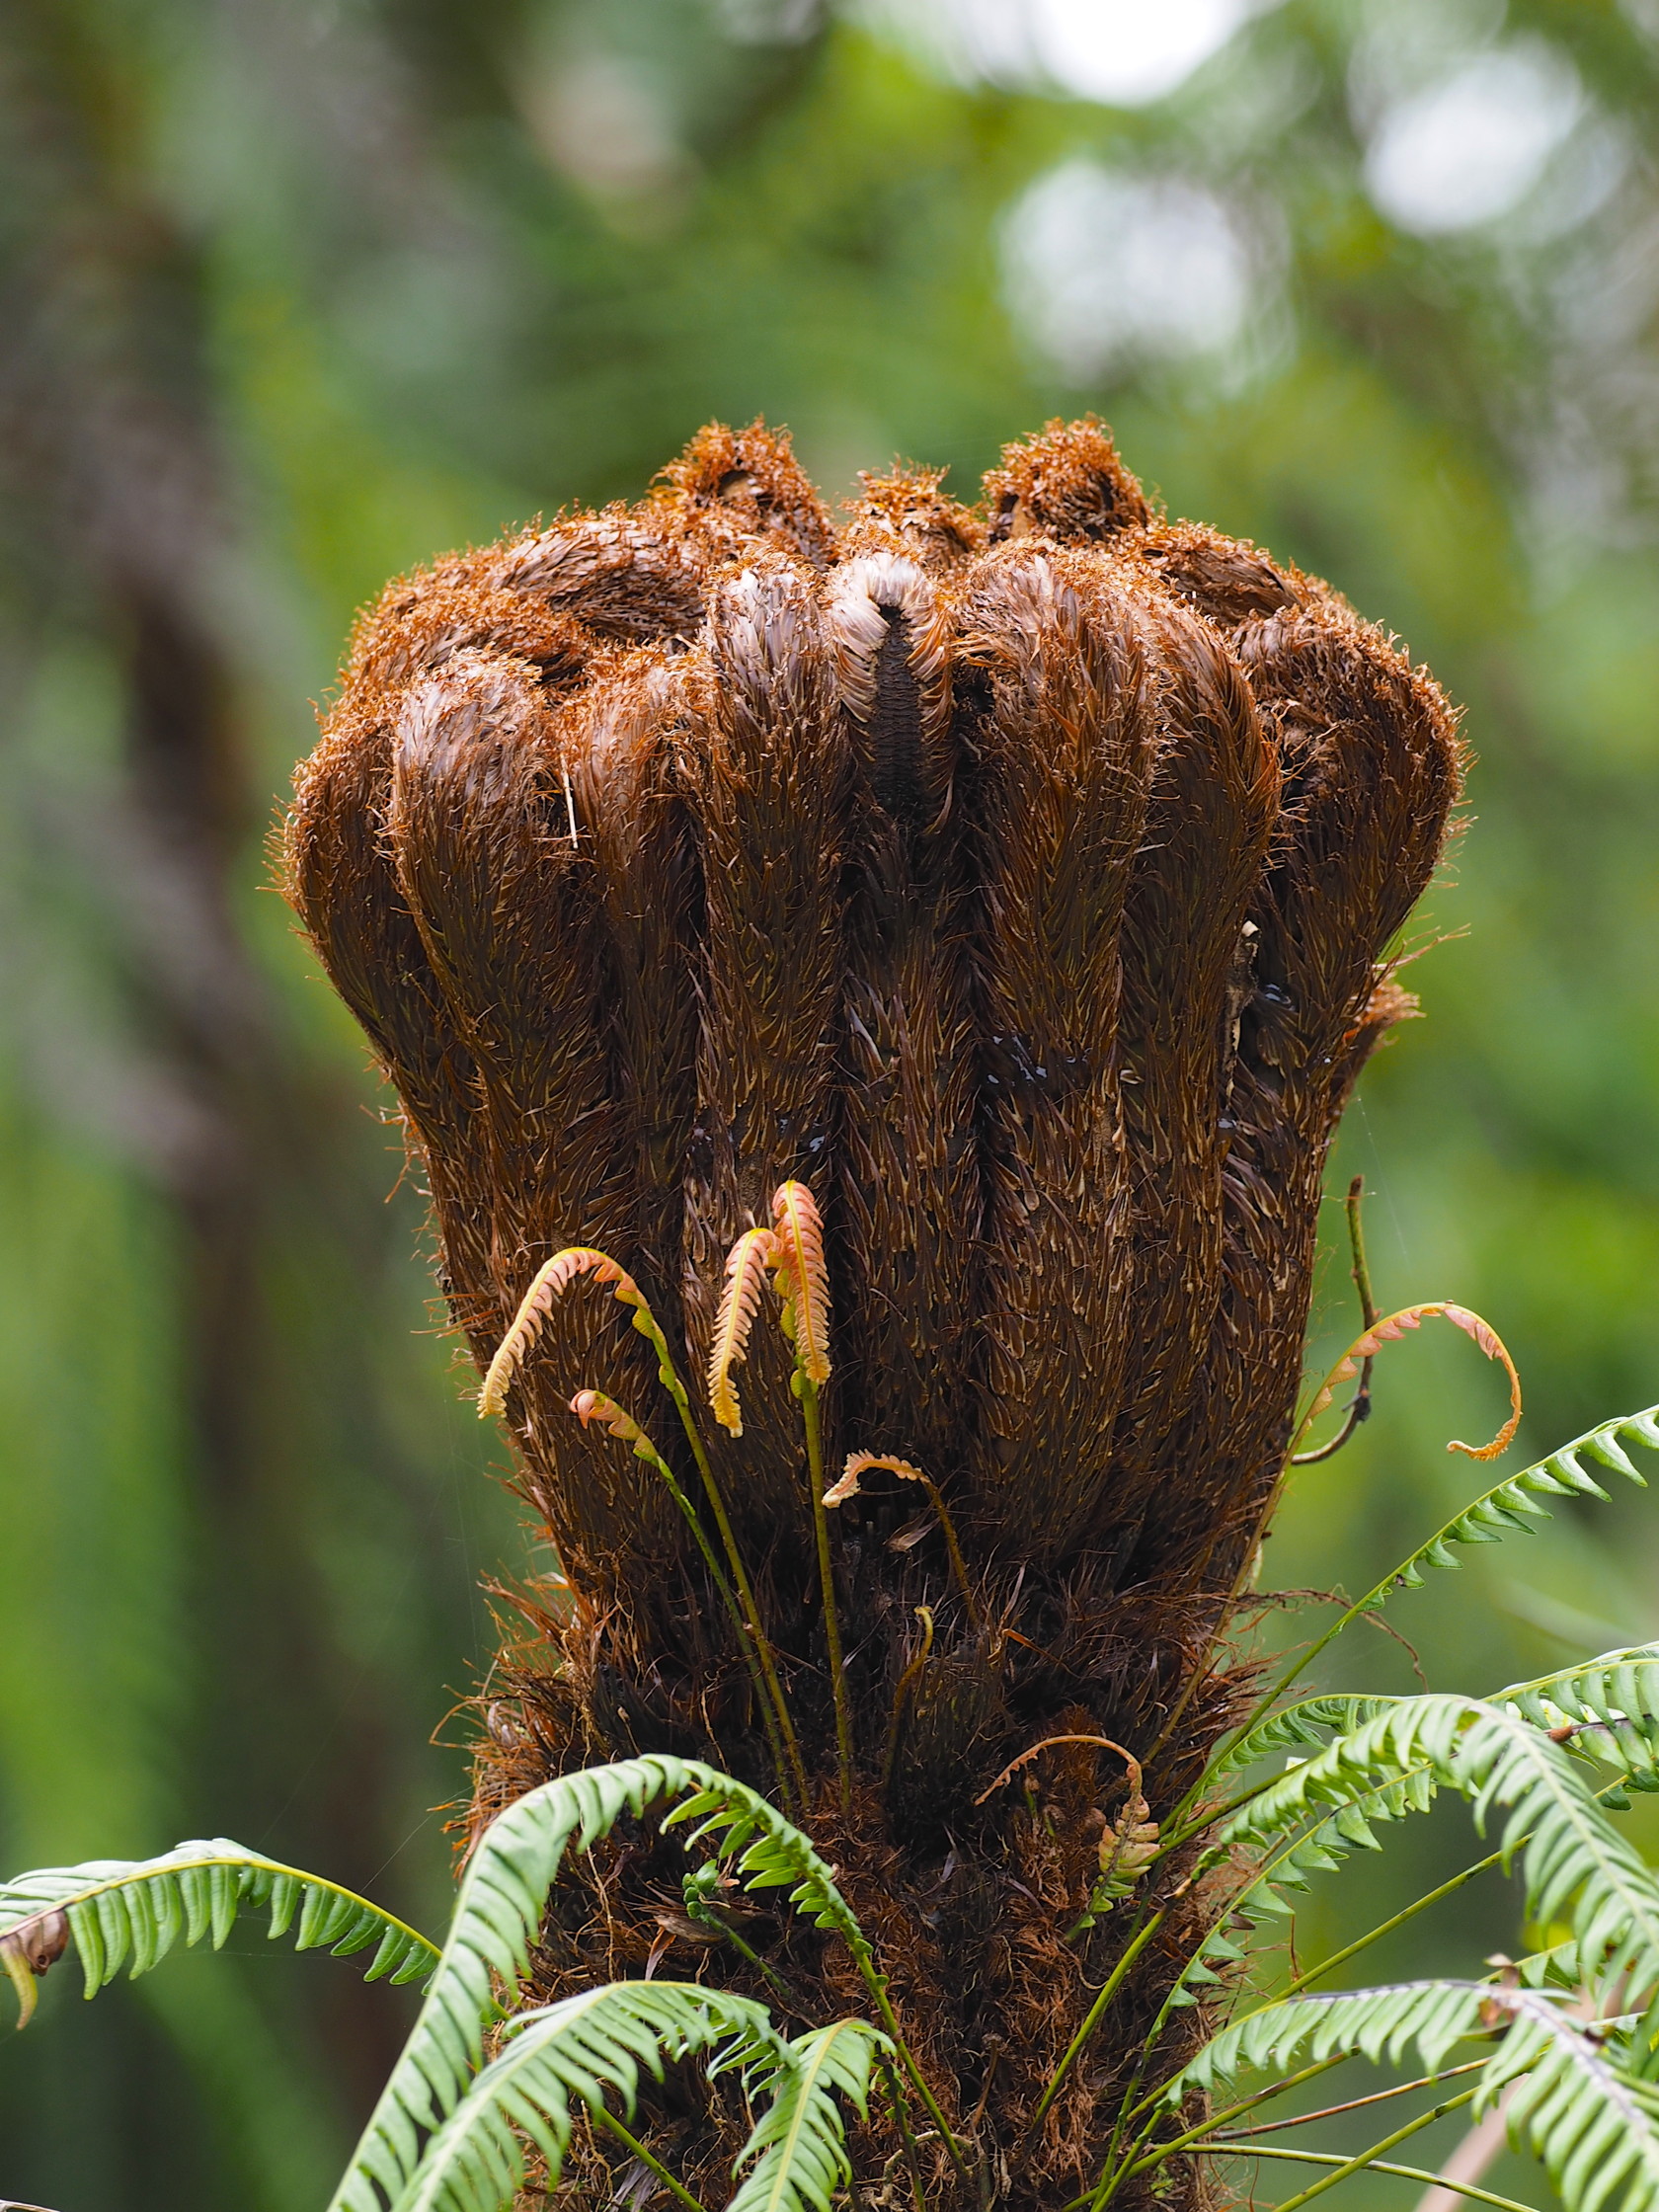
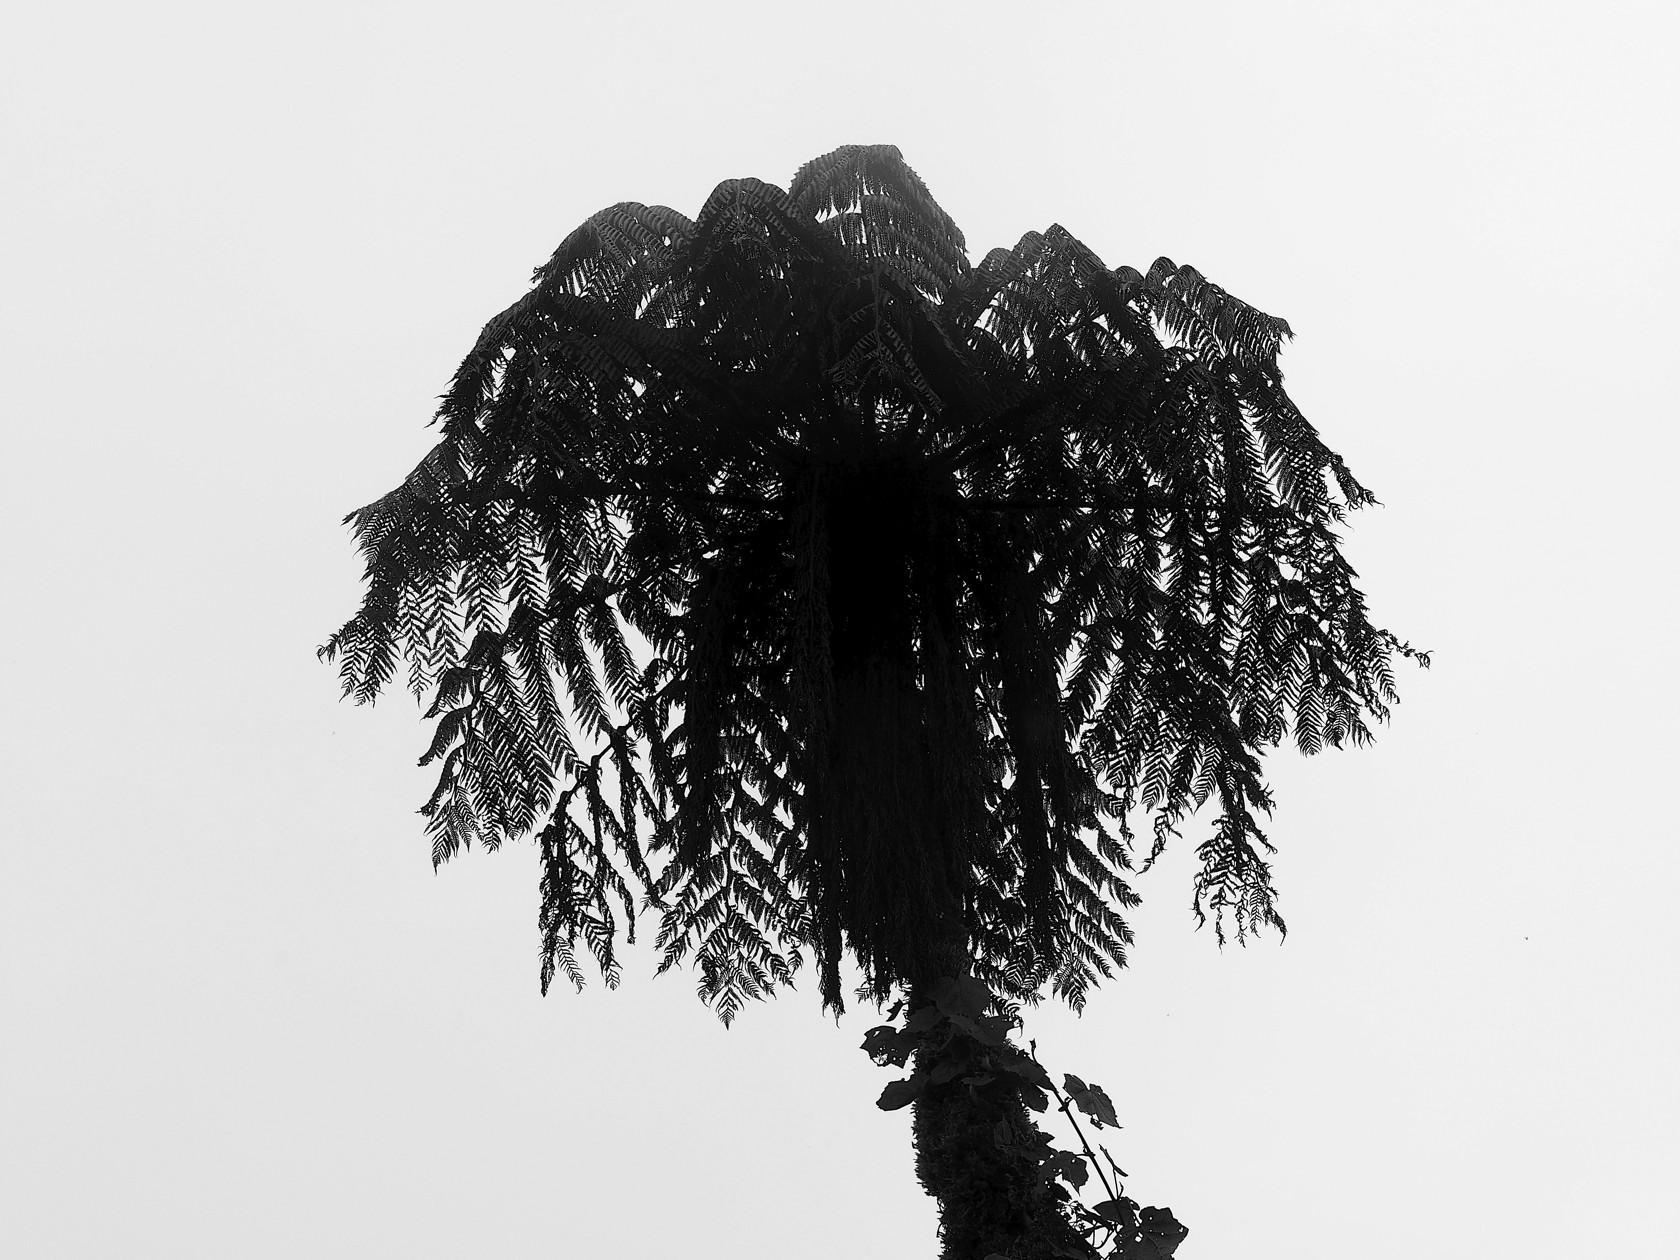
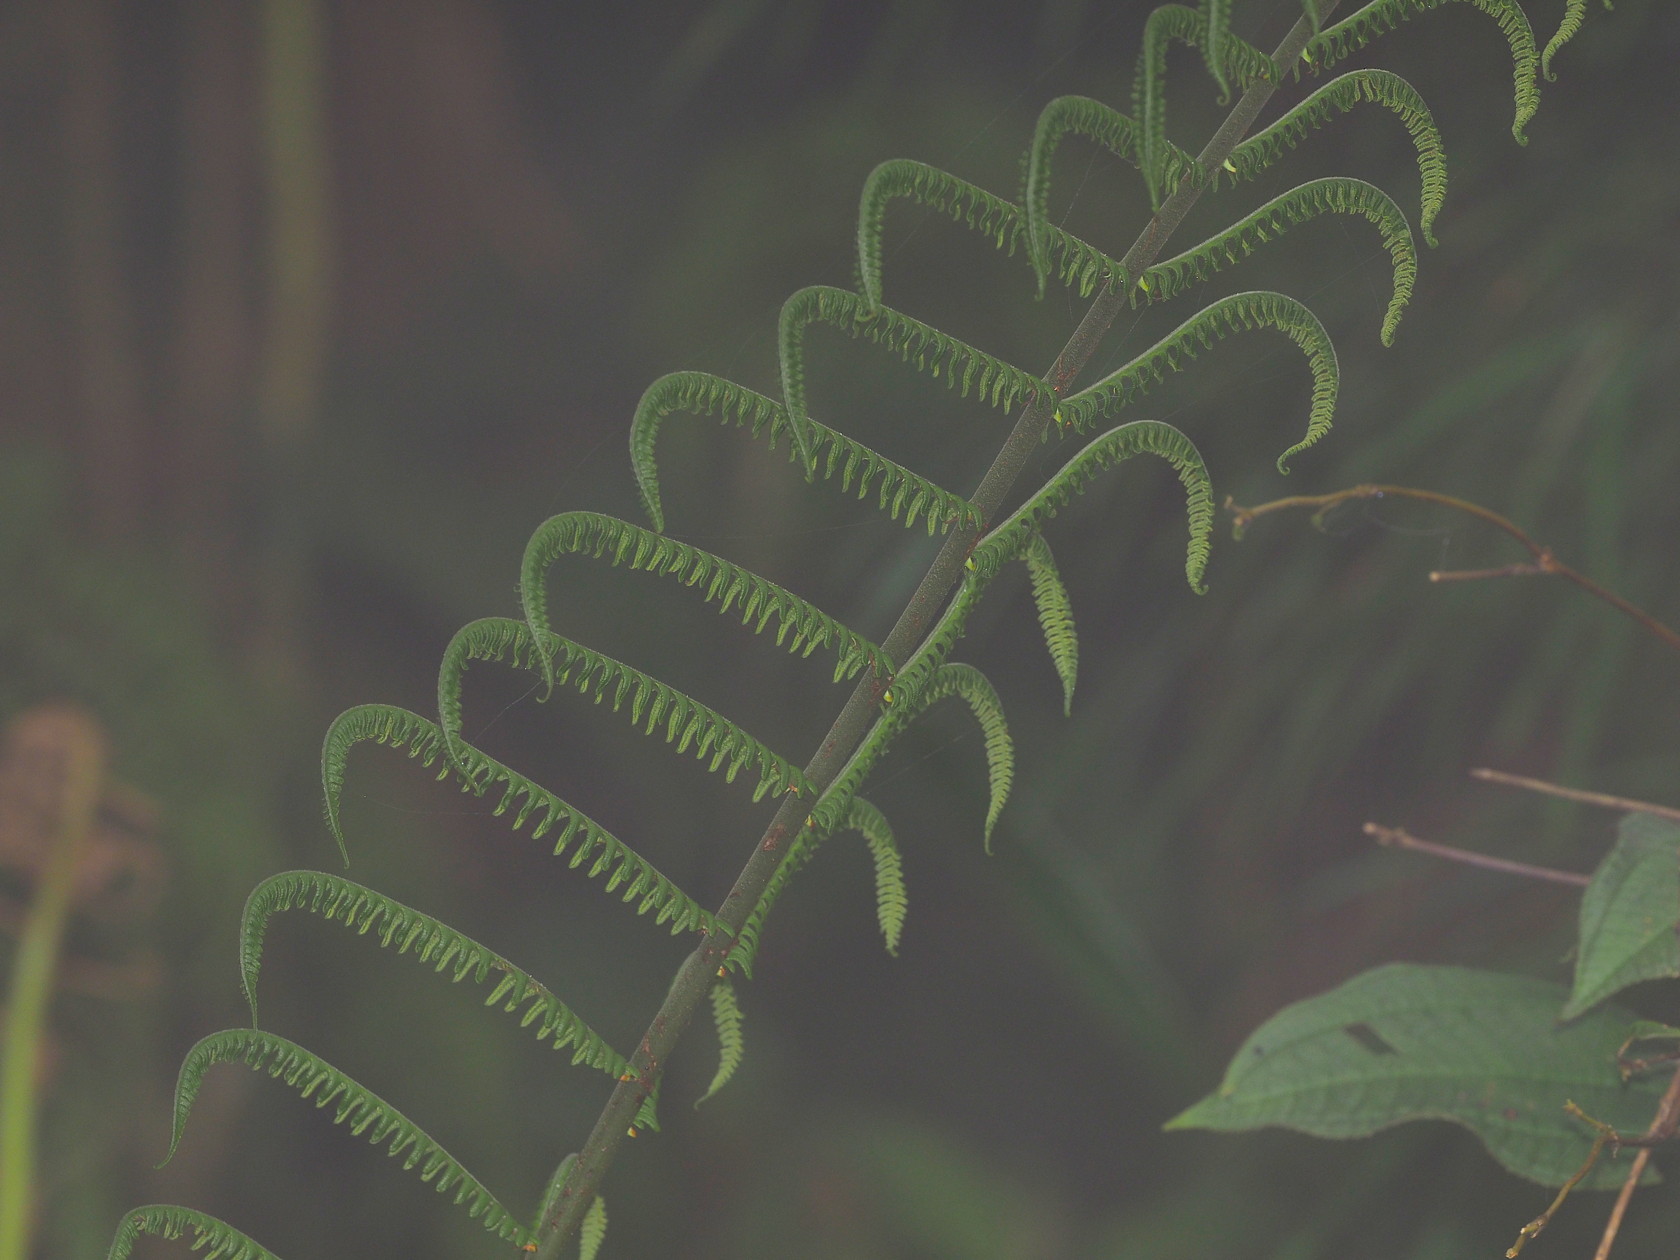
Tree ferns
Tree ferns have been interesting to me for a long time – they signal your presence in some kind of forest characterized by high humidity and usually clouds. Photographing tree ferns is sometimes difficult because they are often best seen in disturbed areas, where surrounding plants don’t block your view of them. But then you end up photographing “disturbed landscapes”. This was no different along the Yungas road, where good views of the ferns were possible – but only in disturbed areas!
Anyone wishing to identify the tree ferns we saw might first start with this online guide.


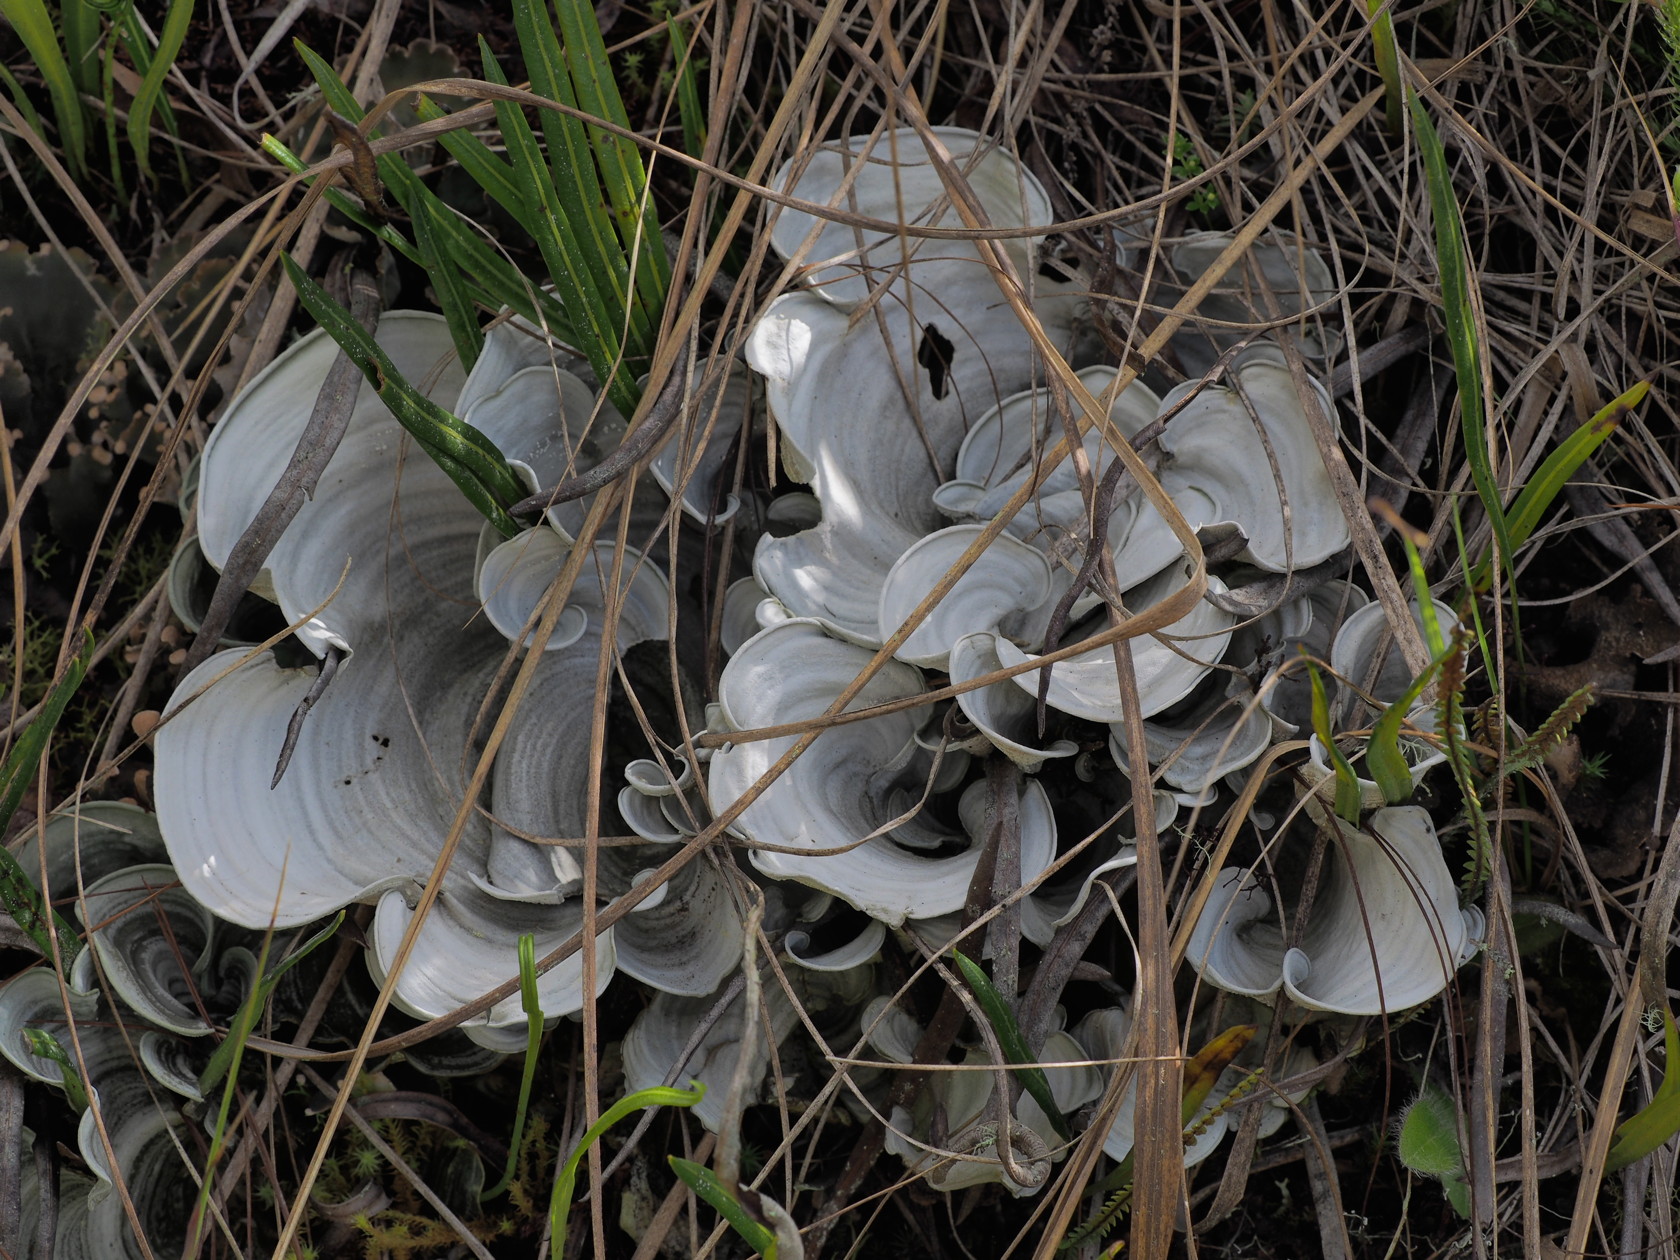
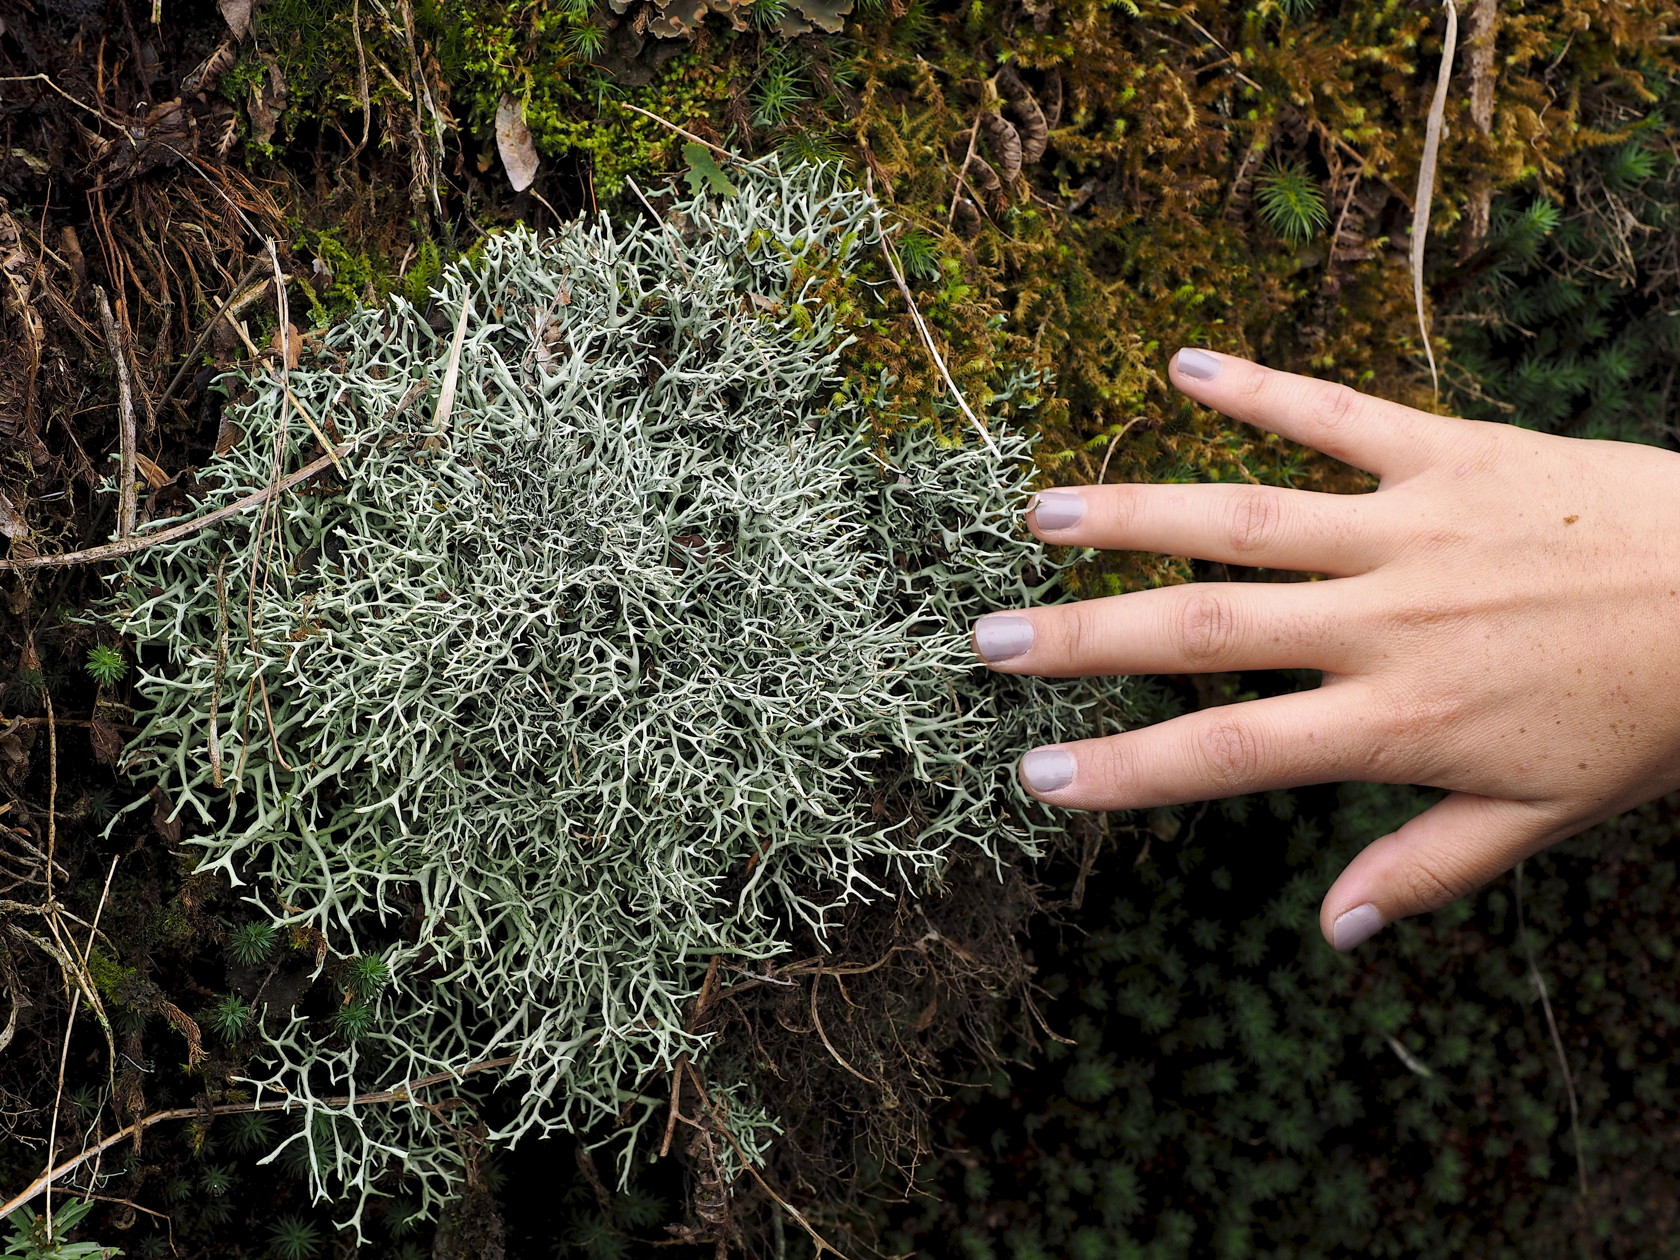
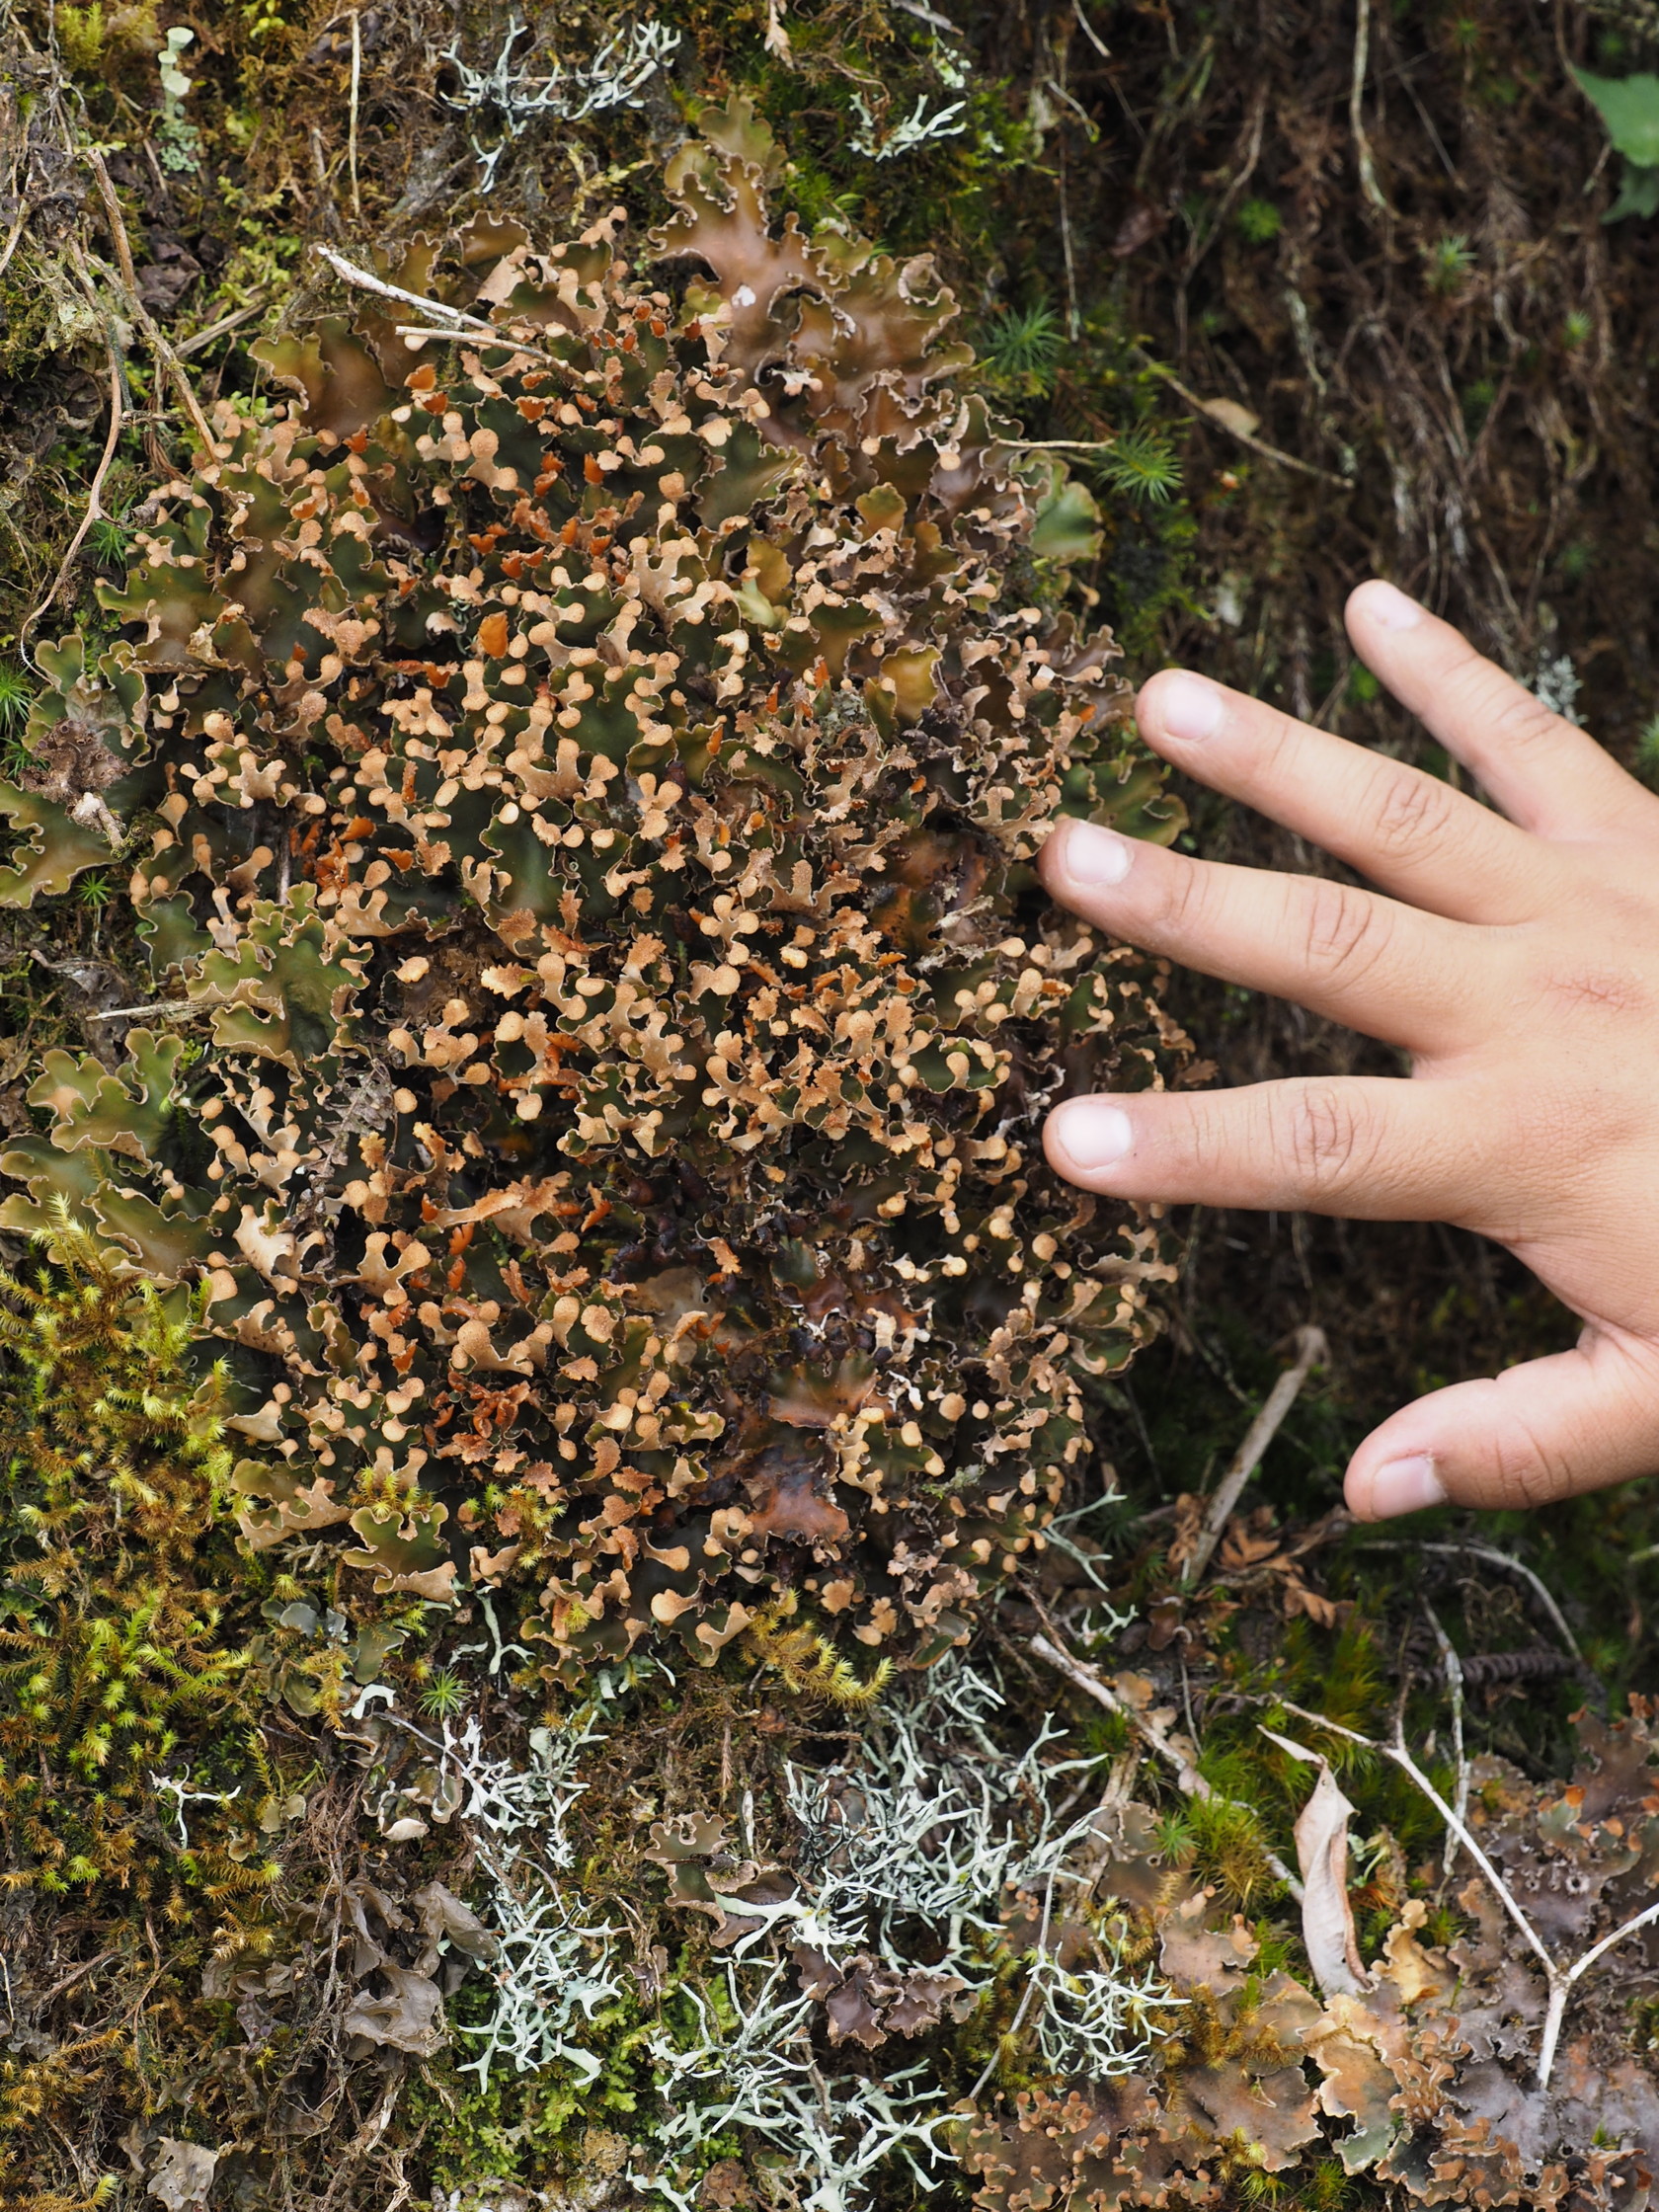
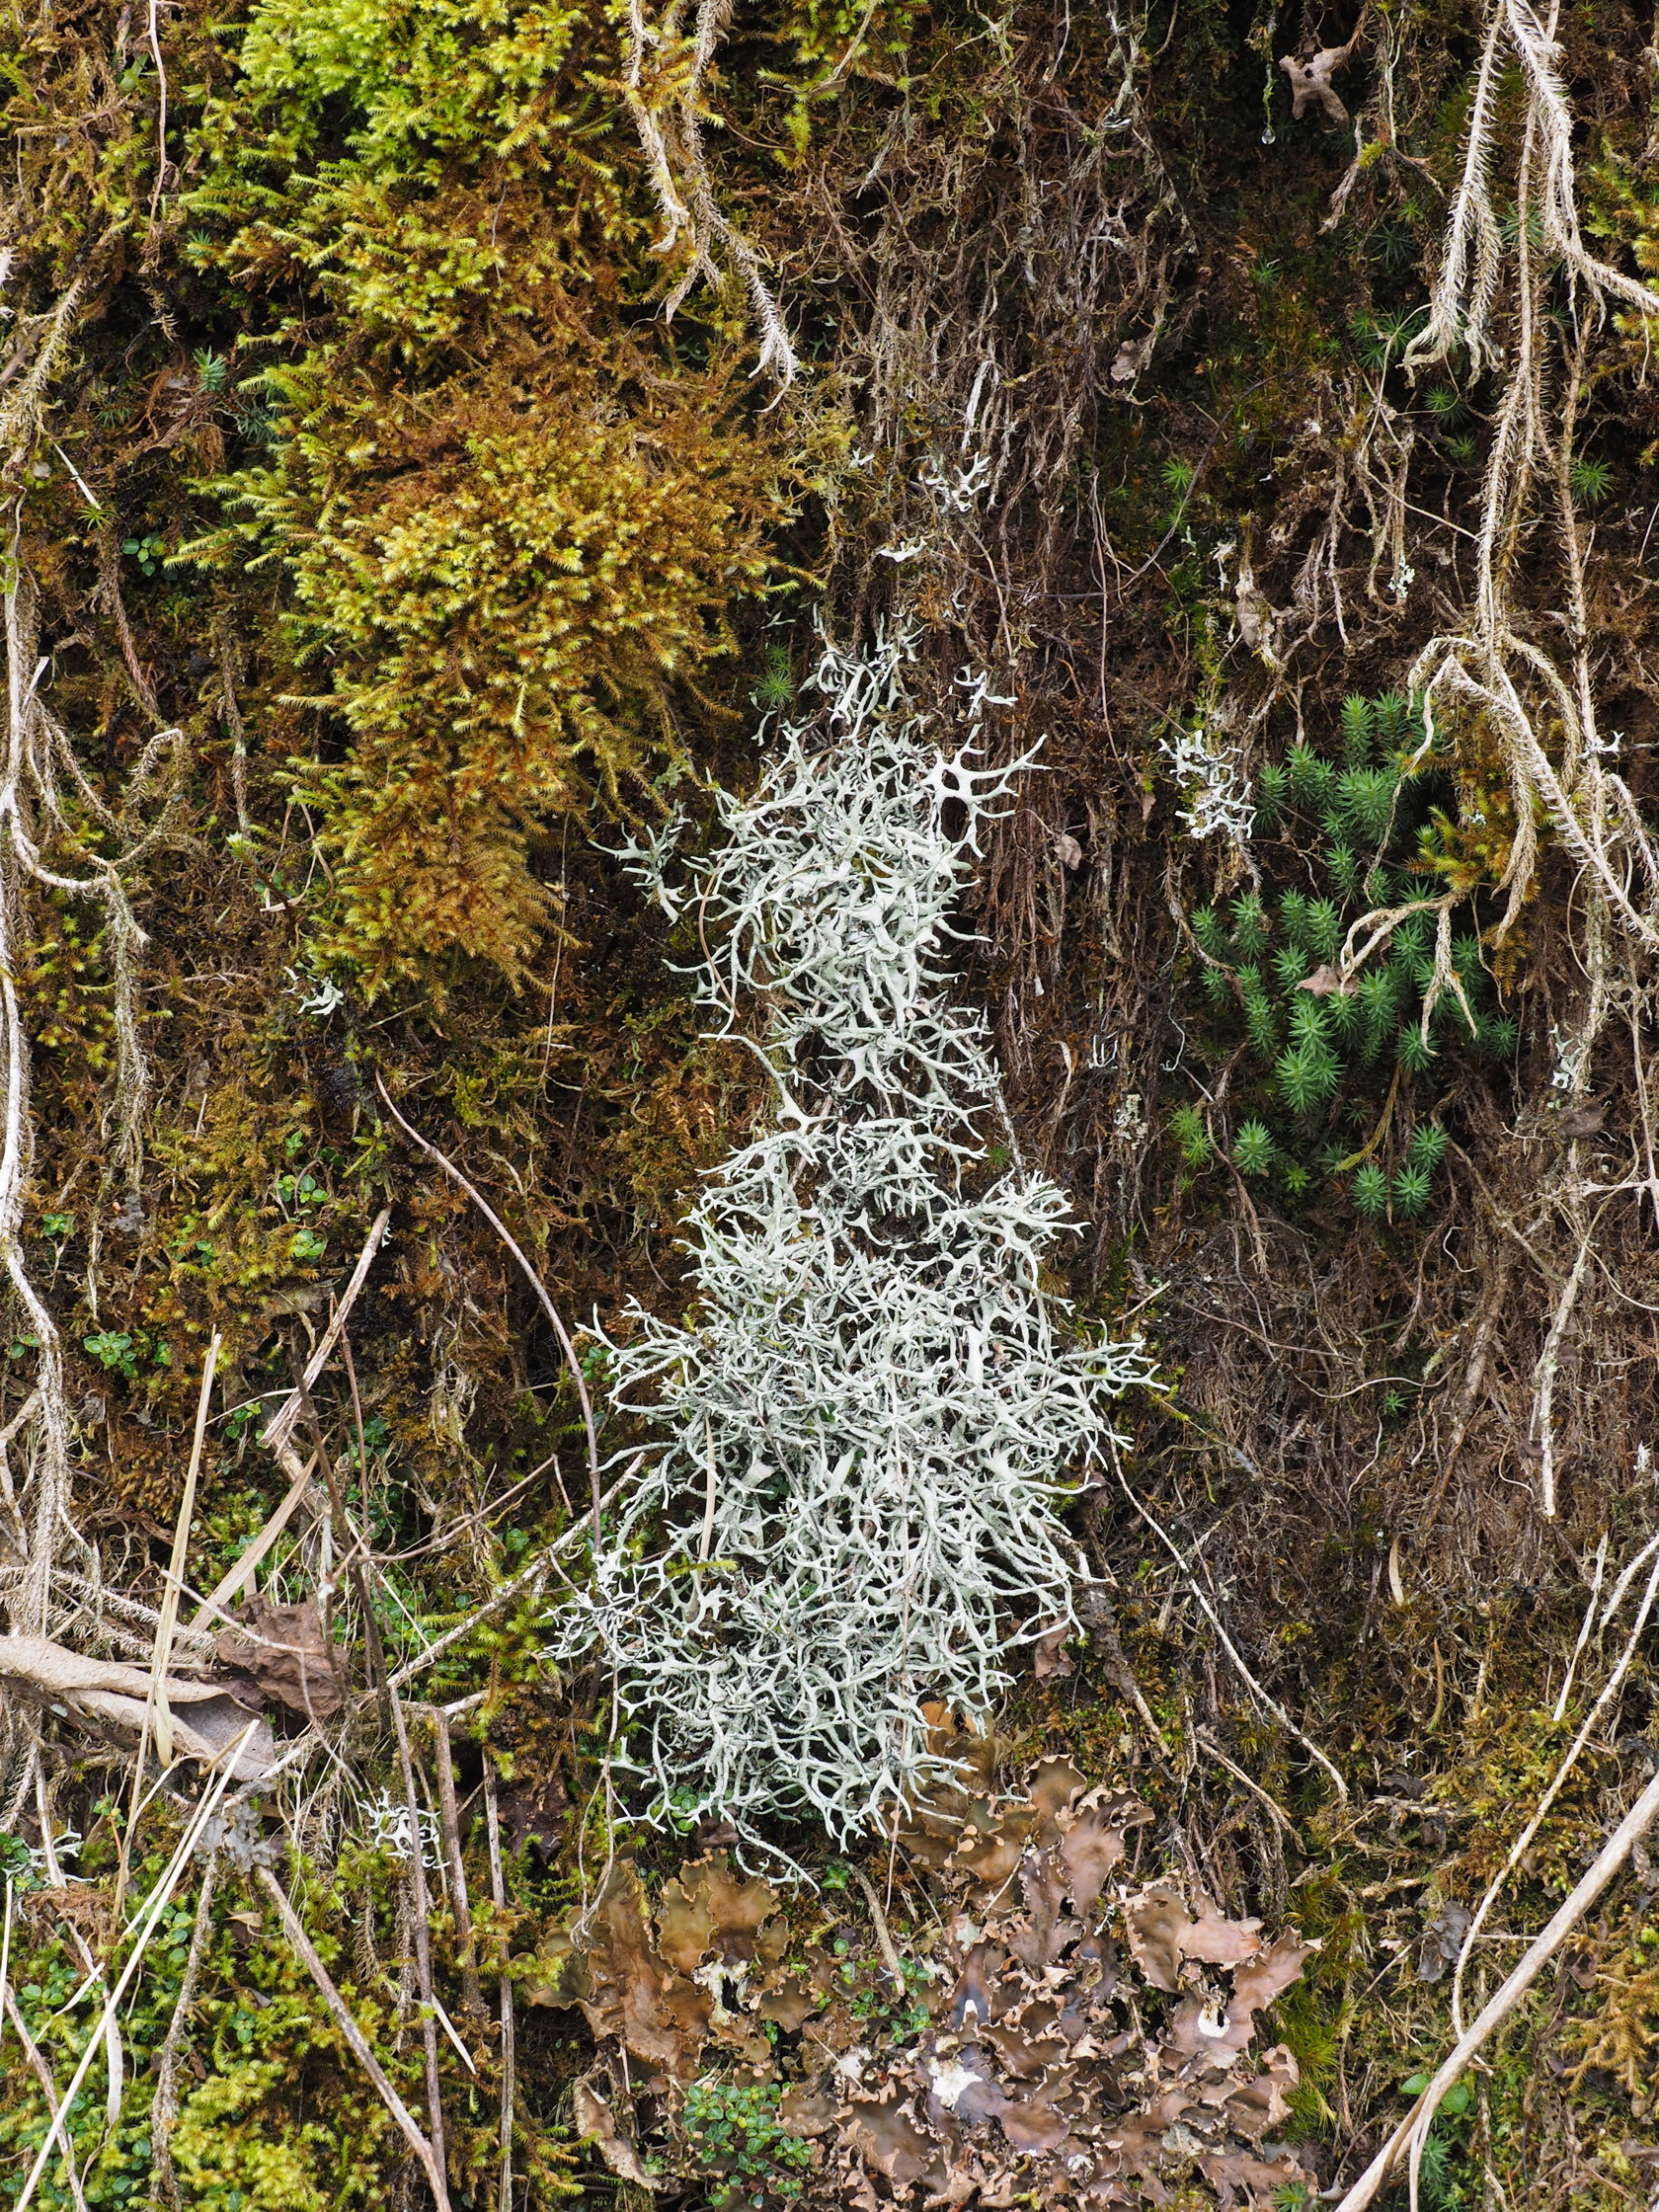
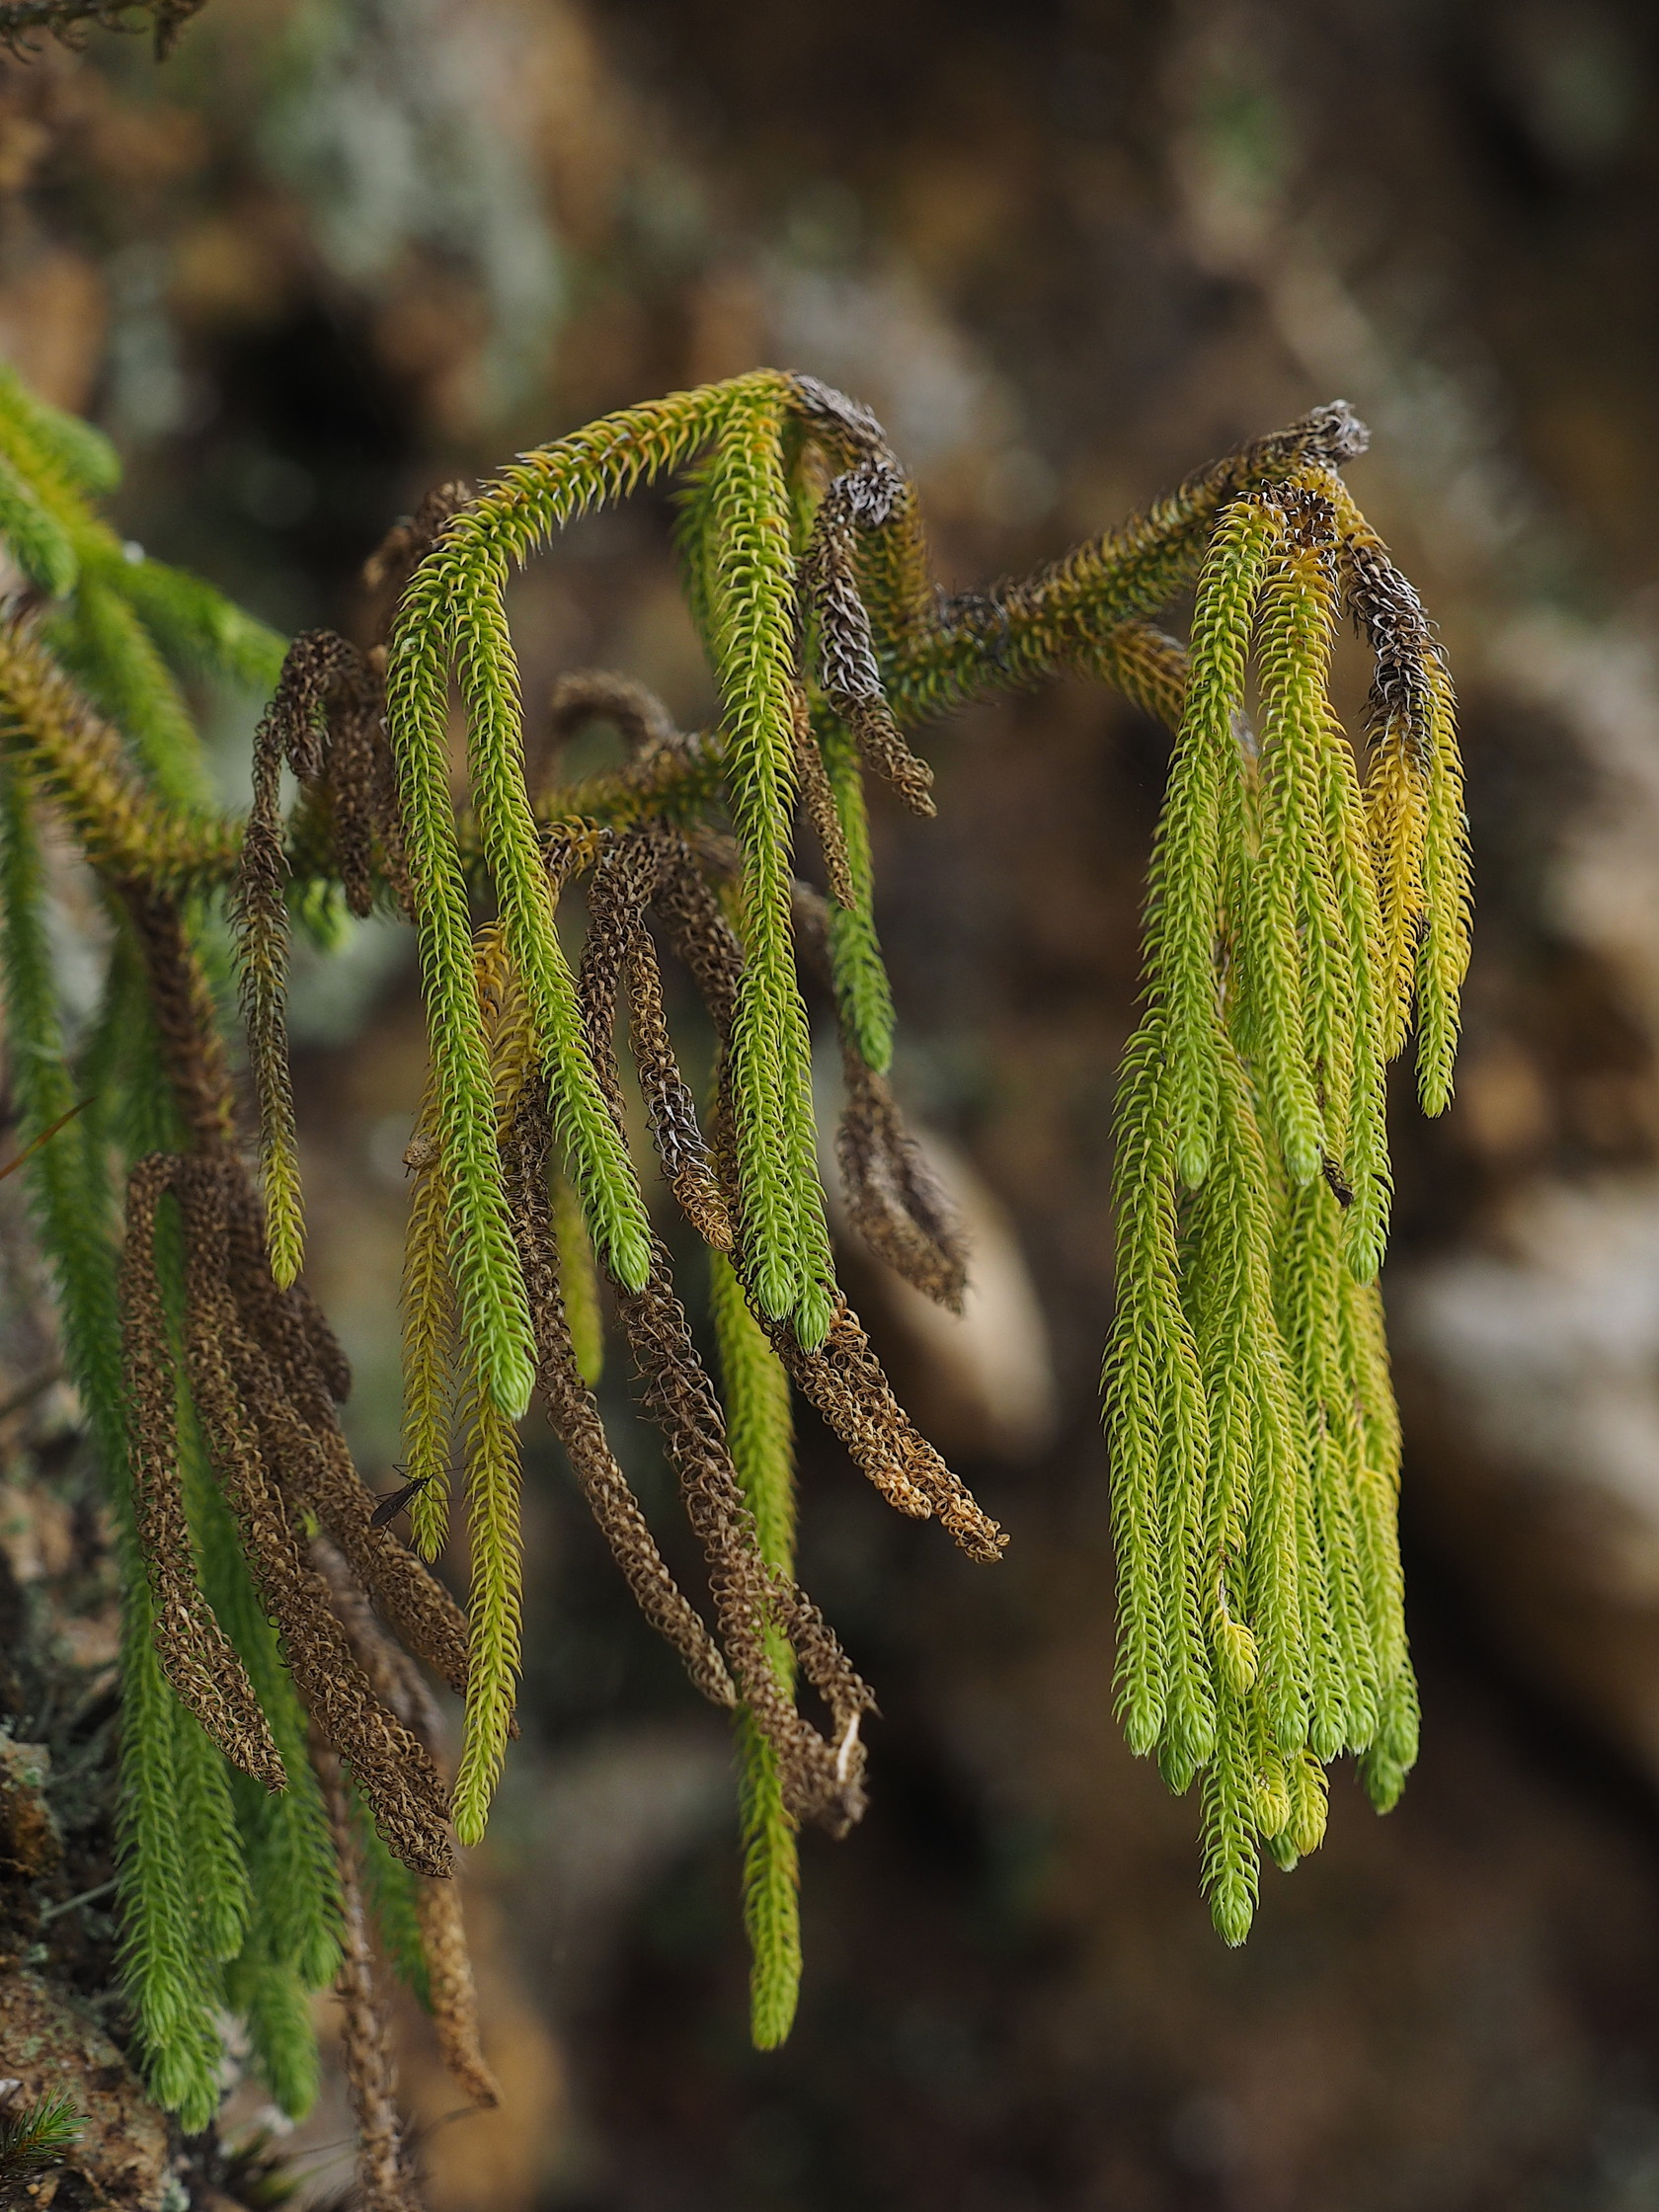
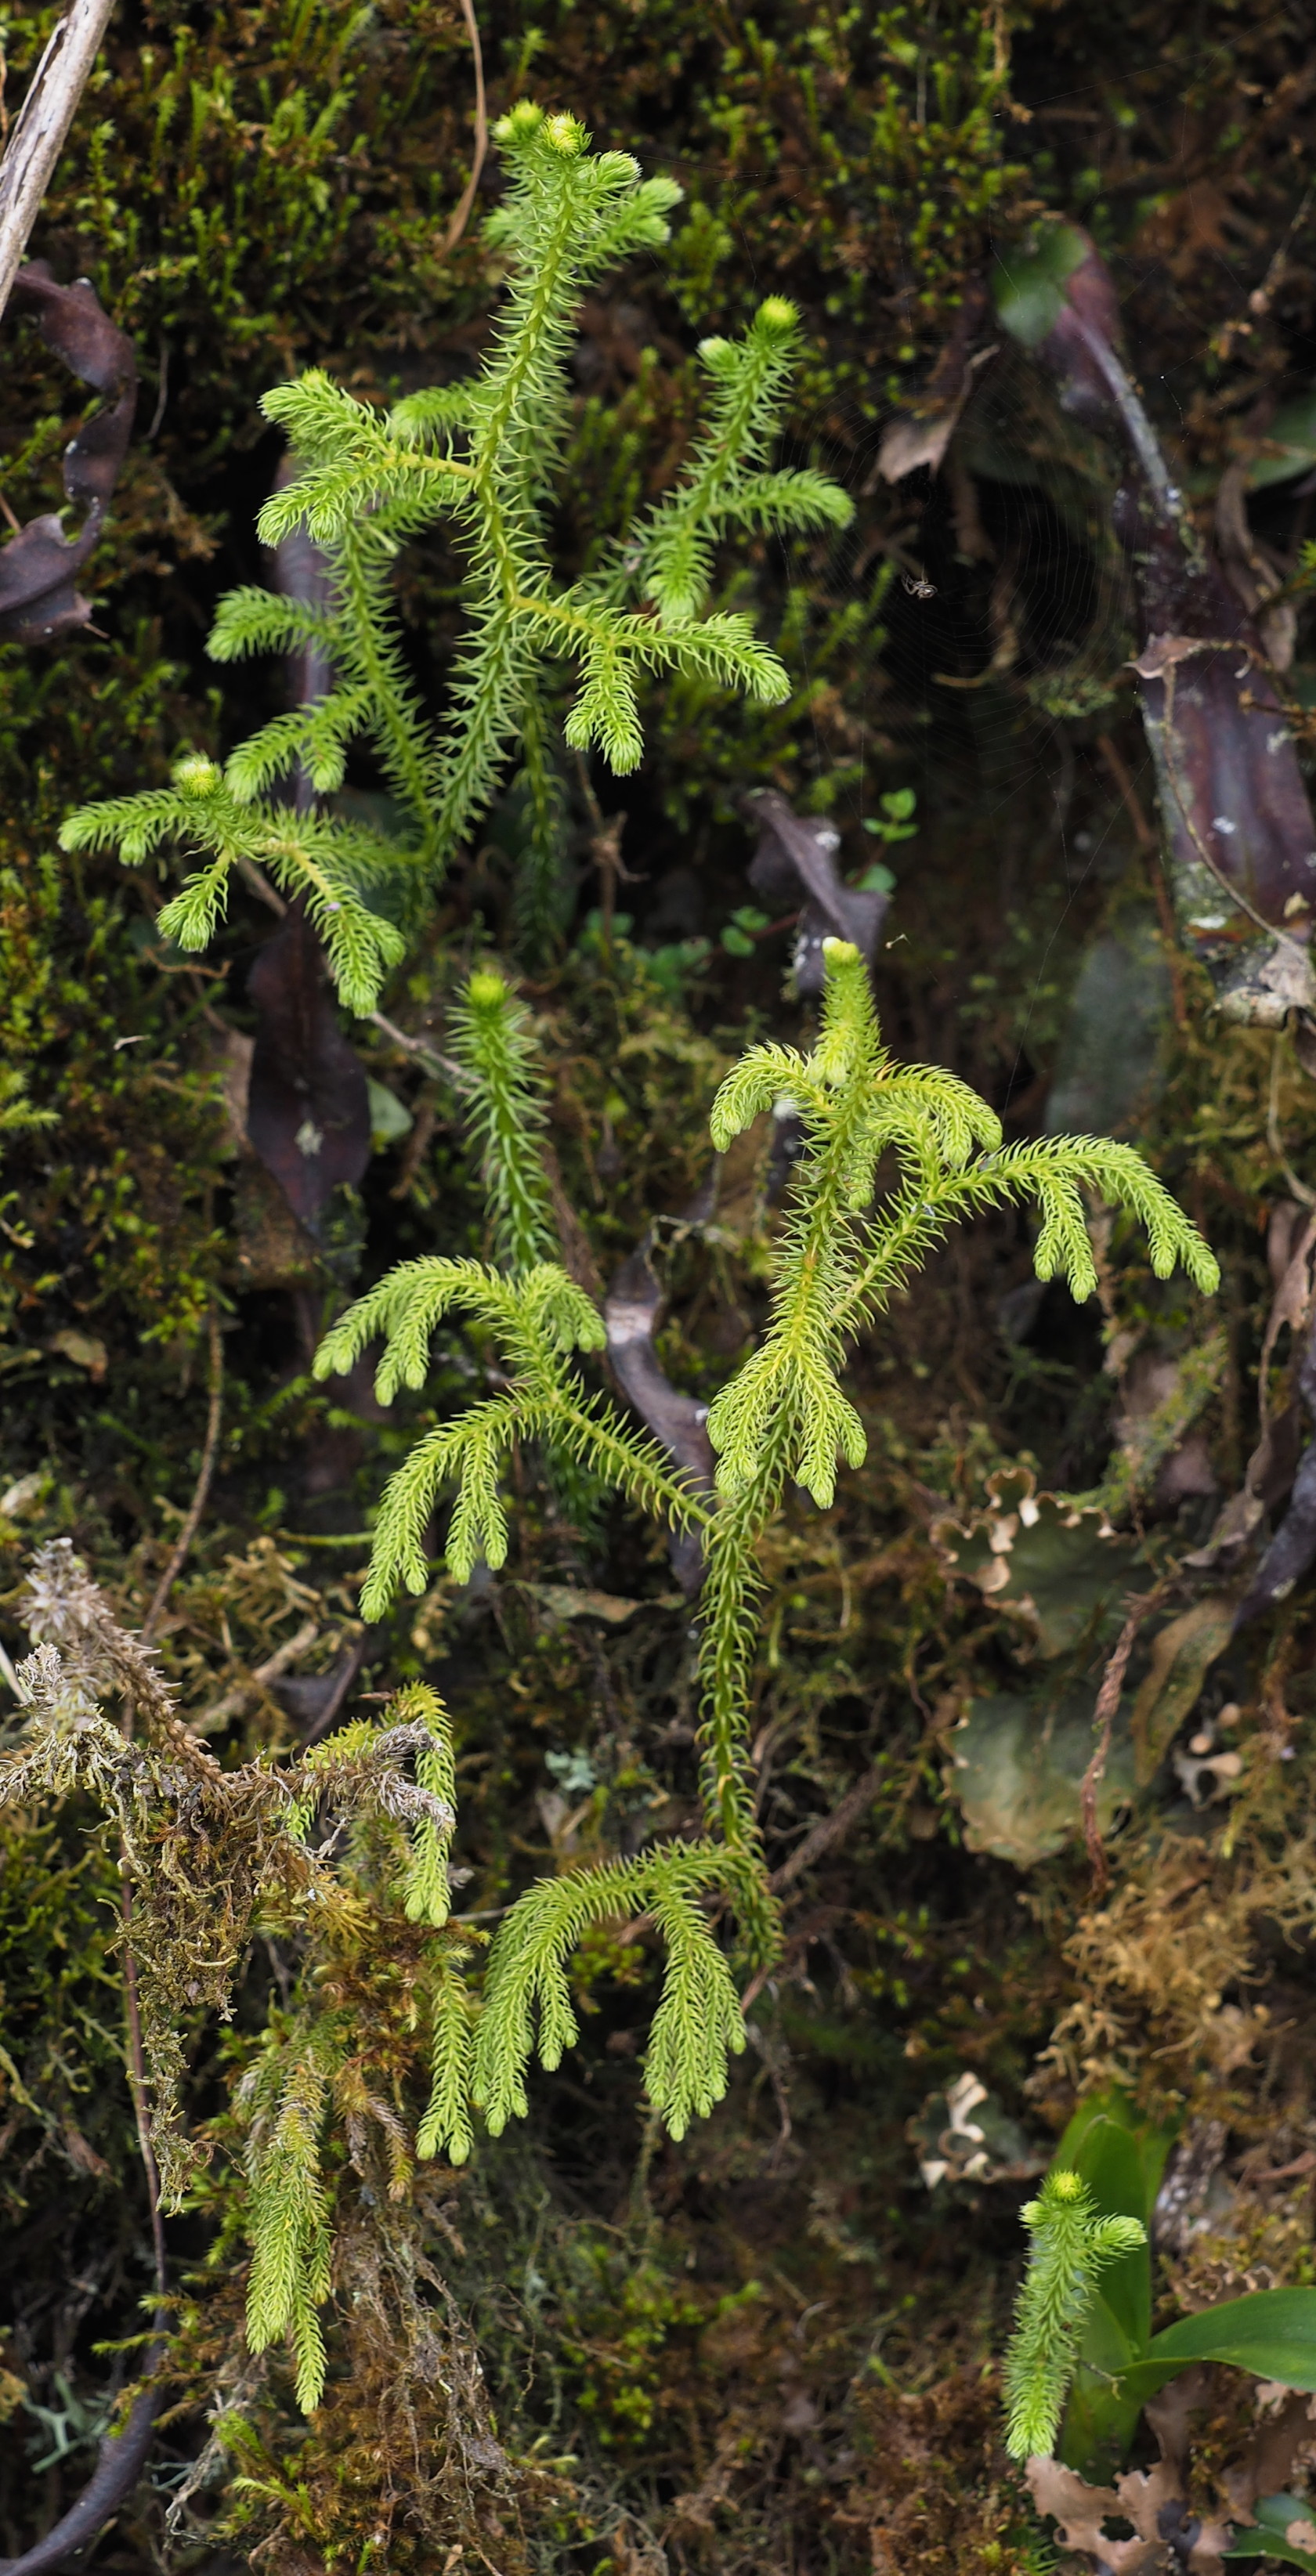
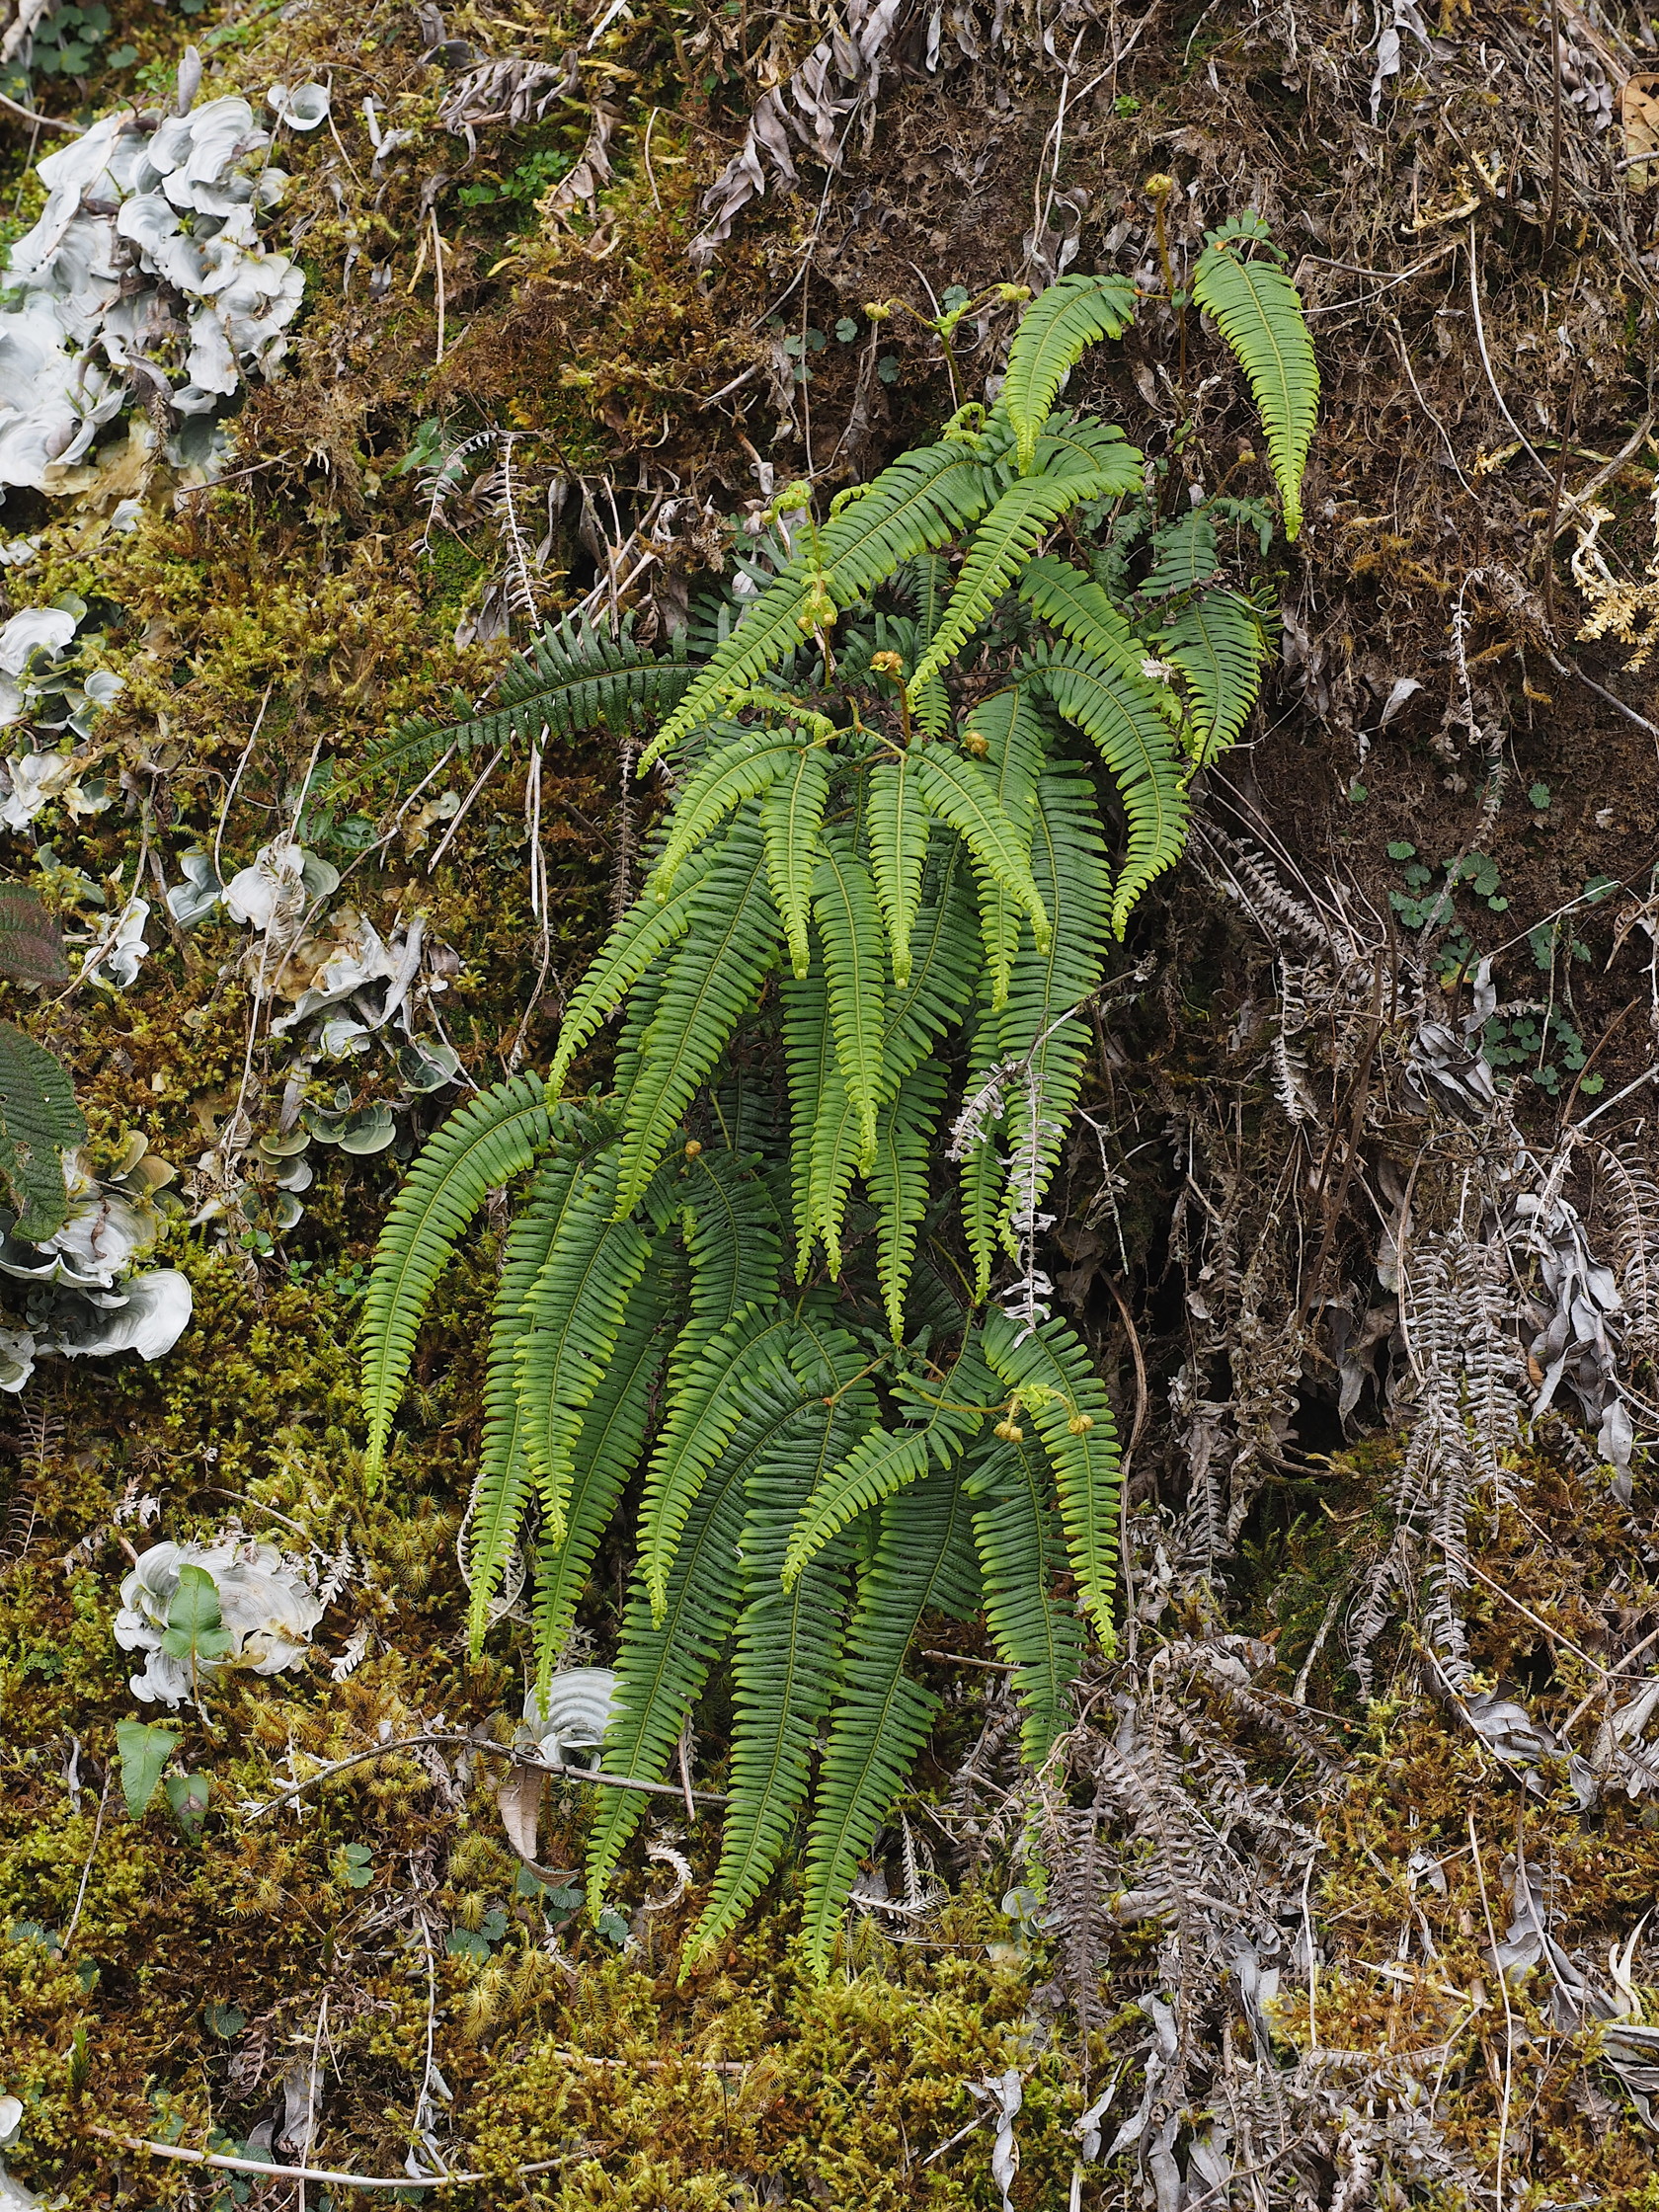
Lycopodiums and Lichens


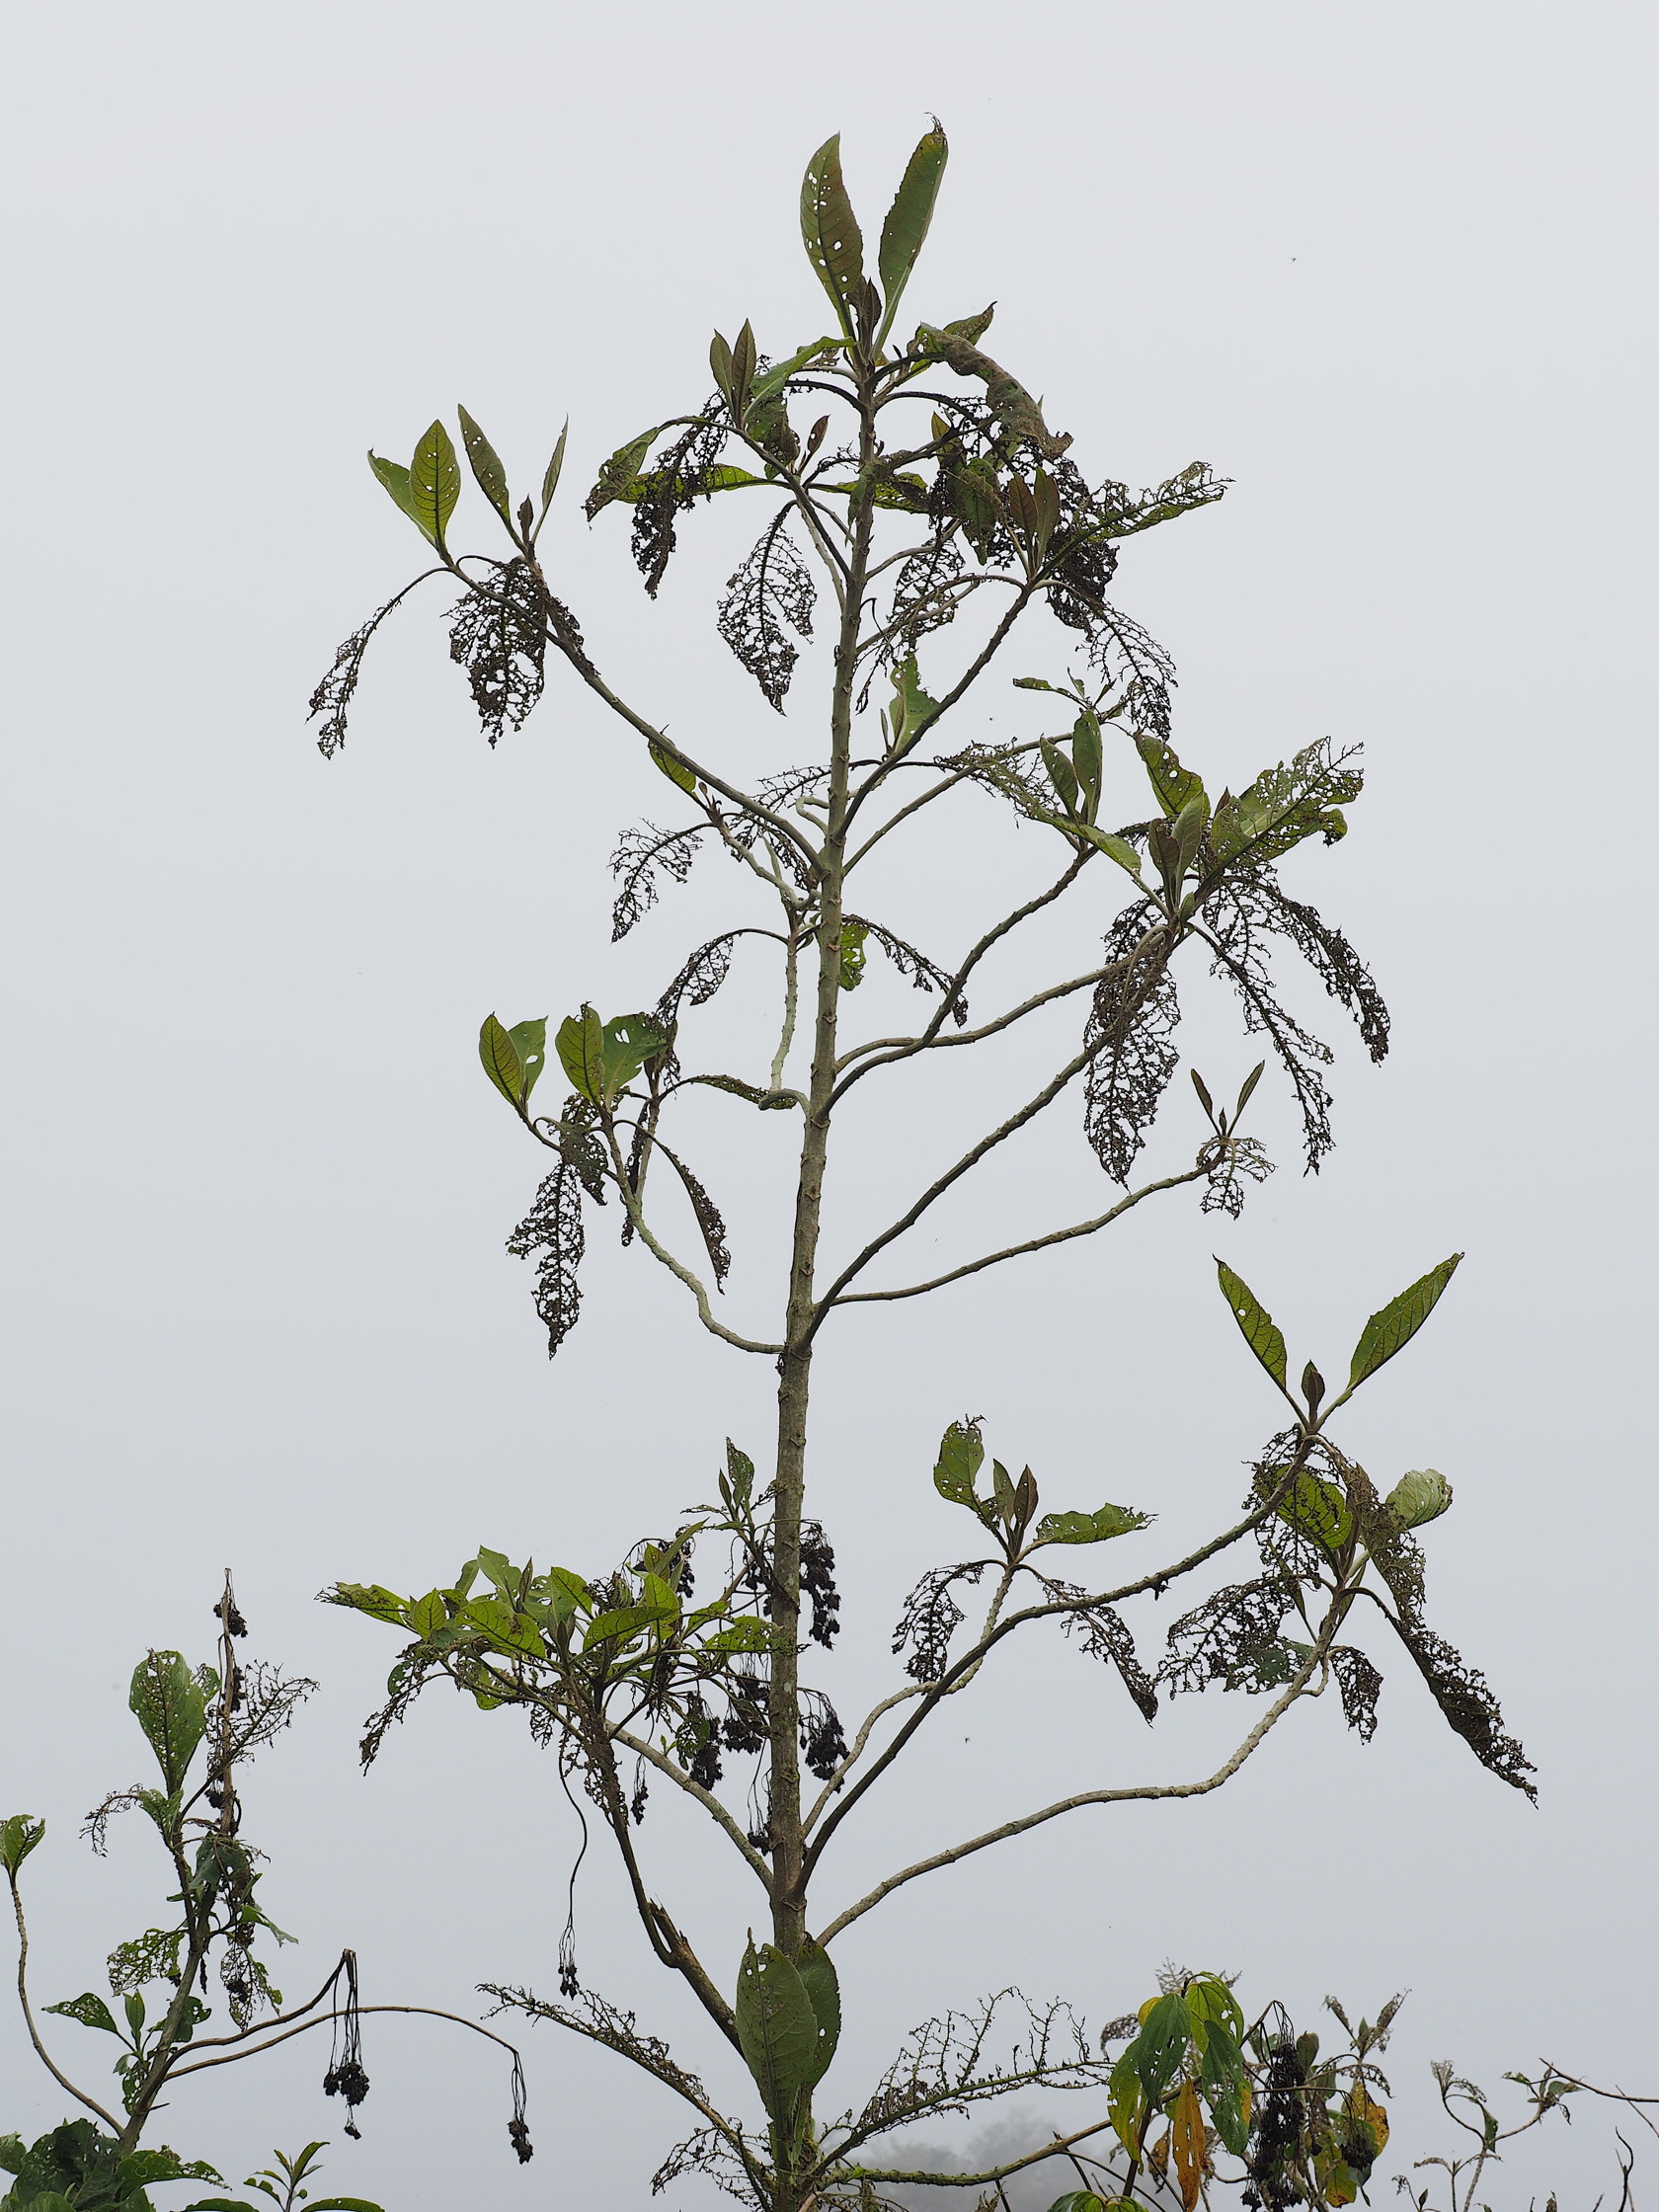
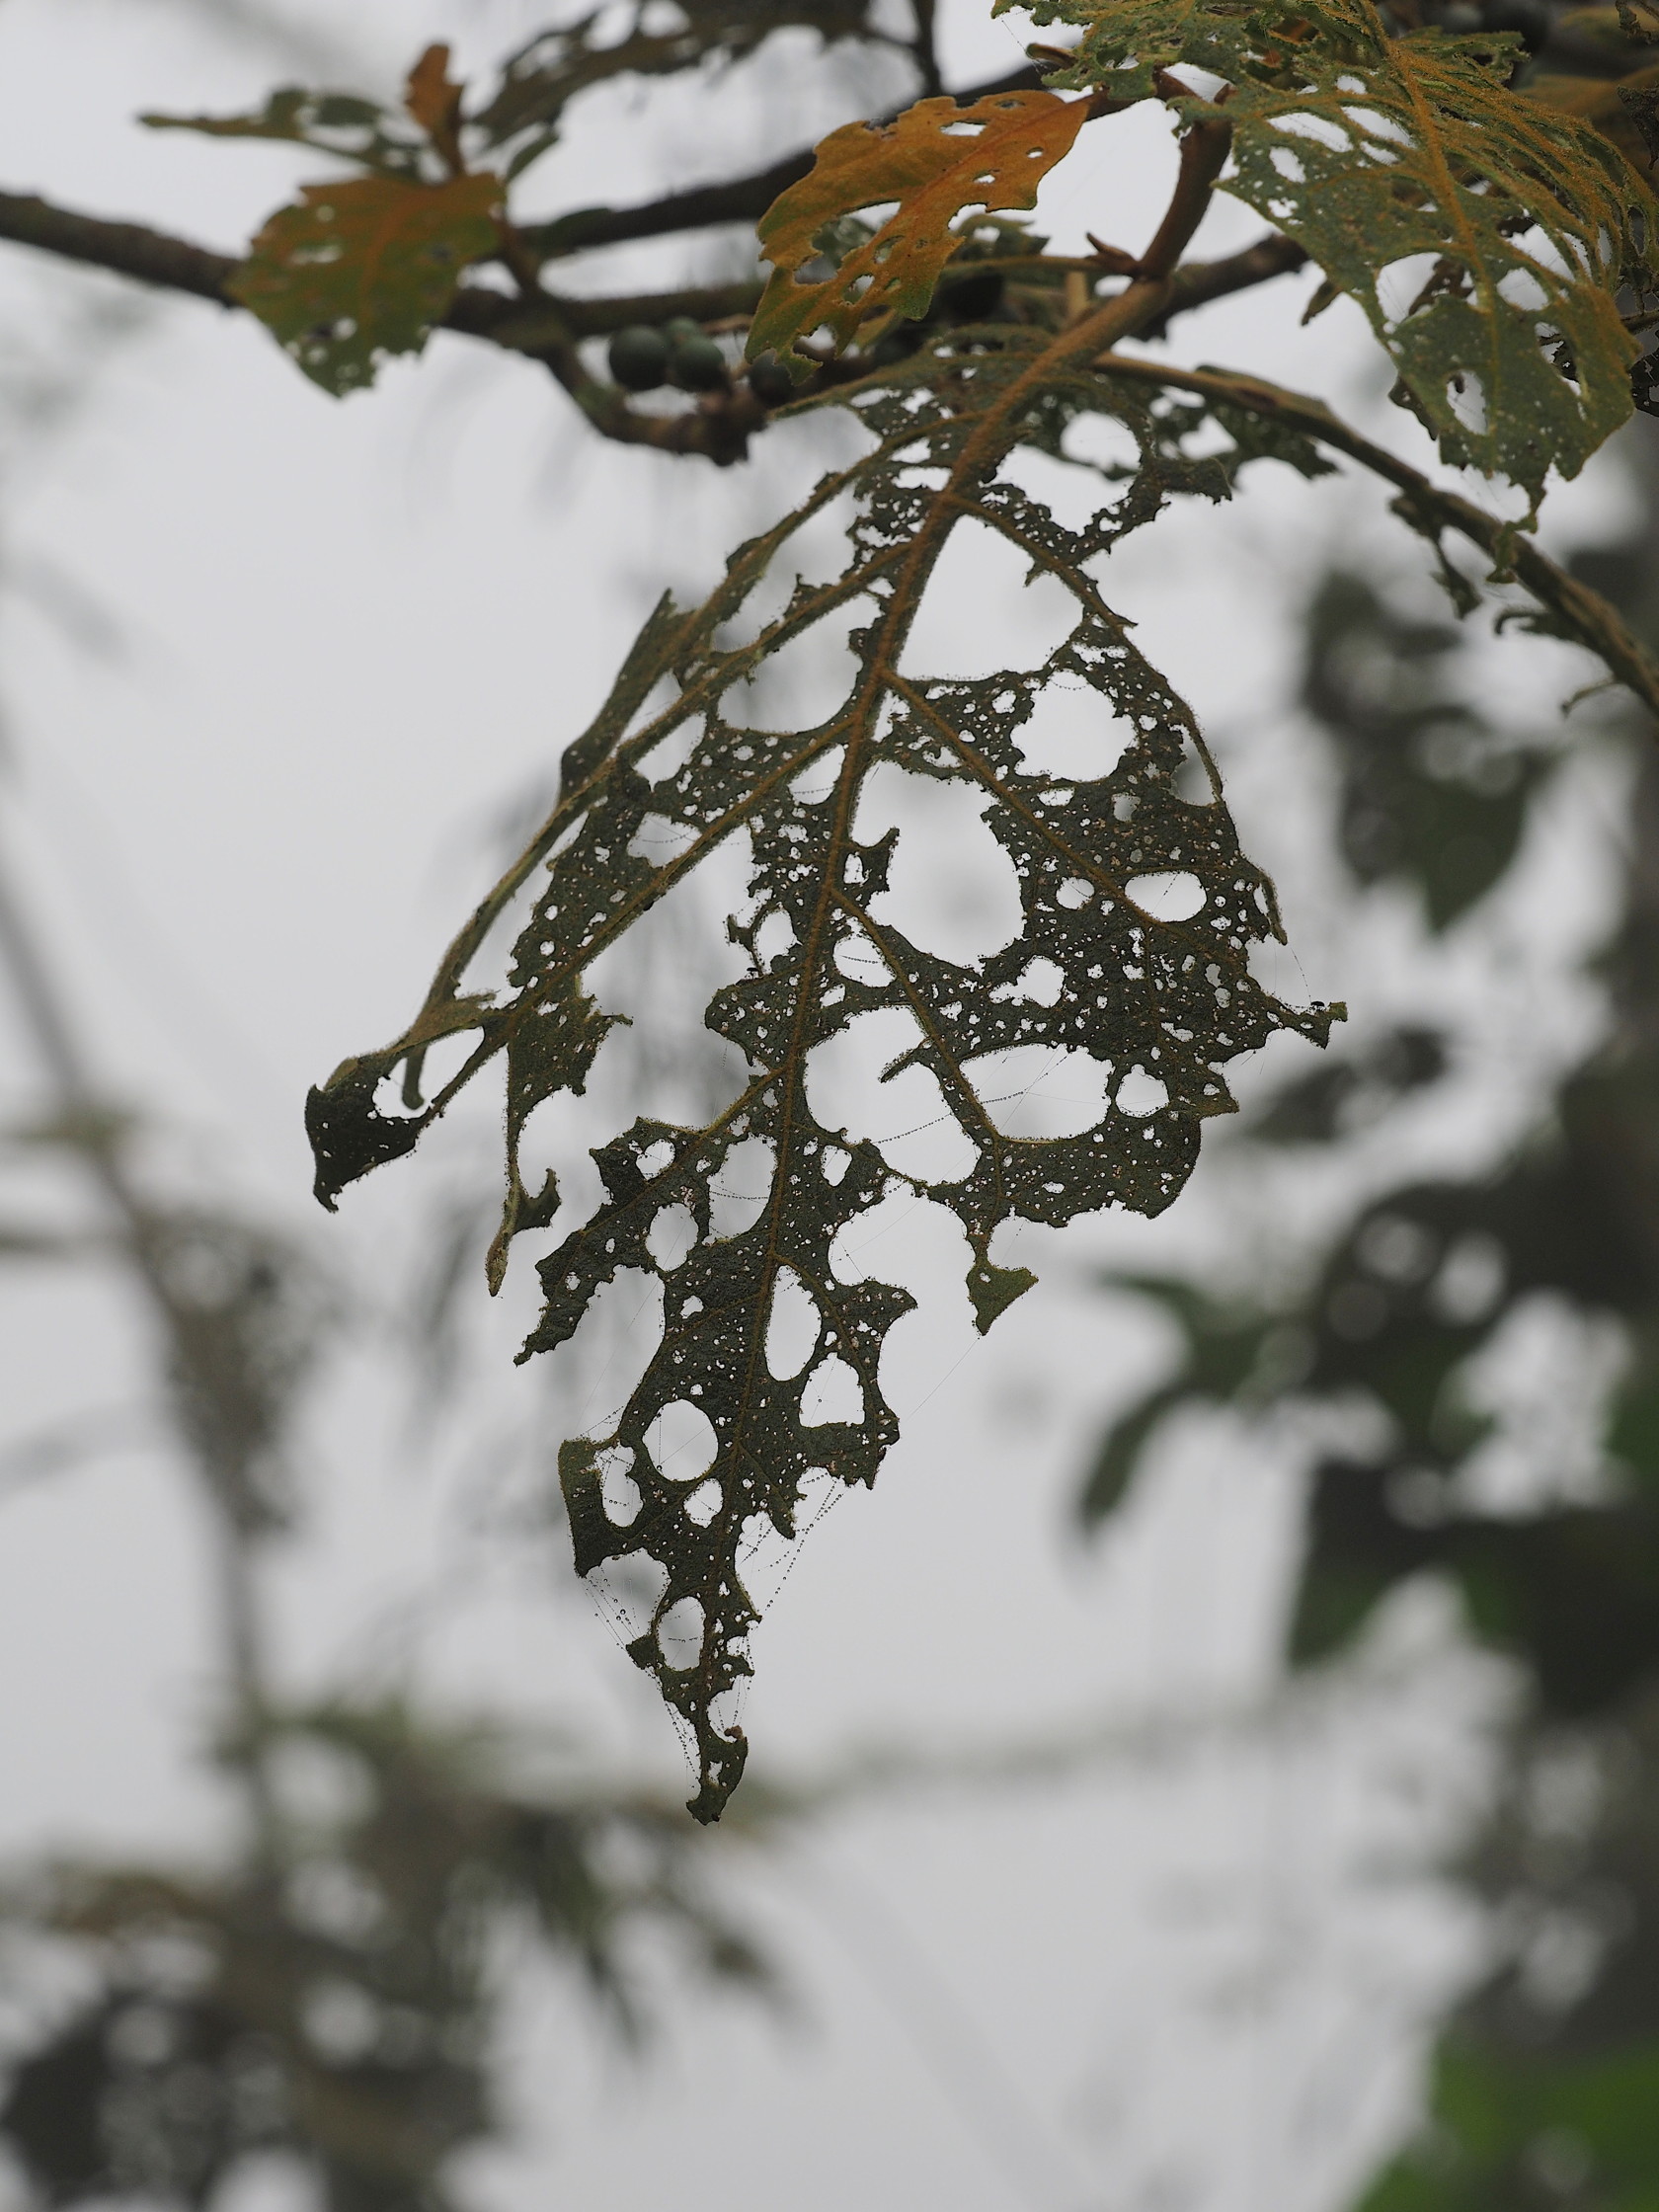
Examples of leaves eaten by insects


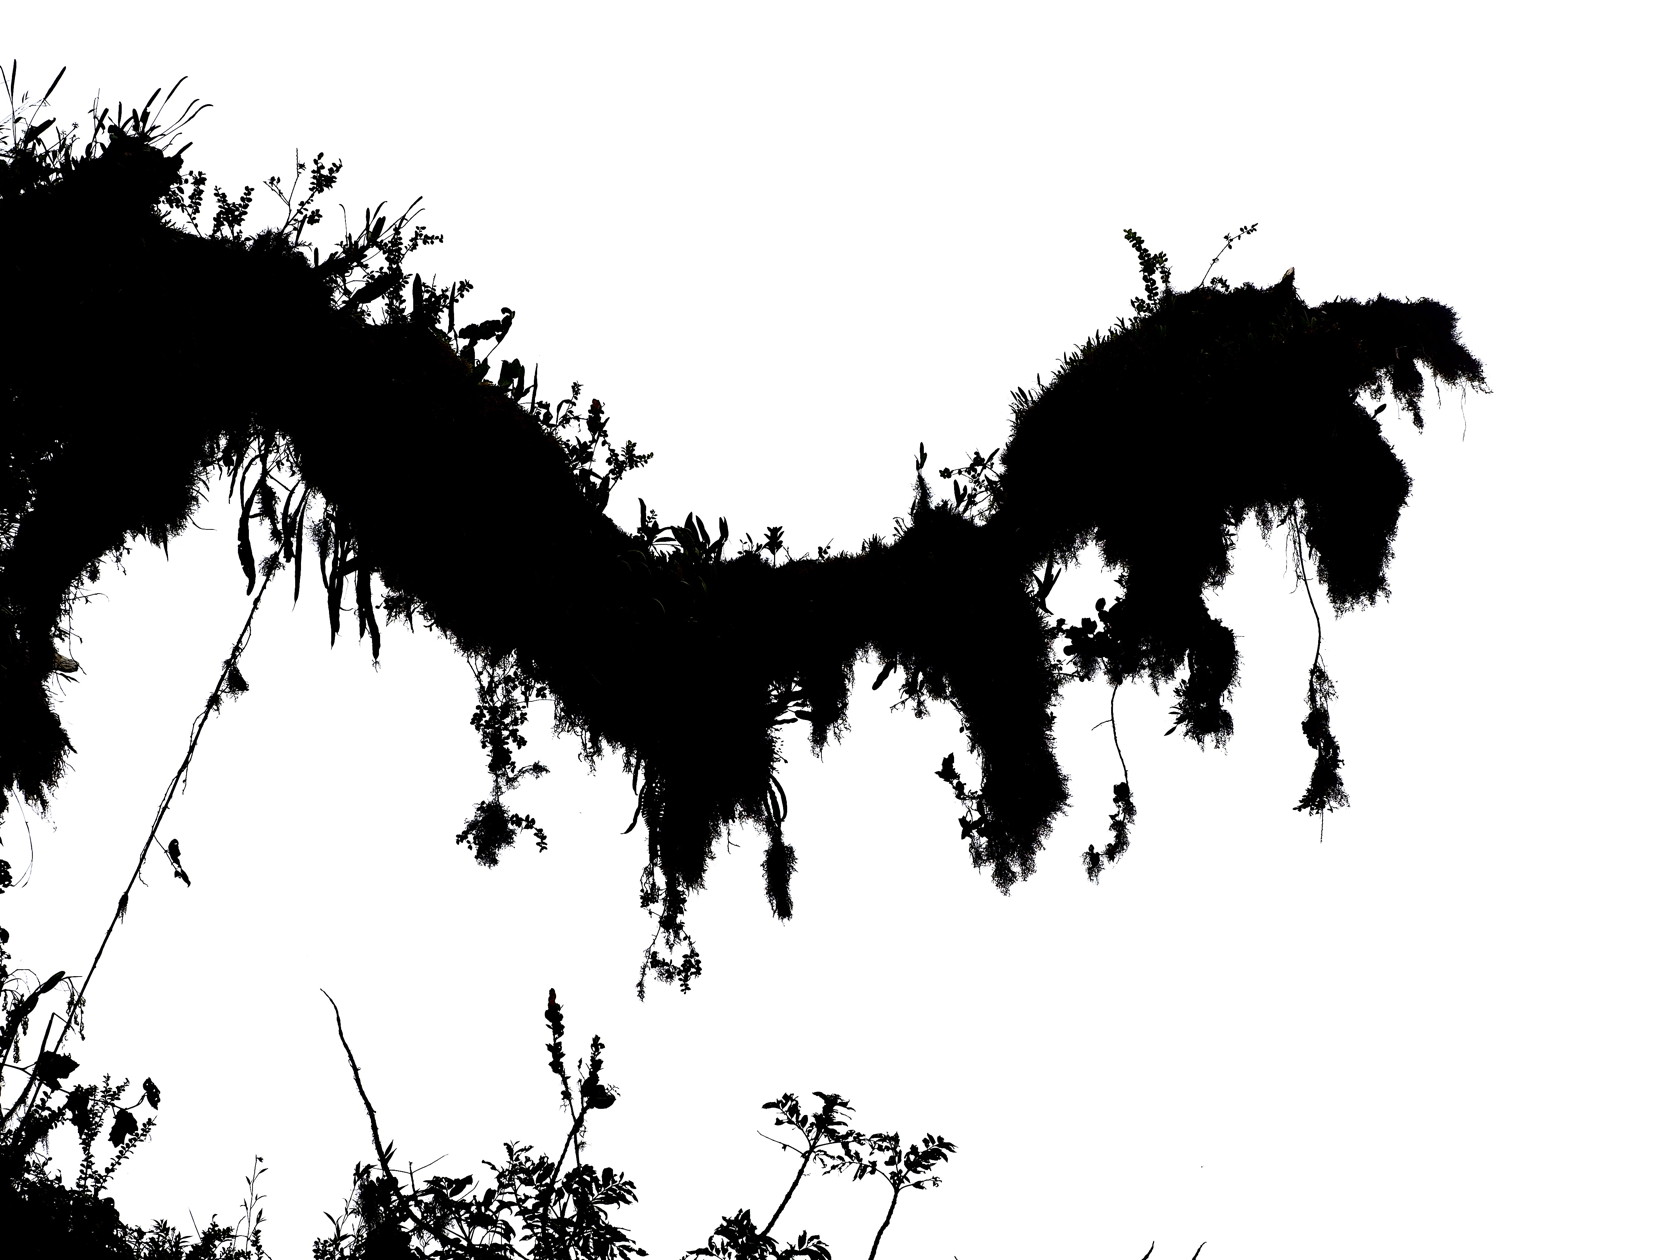
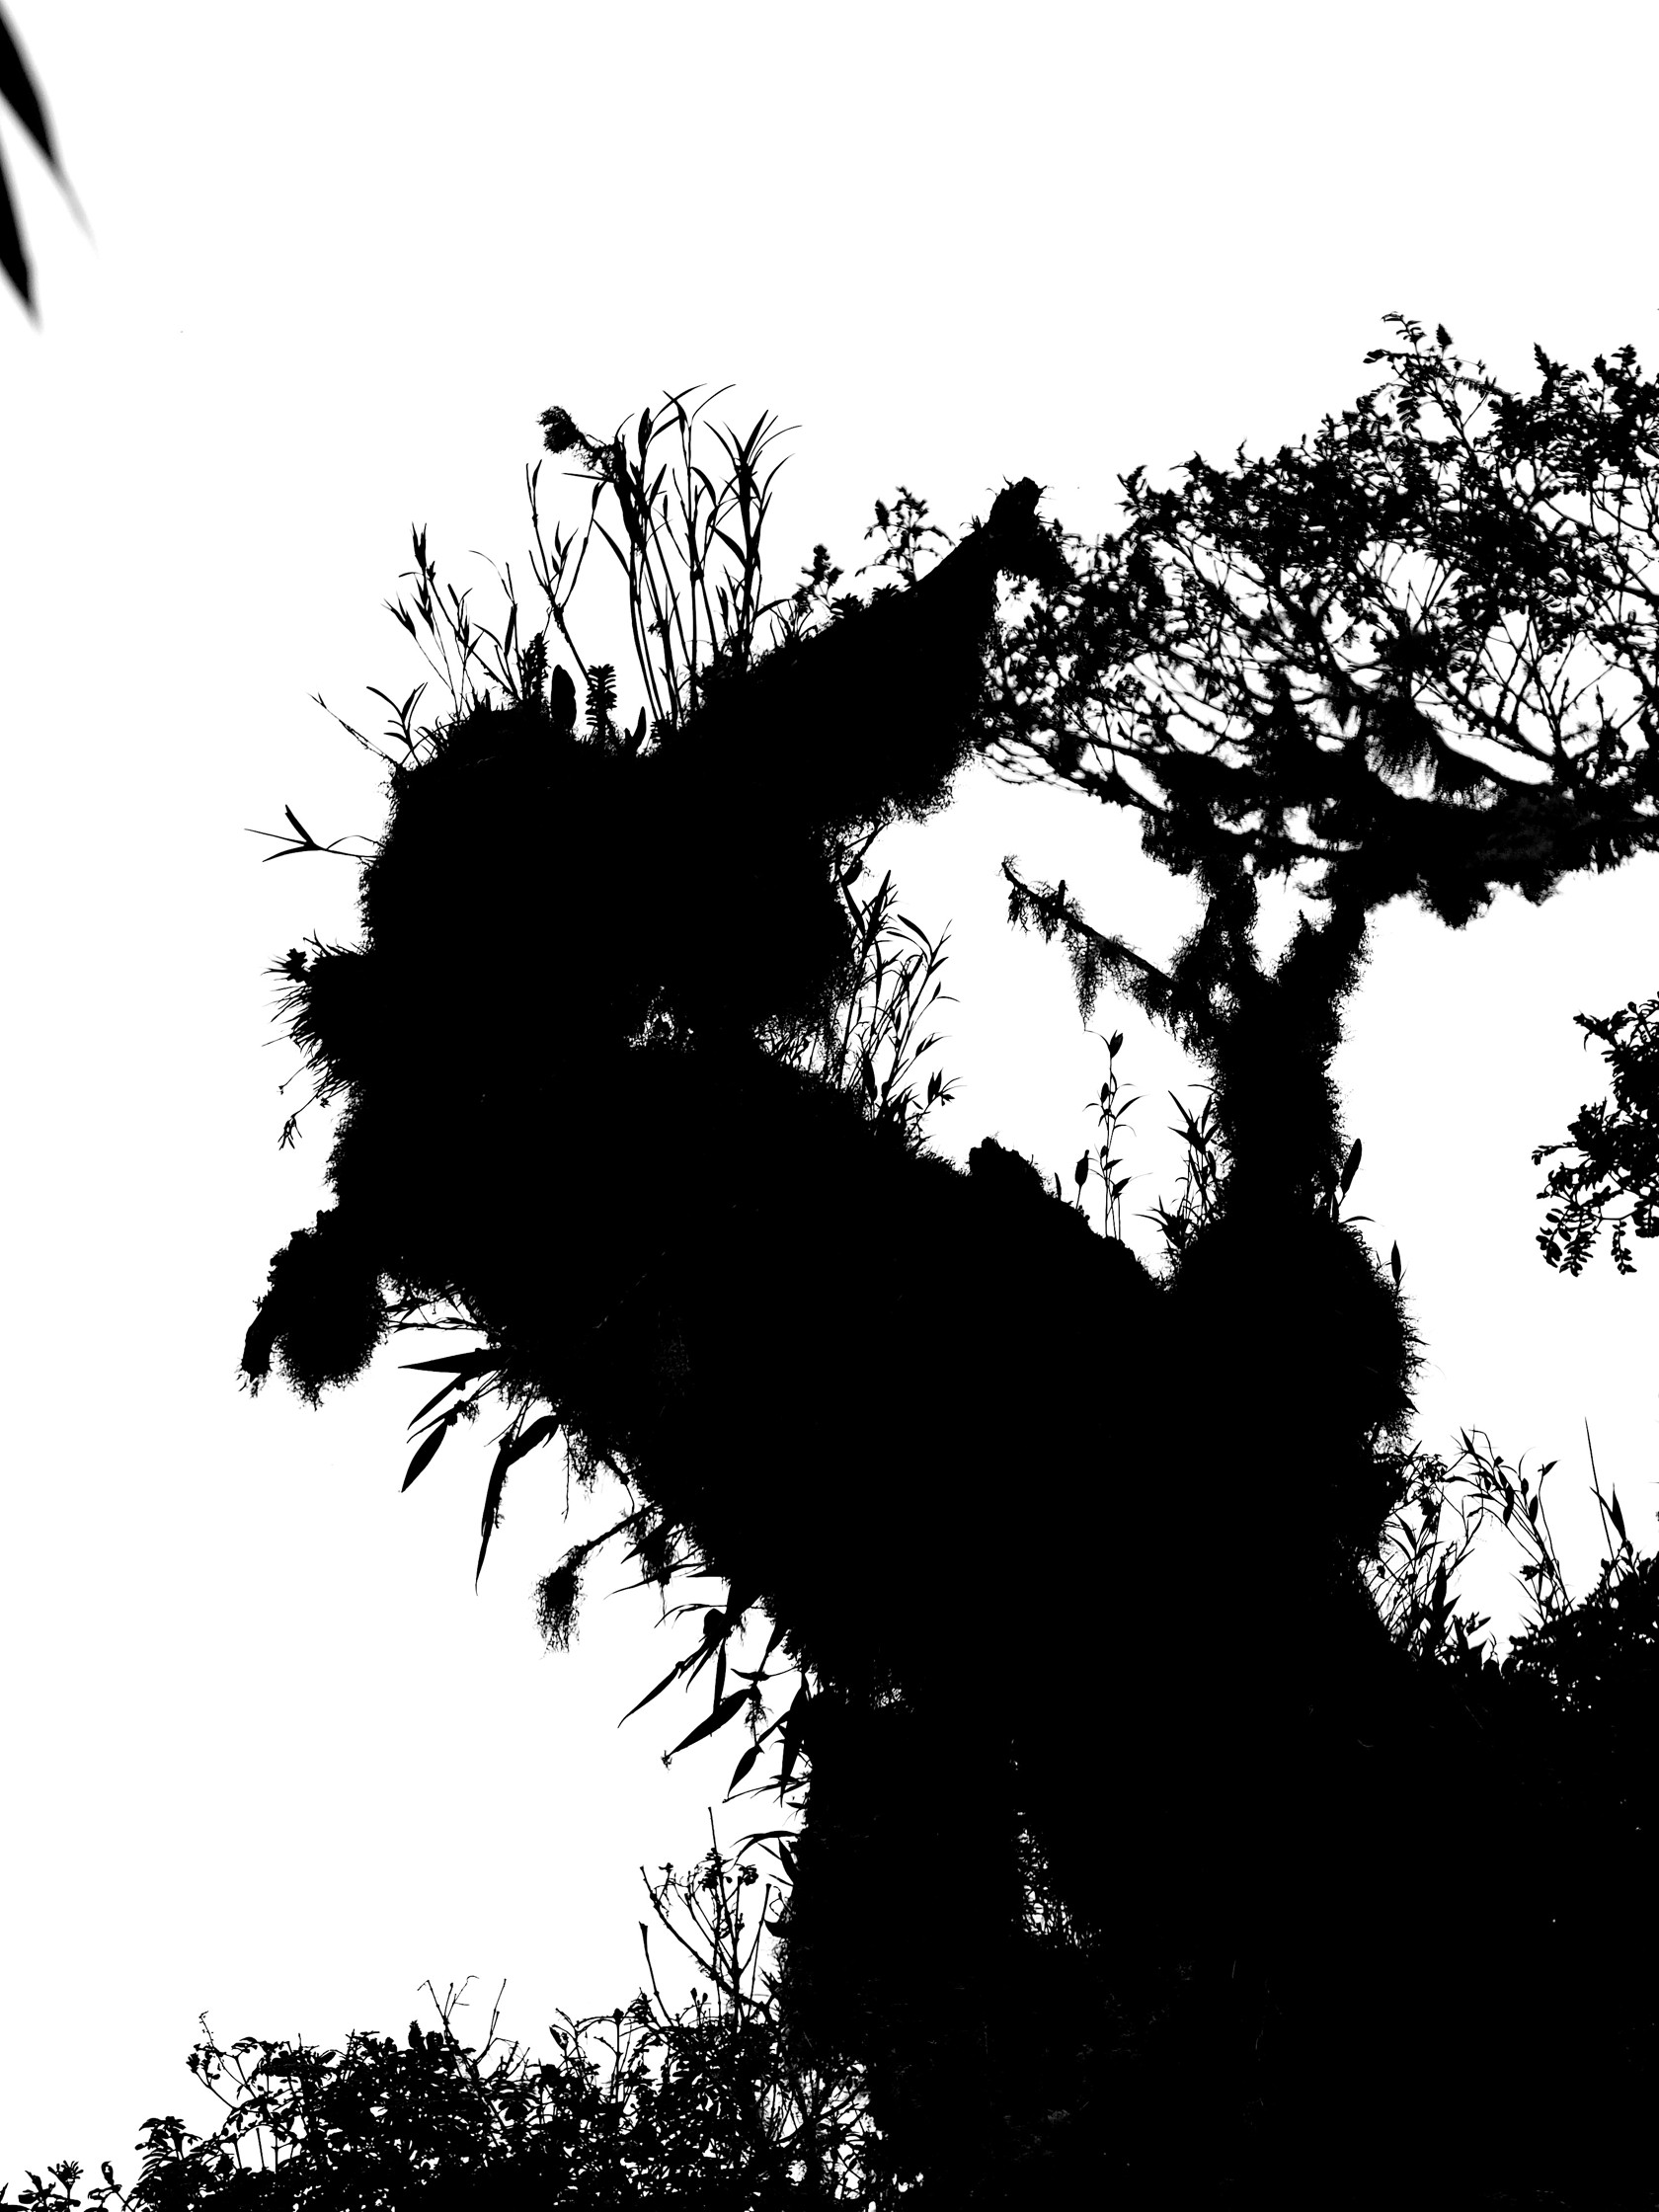
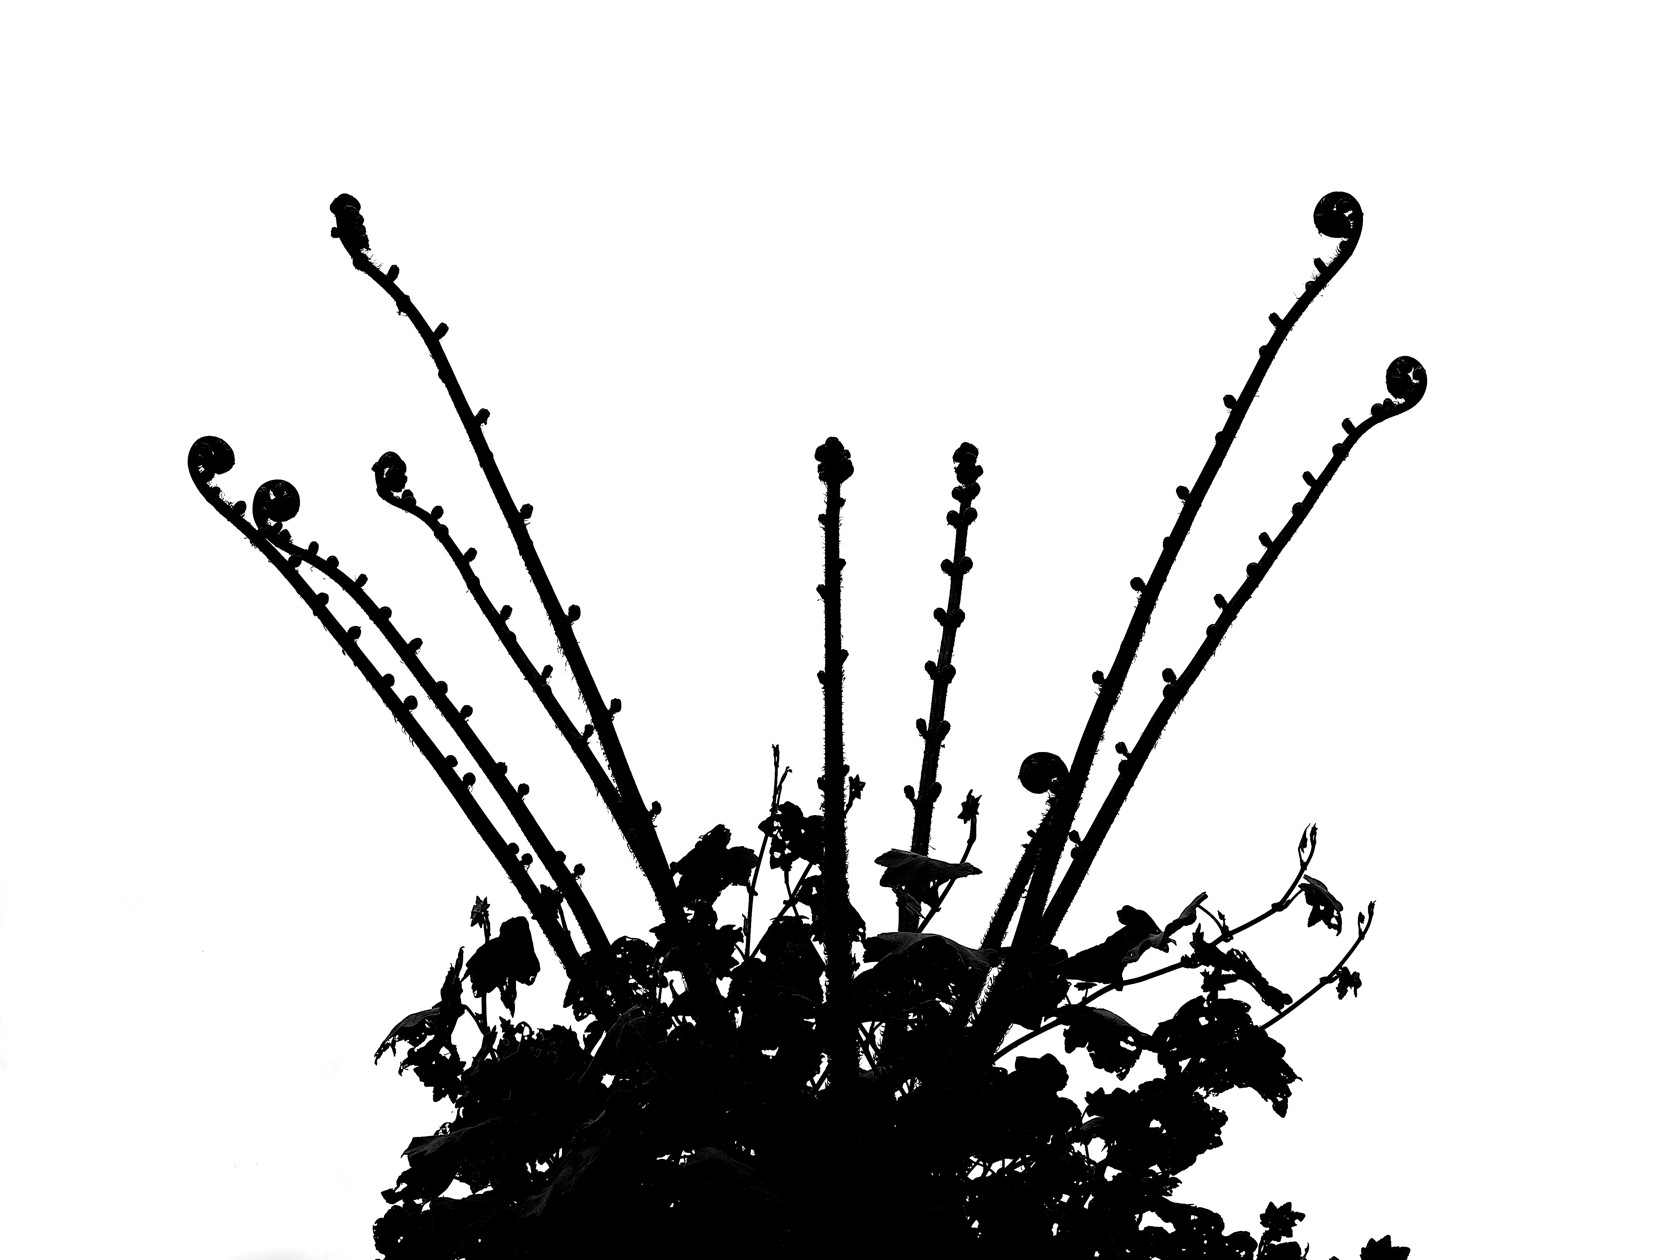
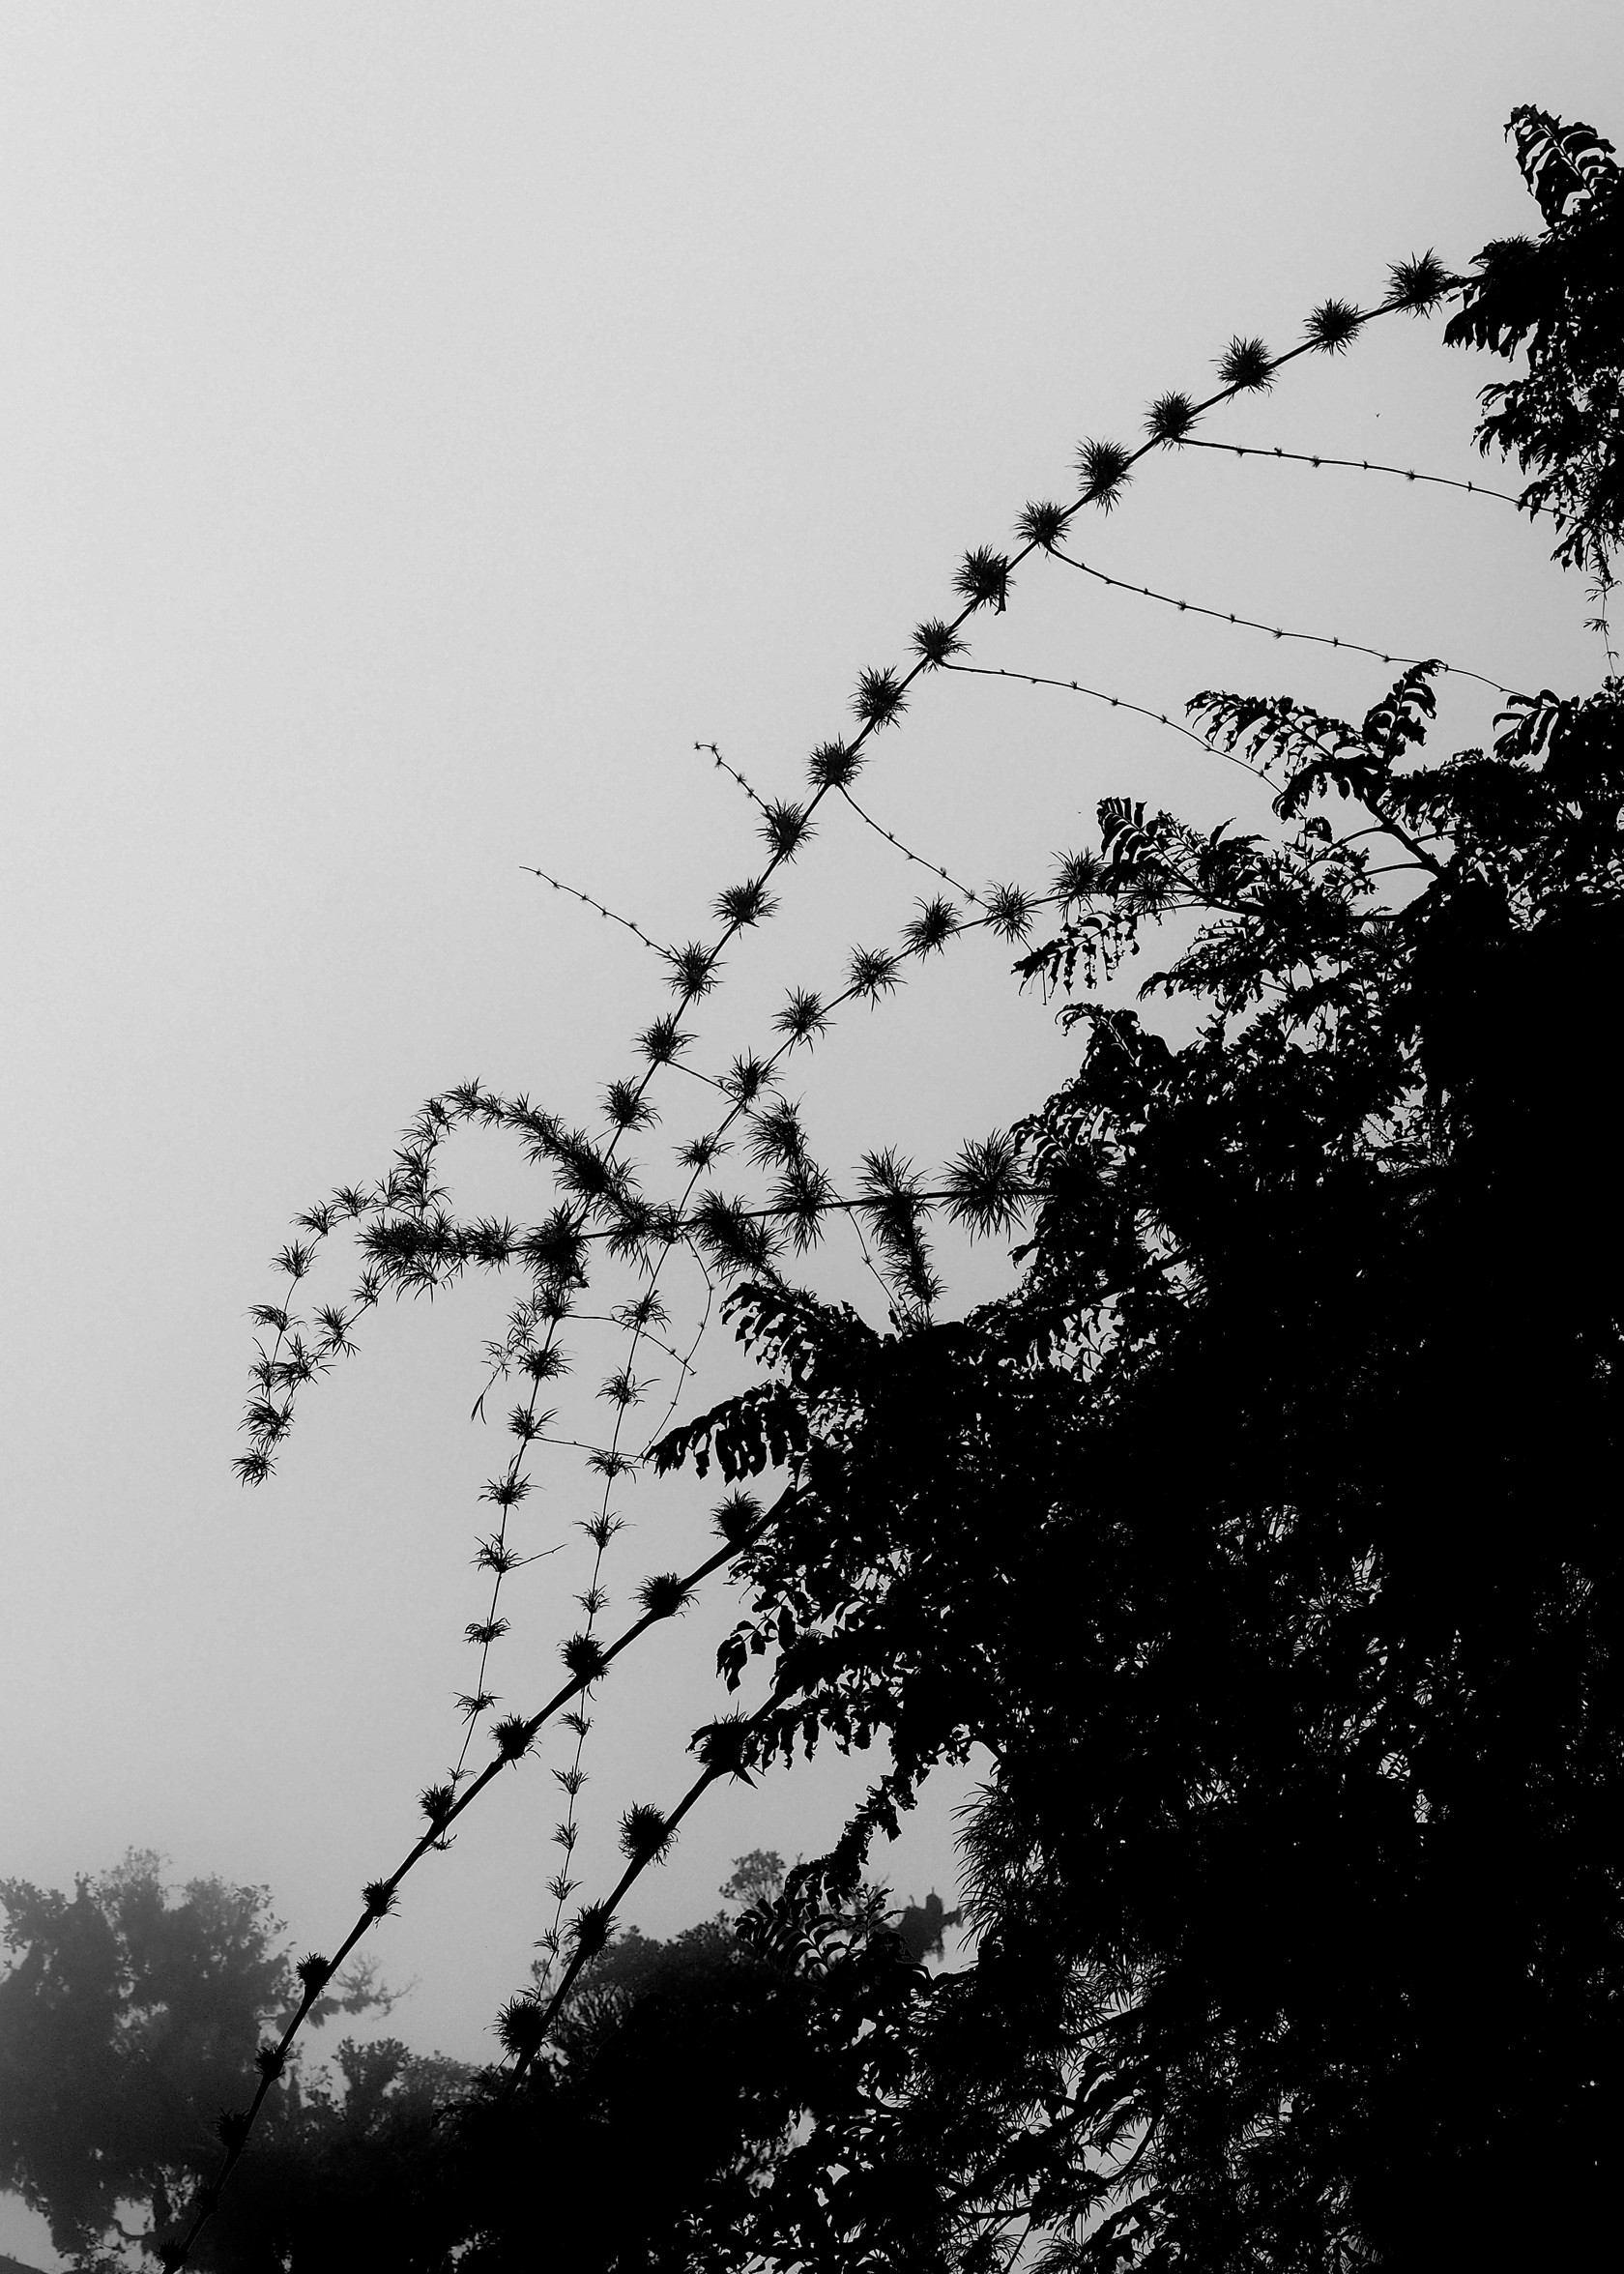
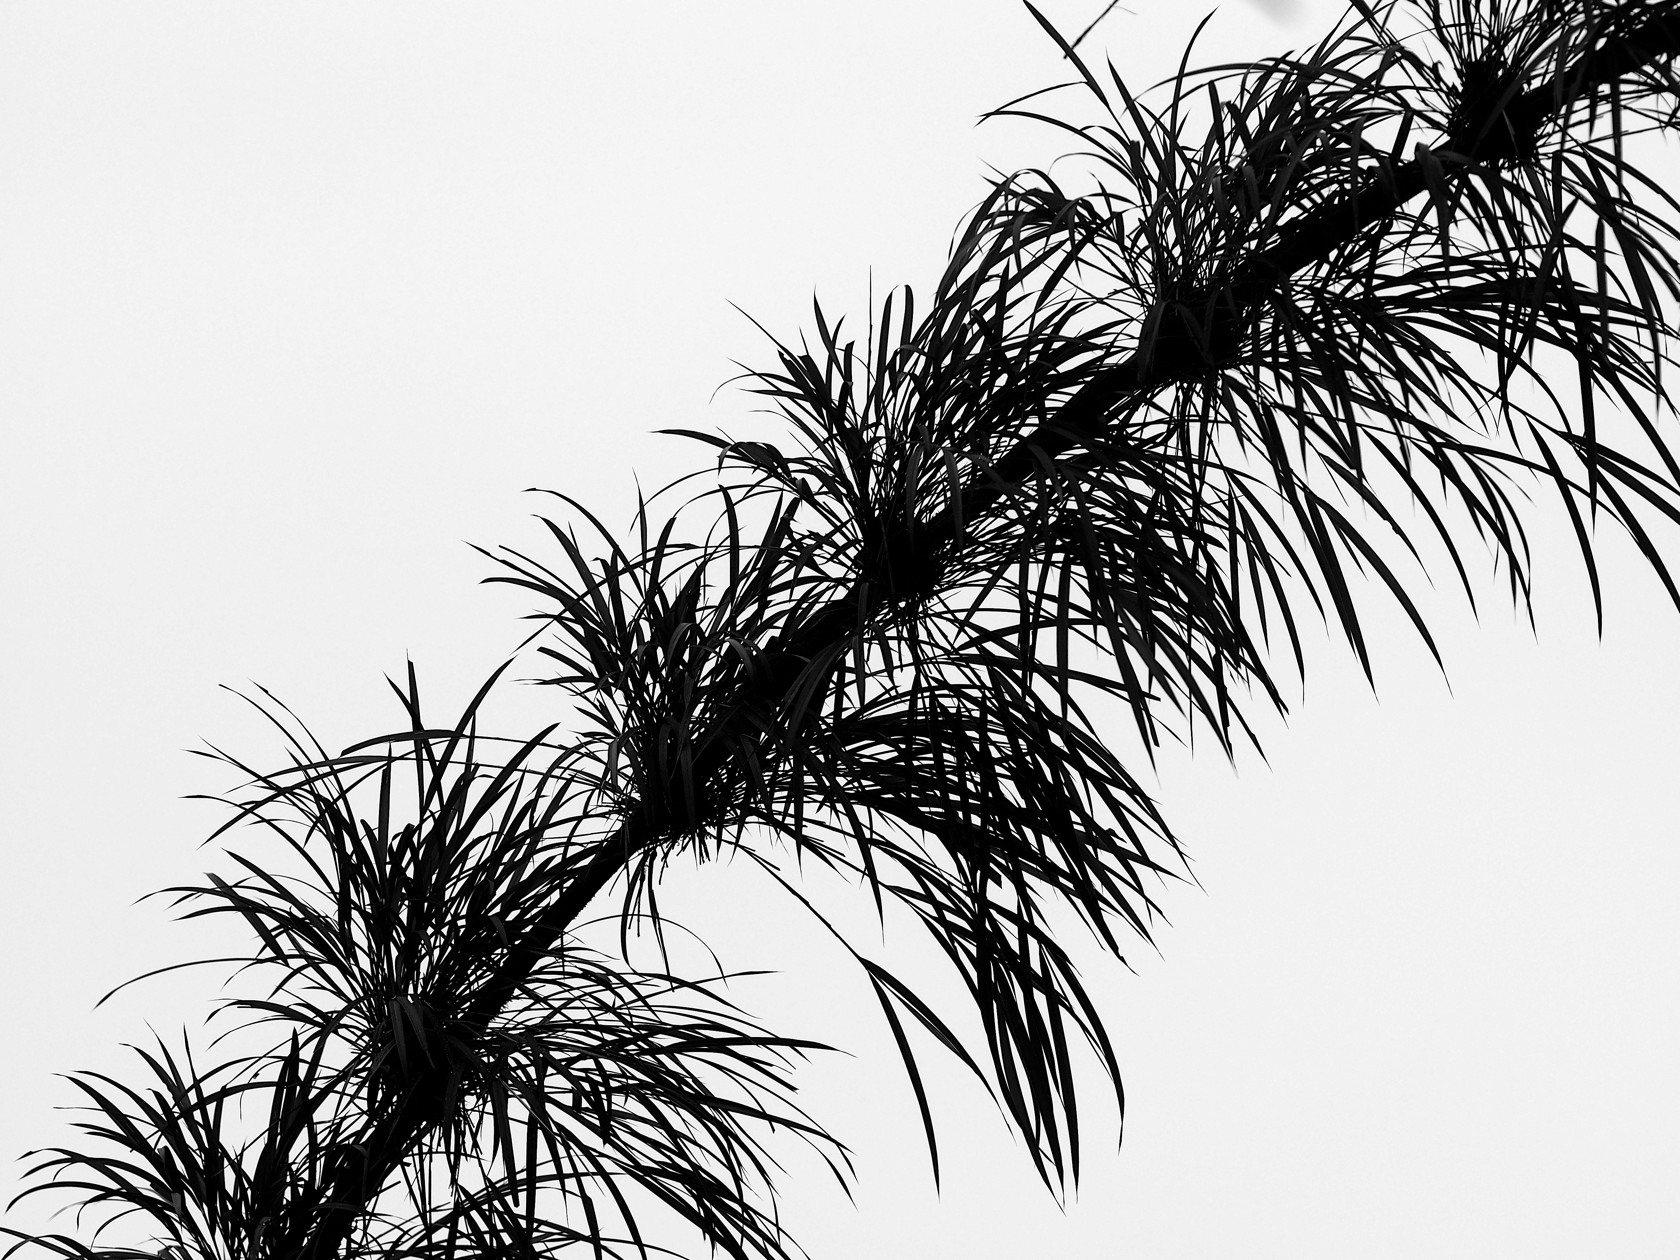
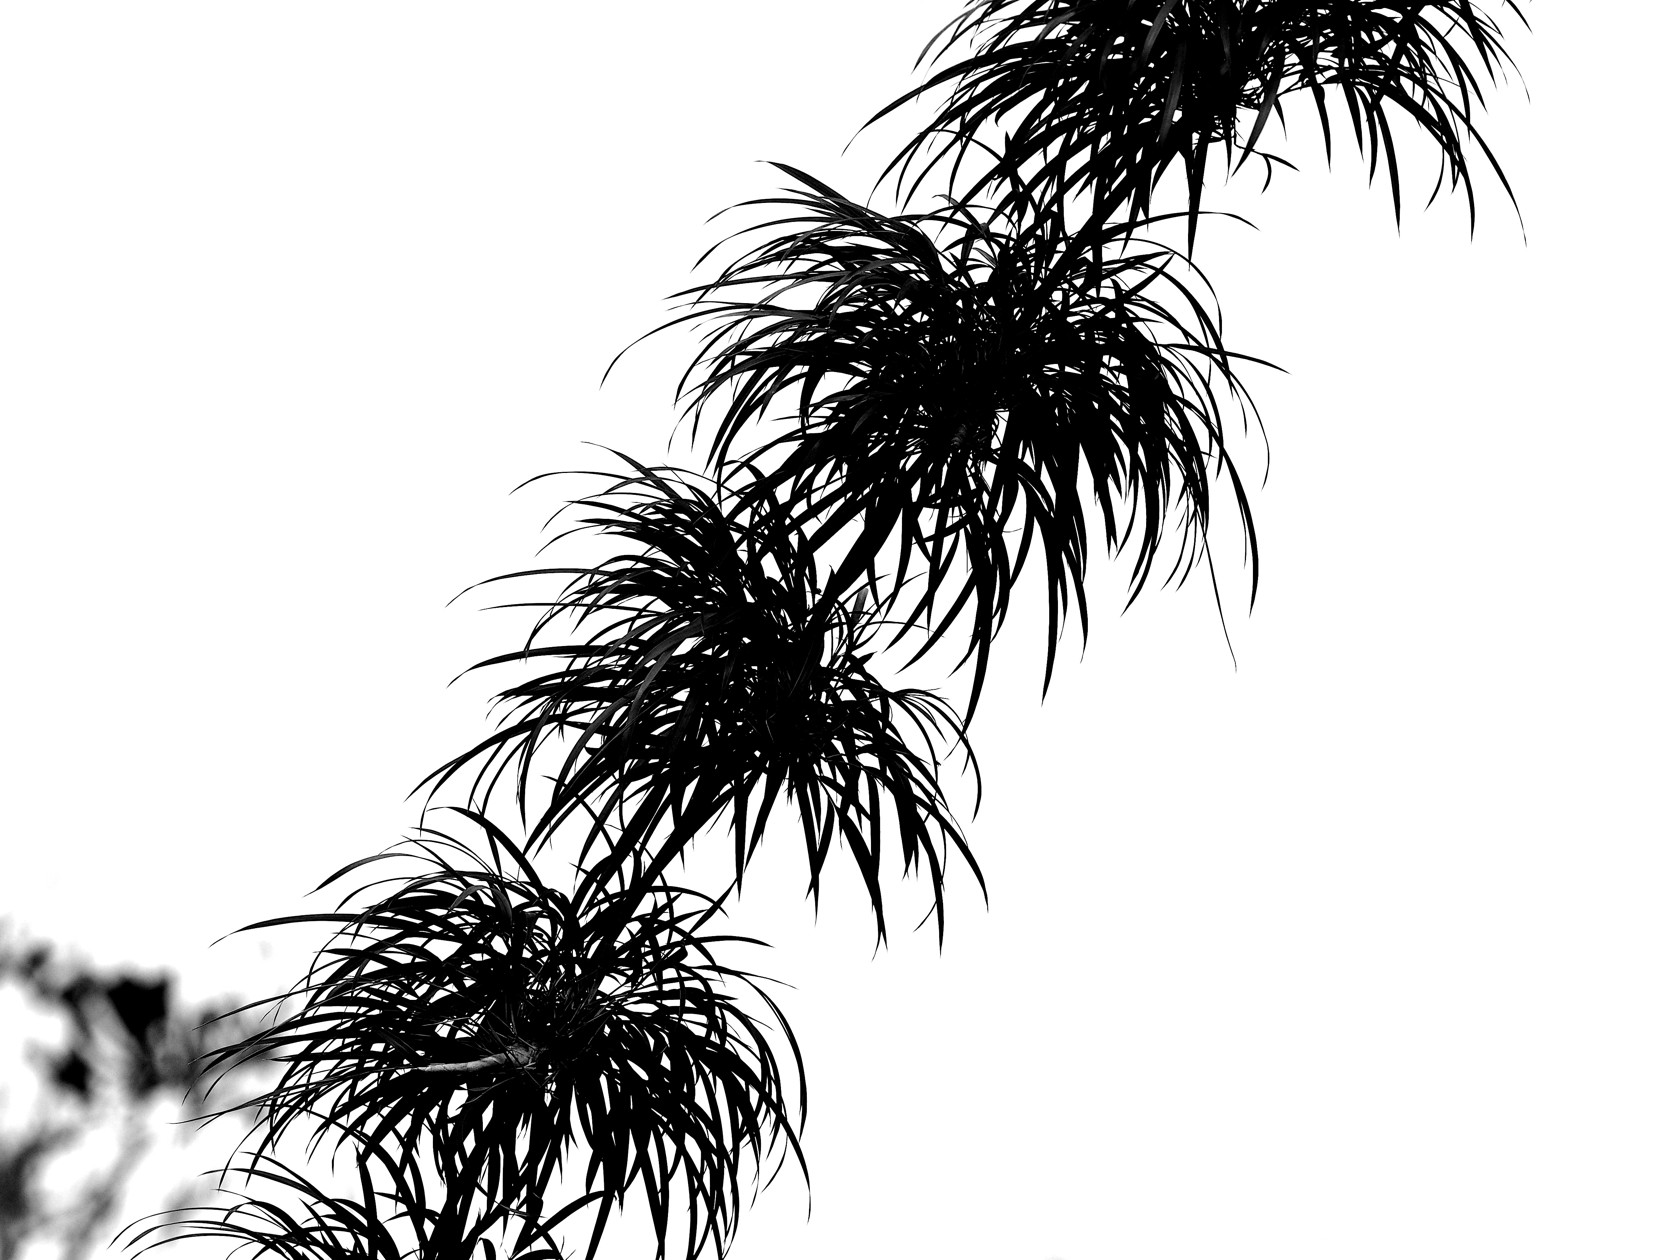
Artsy efforts (black/white for business cards??)
Very contrasty subjects – but ones having interesting outlines, can sometimes be useful subjects to photograph. The images below show some examples – these are not very good, but by enhancing the contrast and converting to grayscale or black and white in post processing permits the outline of the subject to be the focus of the photo.


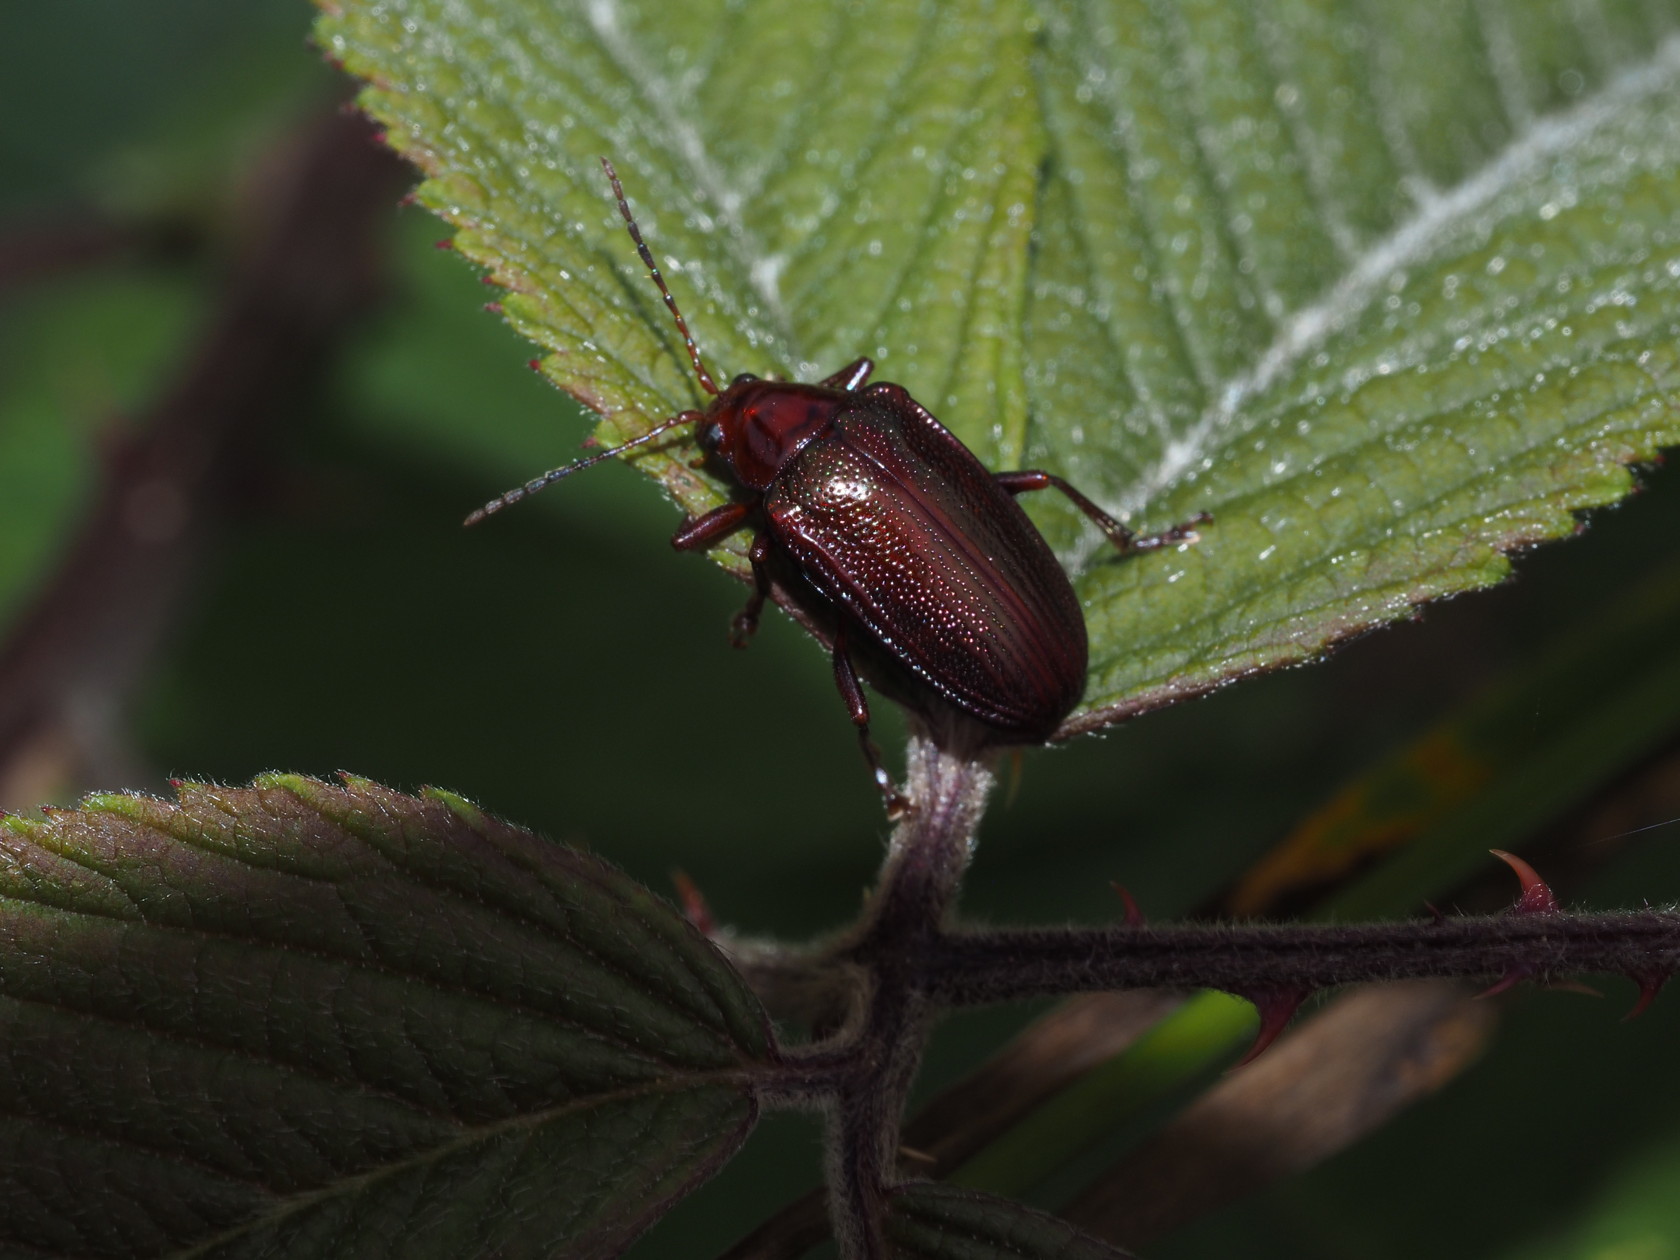
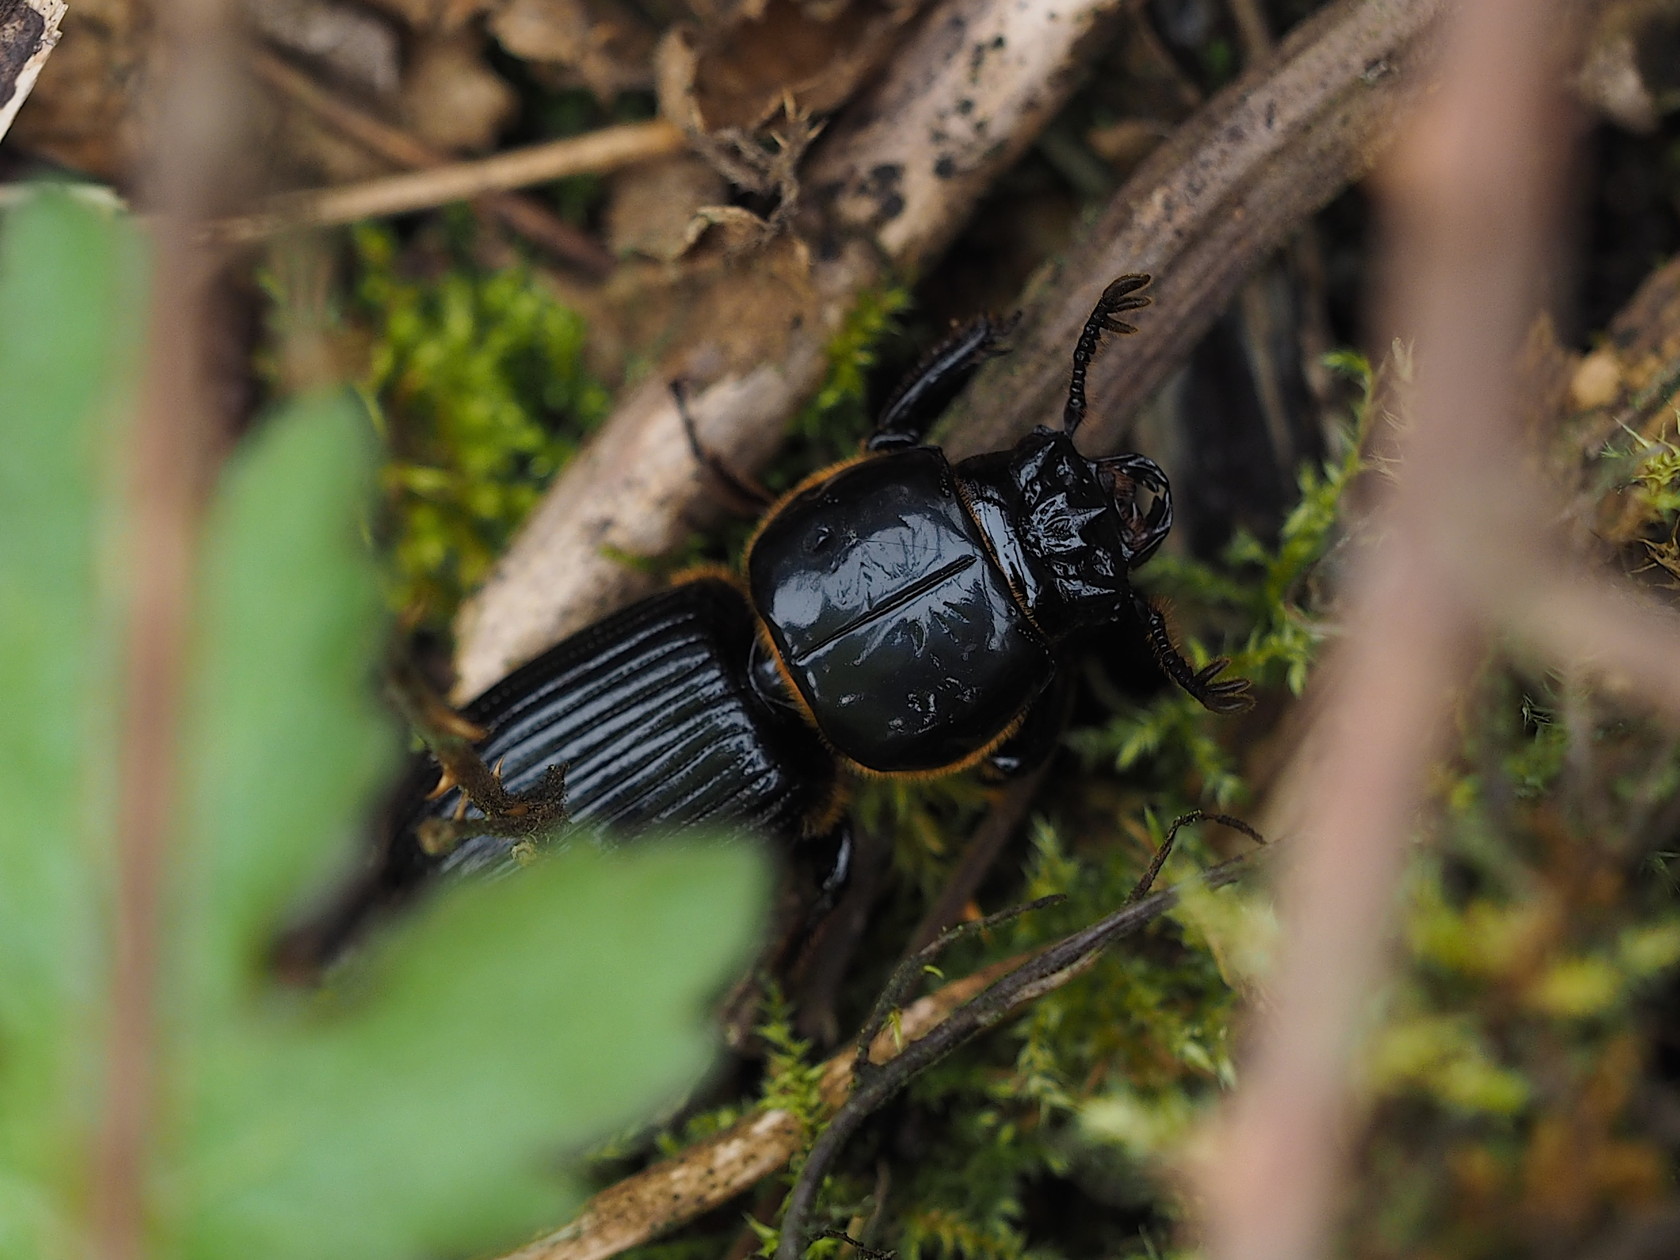
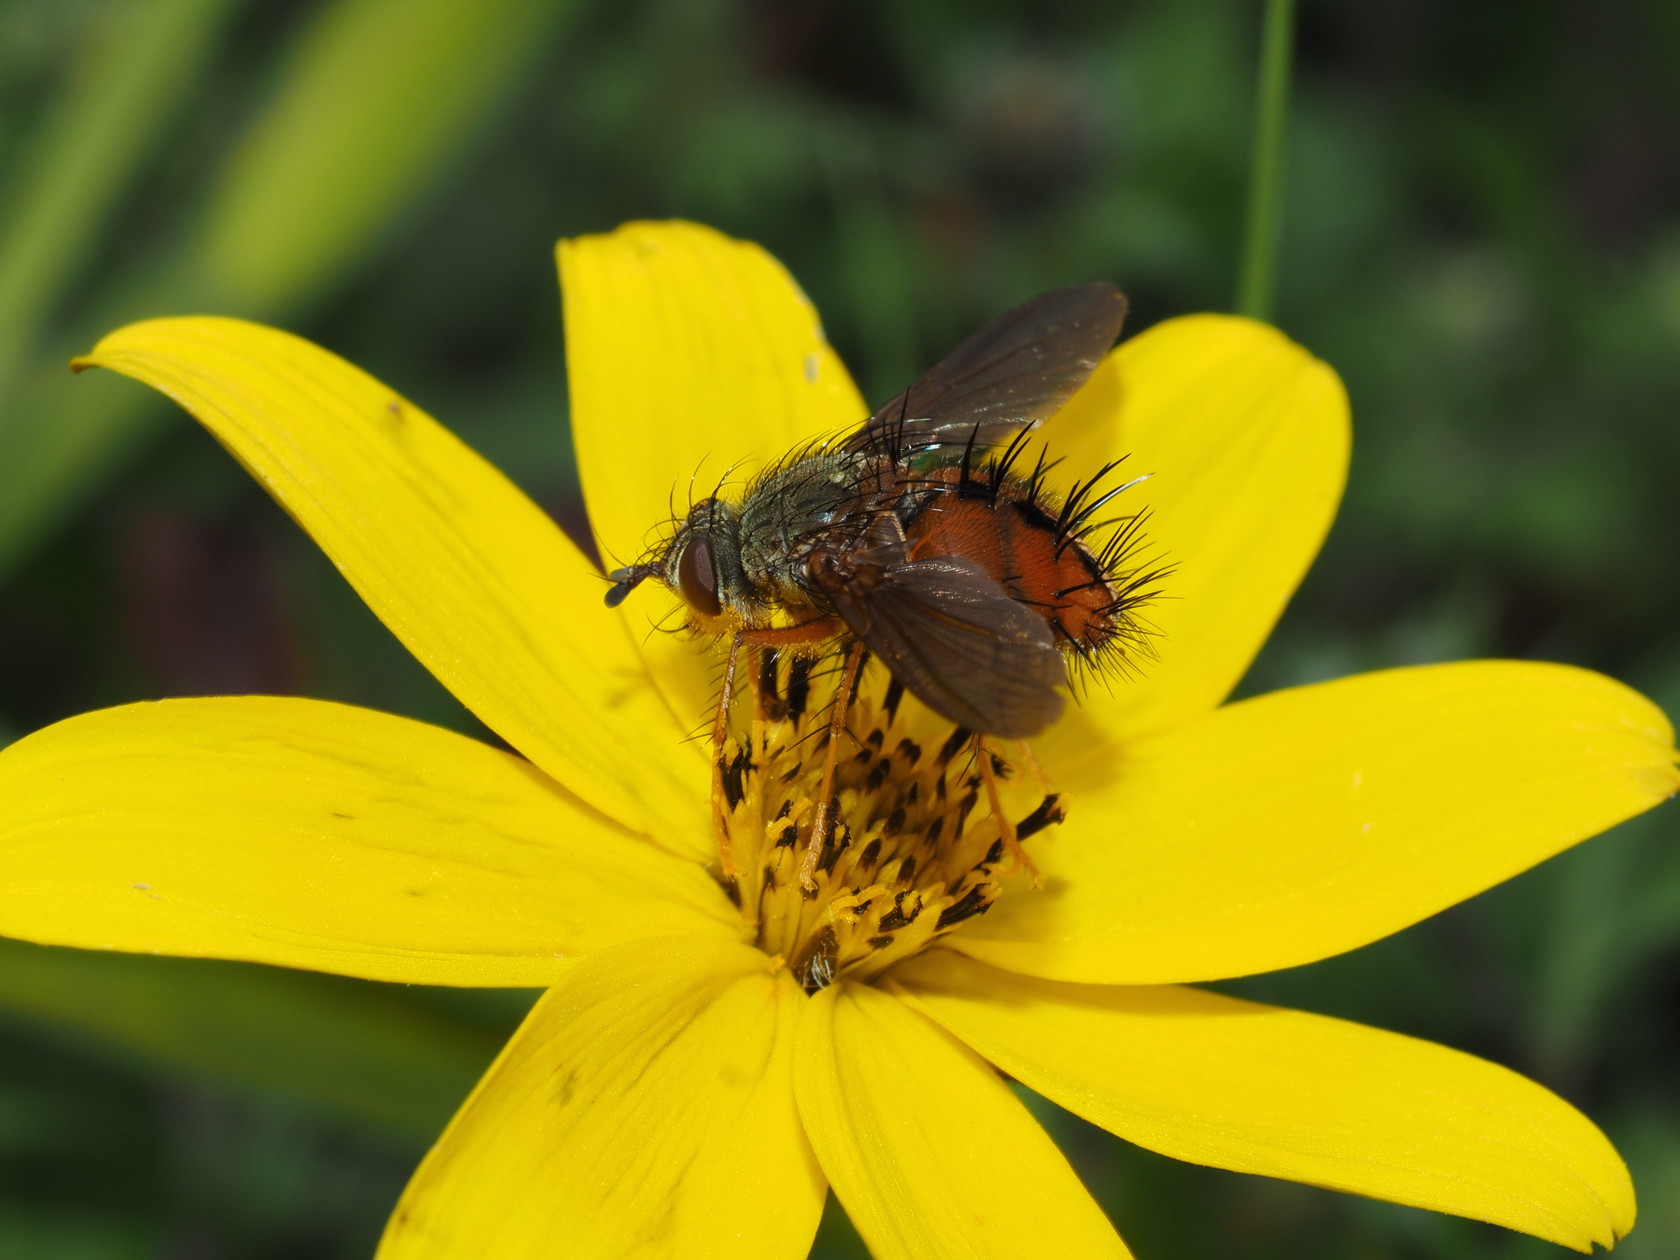
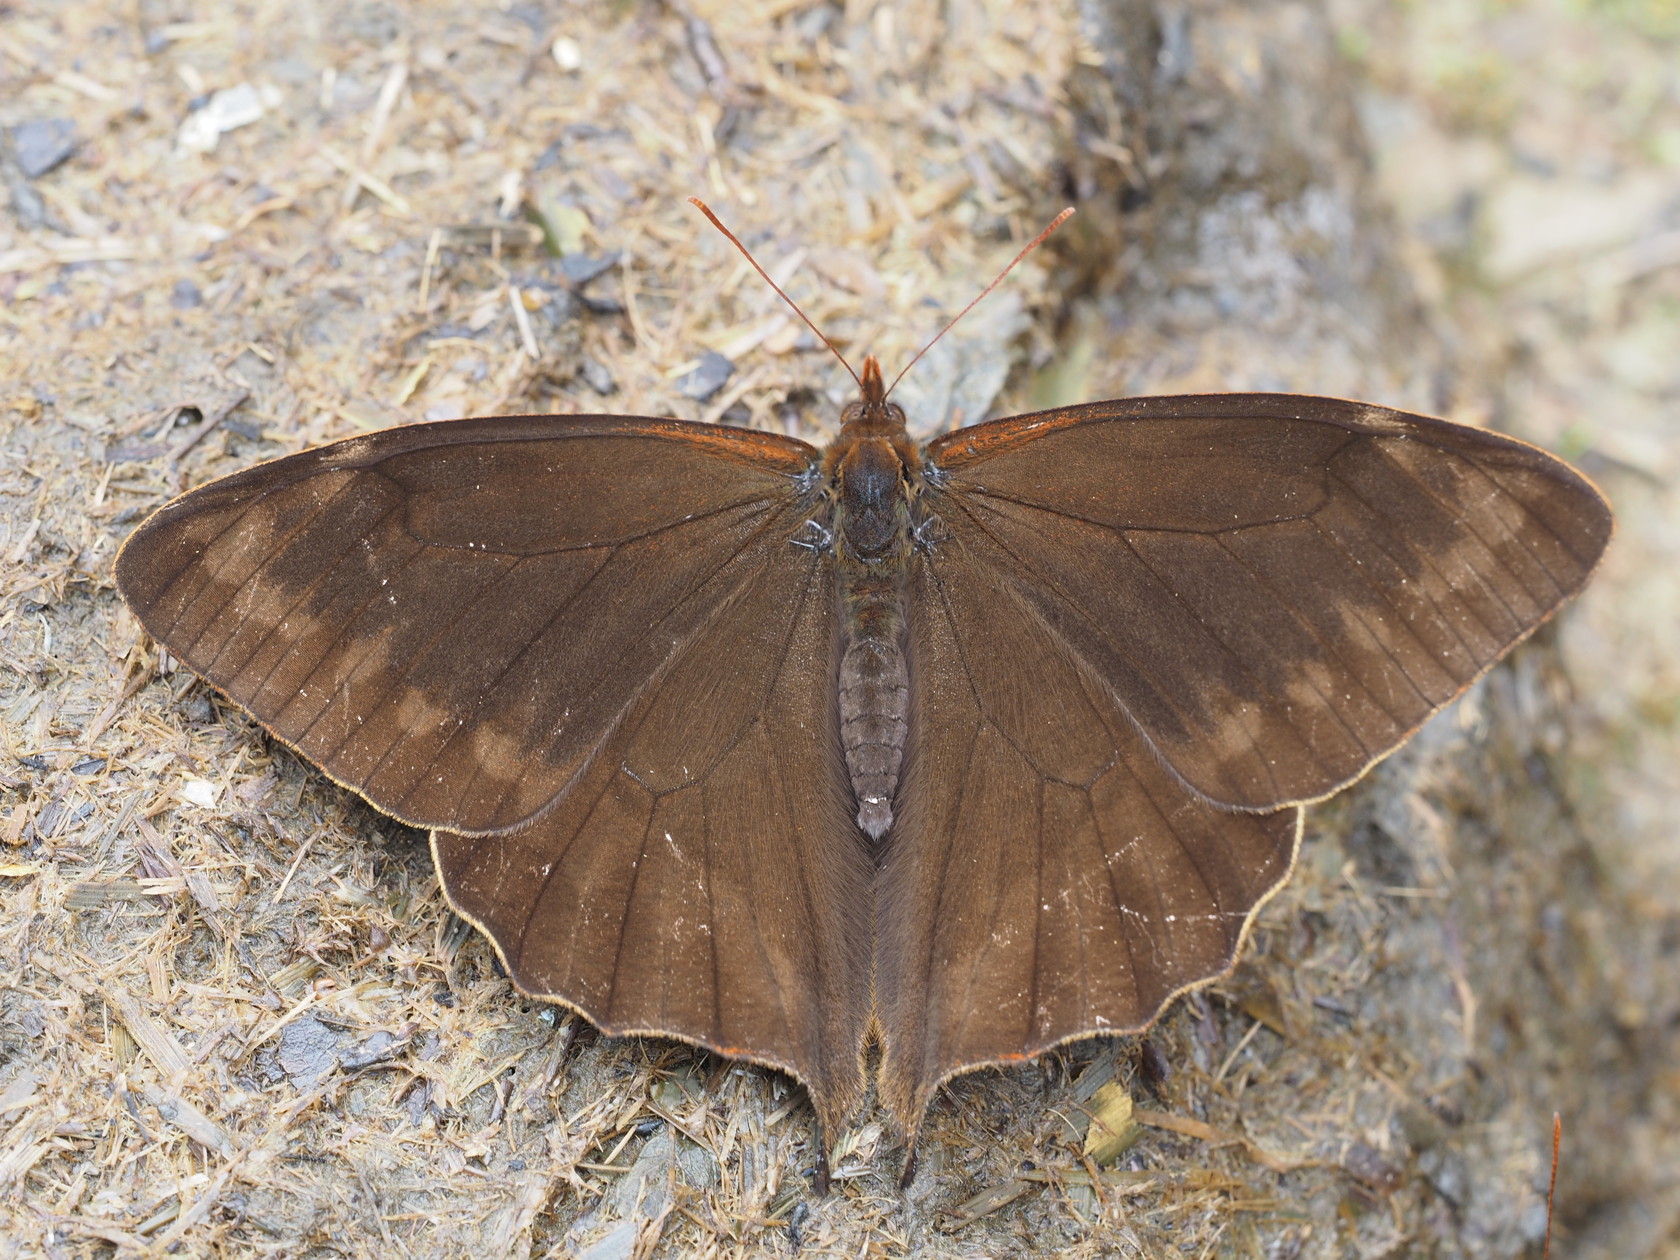
Some insects


Miscellaneous images
The images below are included more as test questions and to explain how they were taken (and why).


Some final comparisons
Exam question: Which image in each set do you like more. Why?
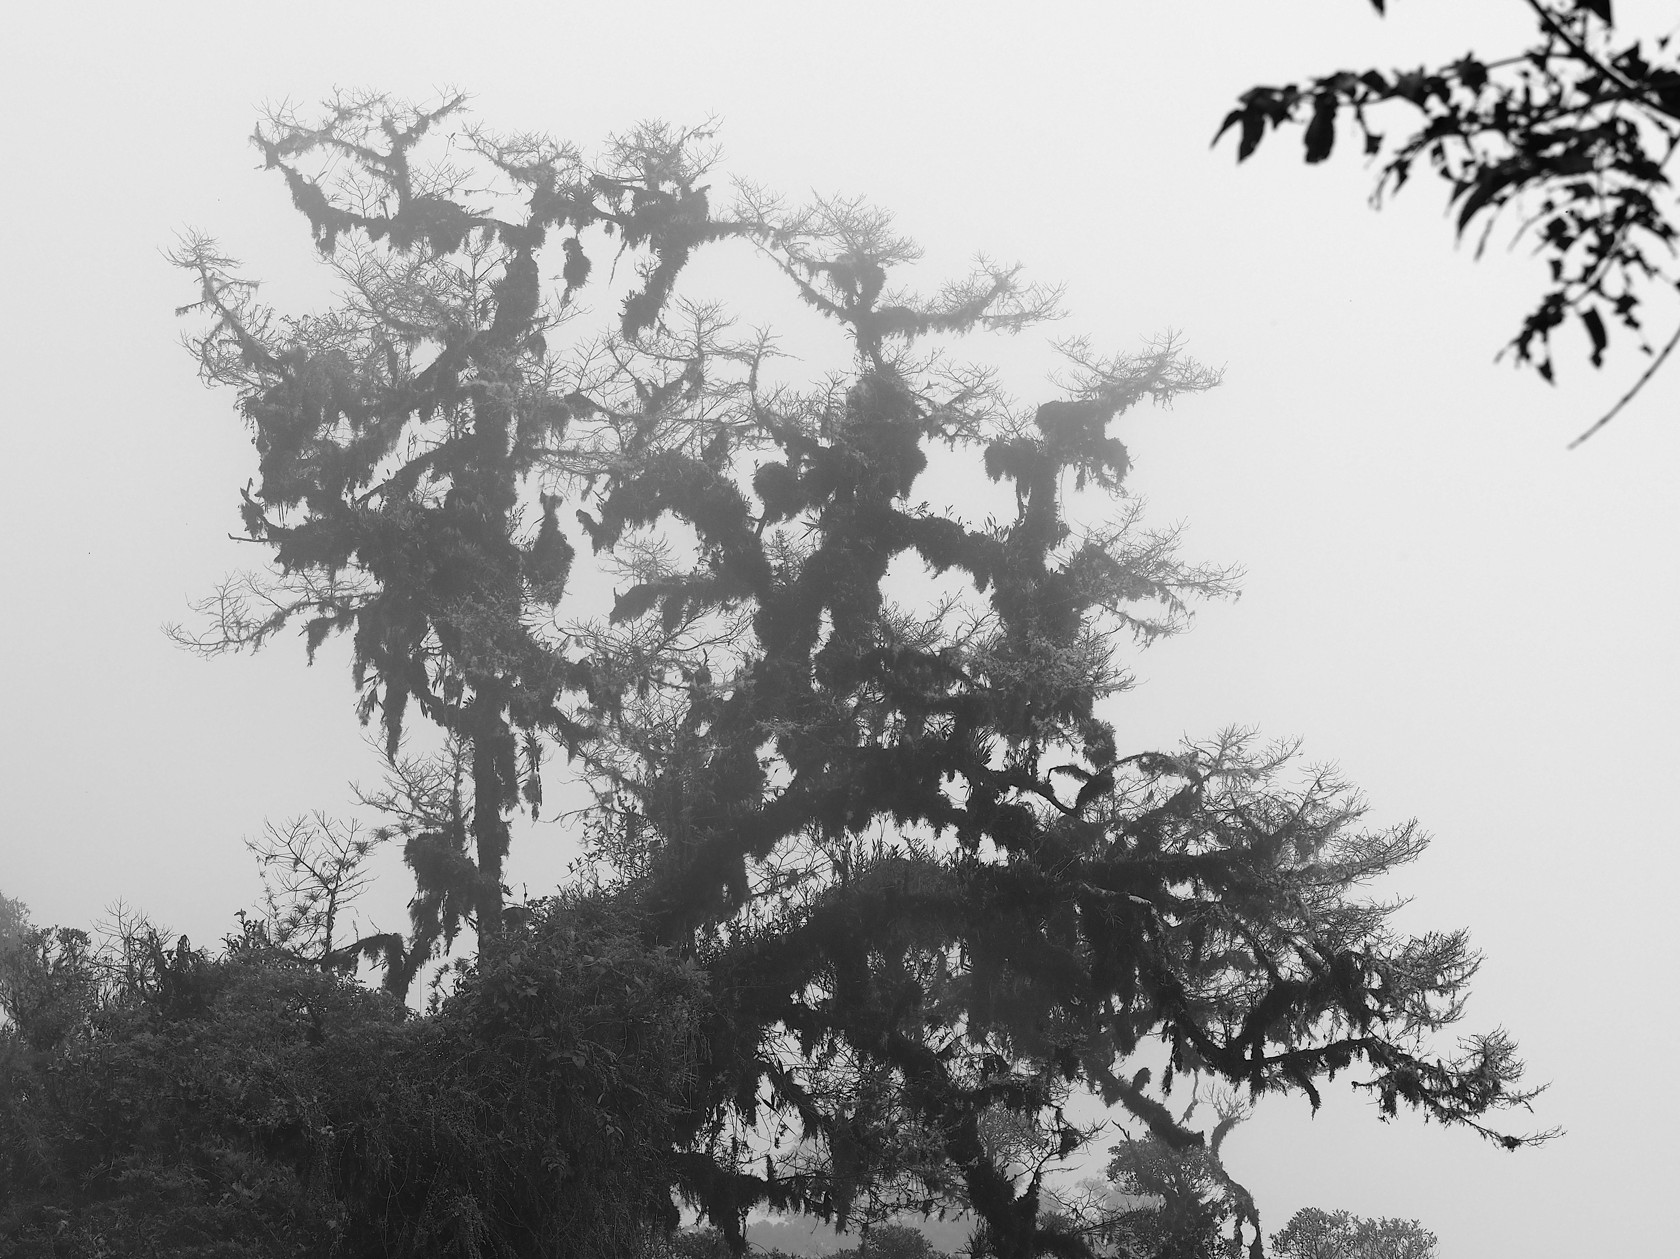
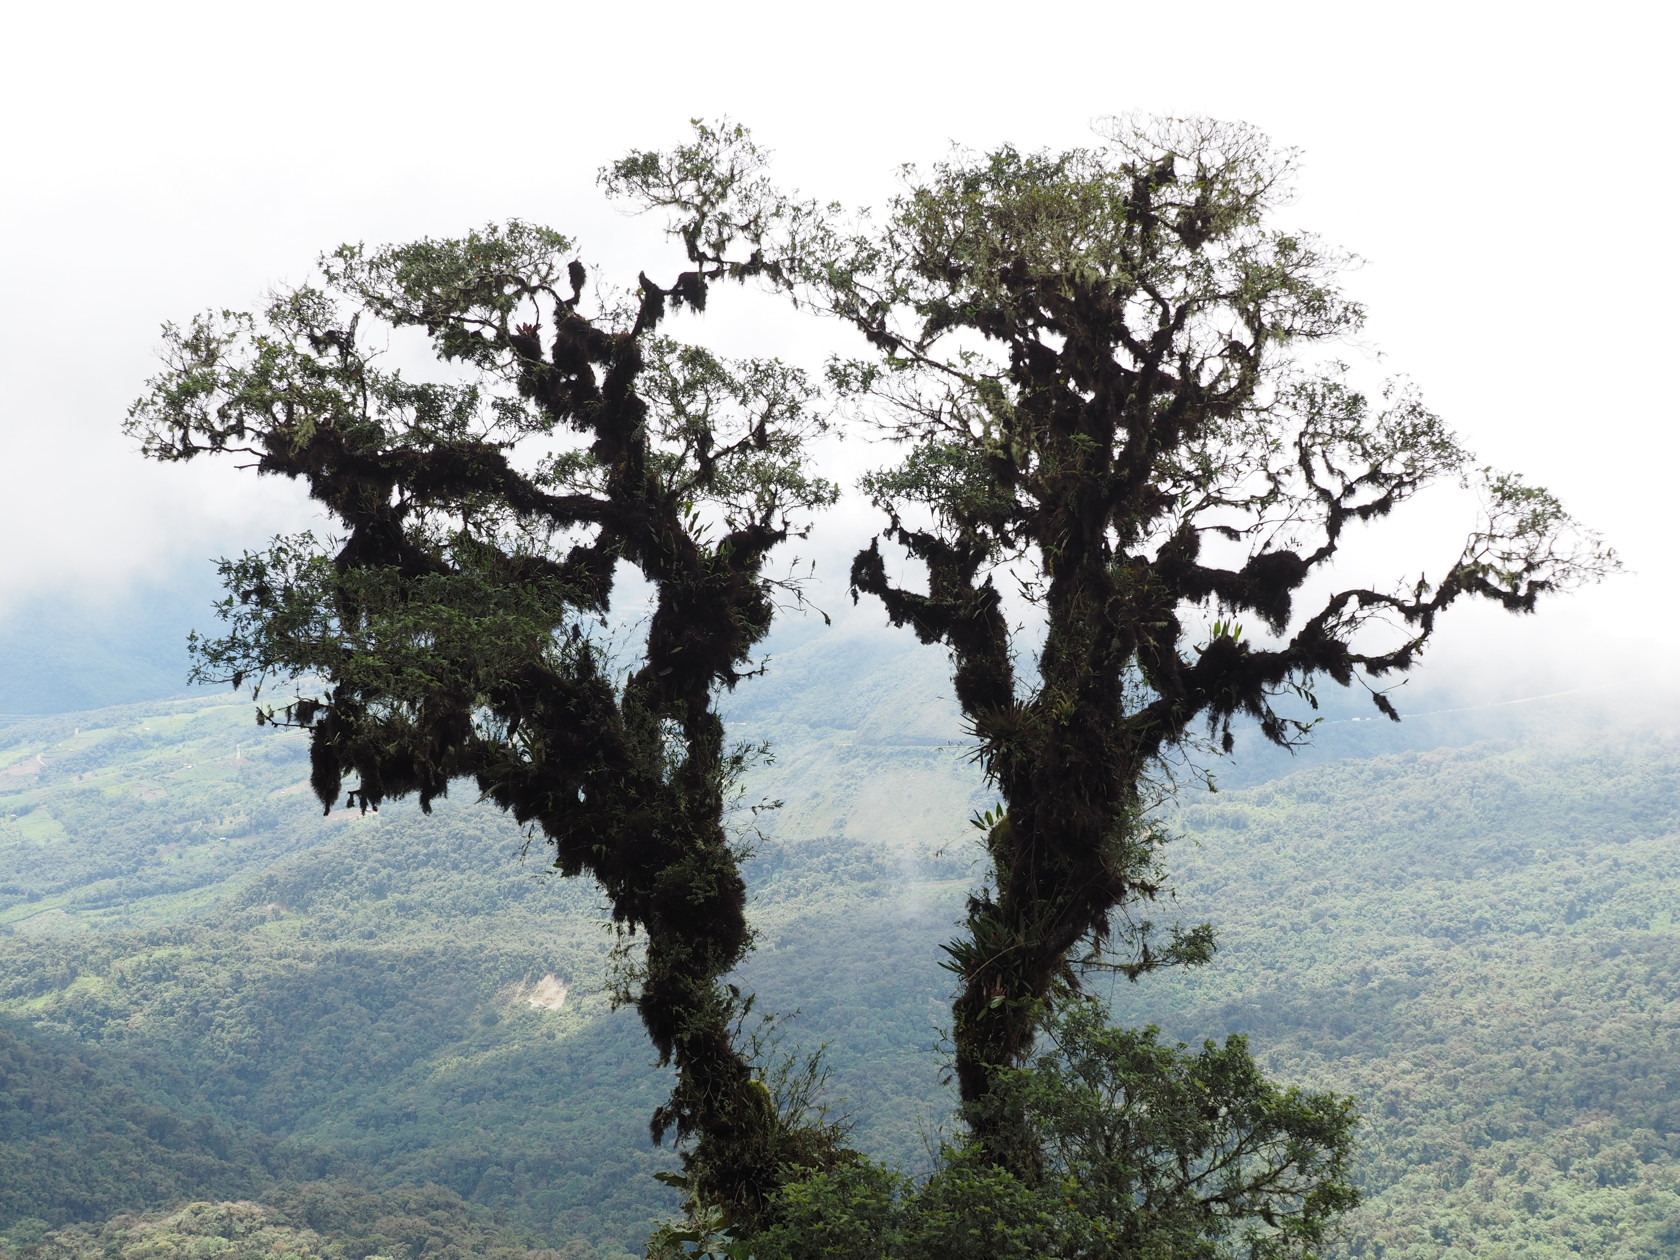
These two photos of a epiphyte-laden tree were taken at different times during the walk. Which would you use in a document summarizing the walk? Which would you use to emphasize the landscape of the Yungas road? Why?

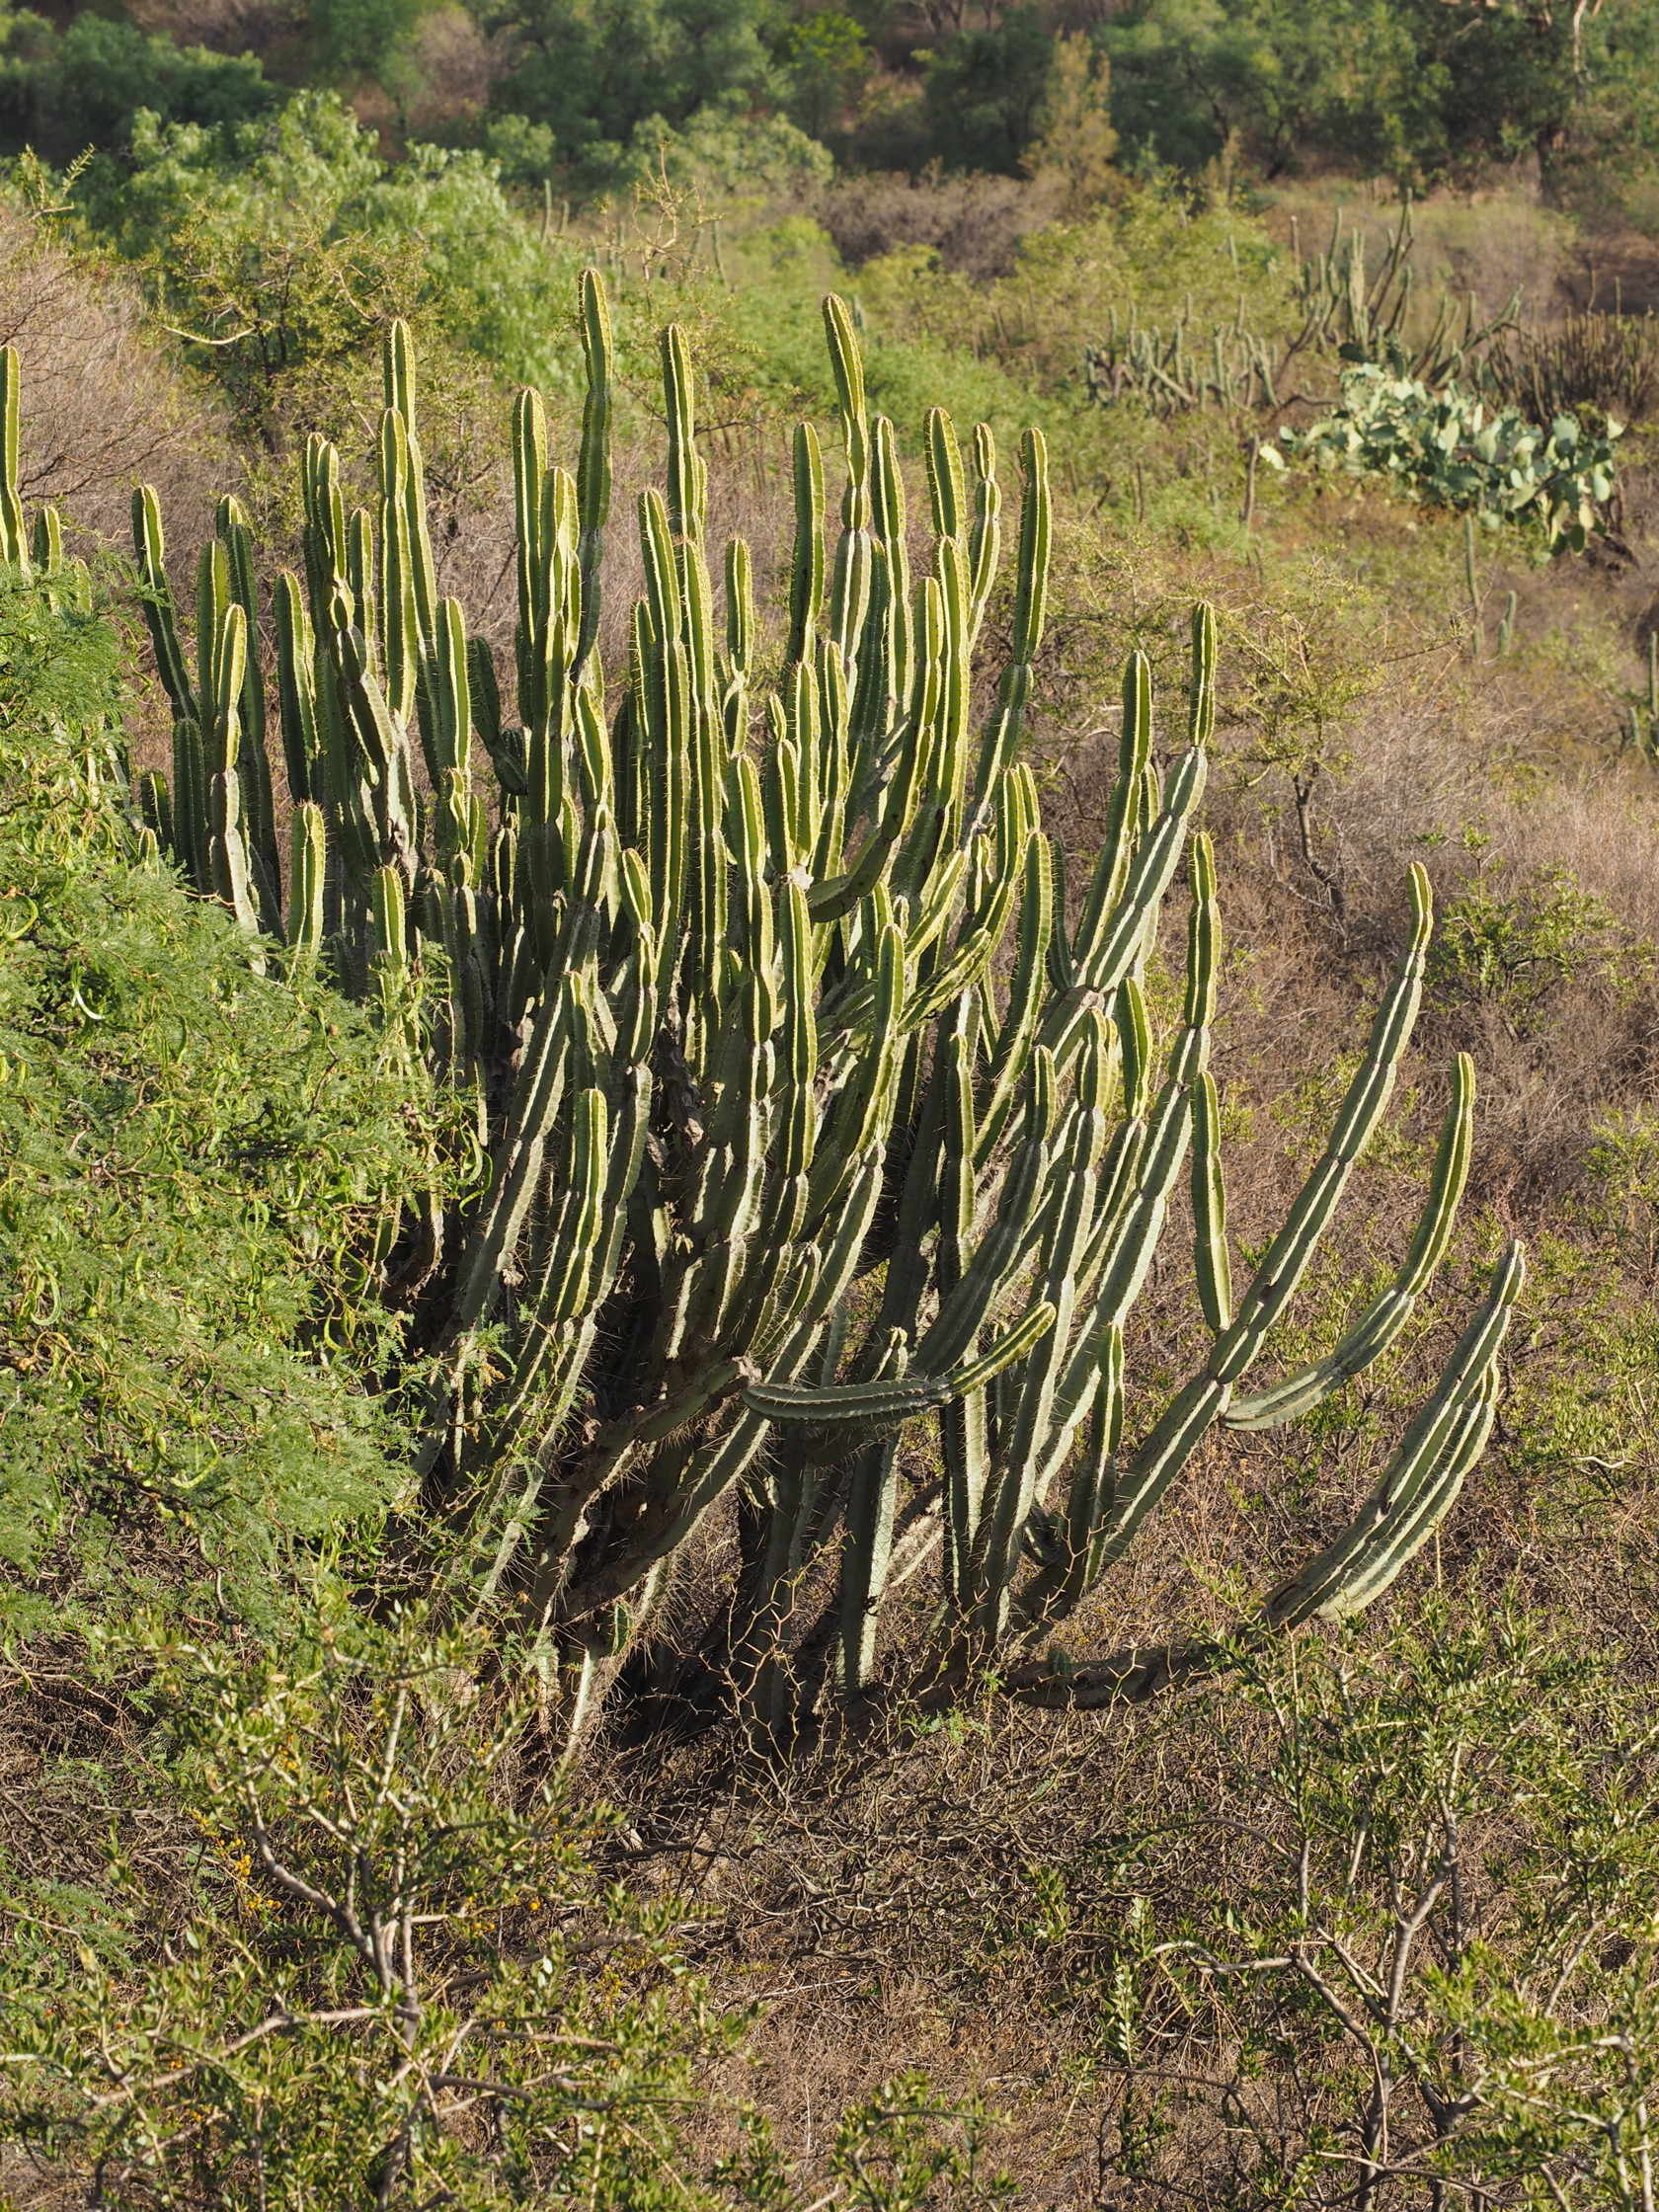
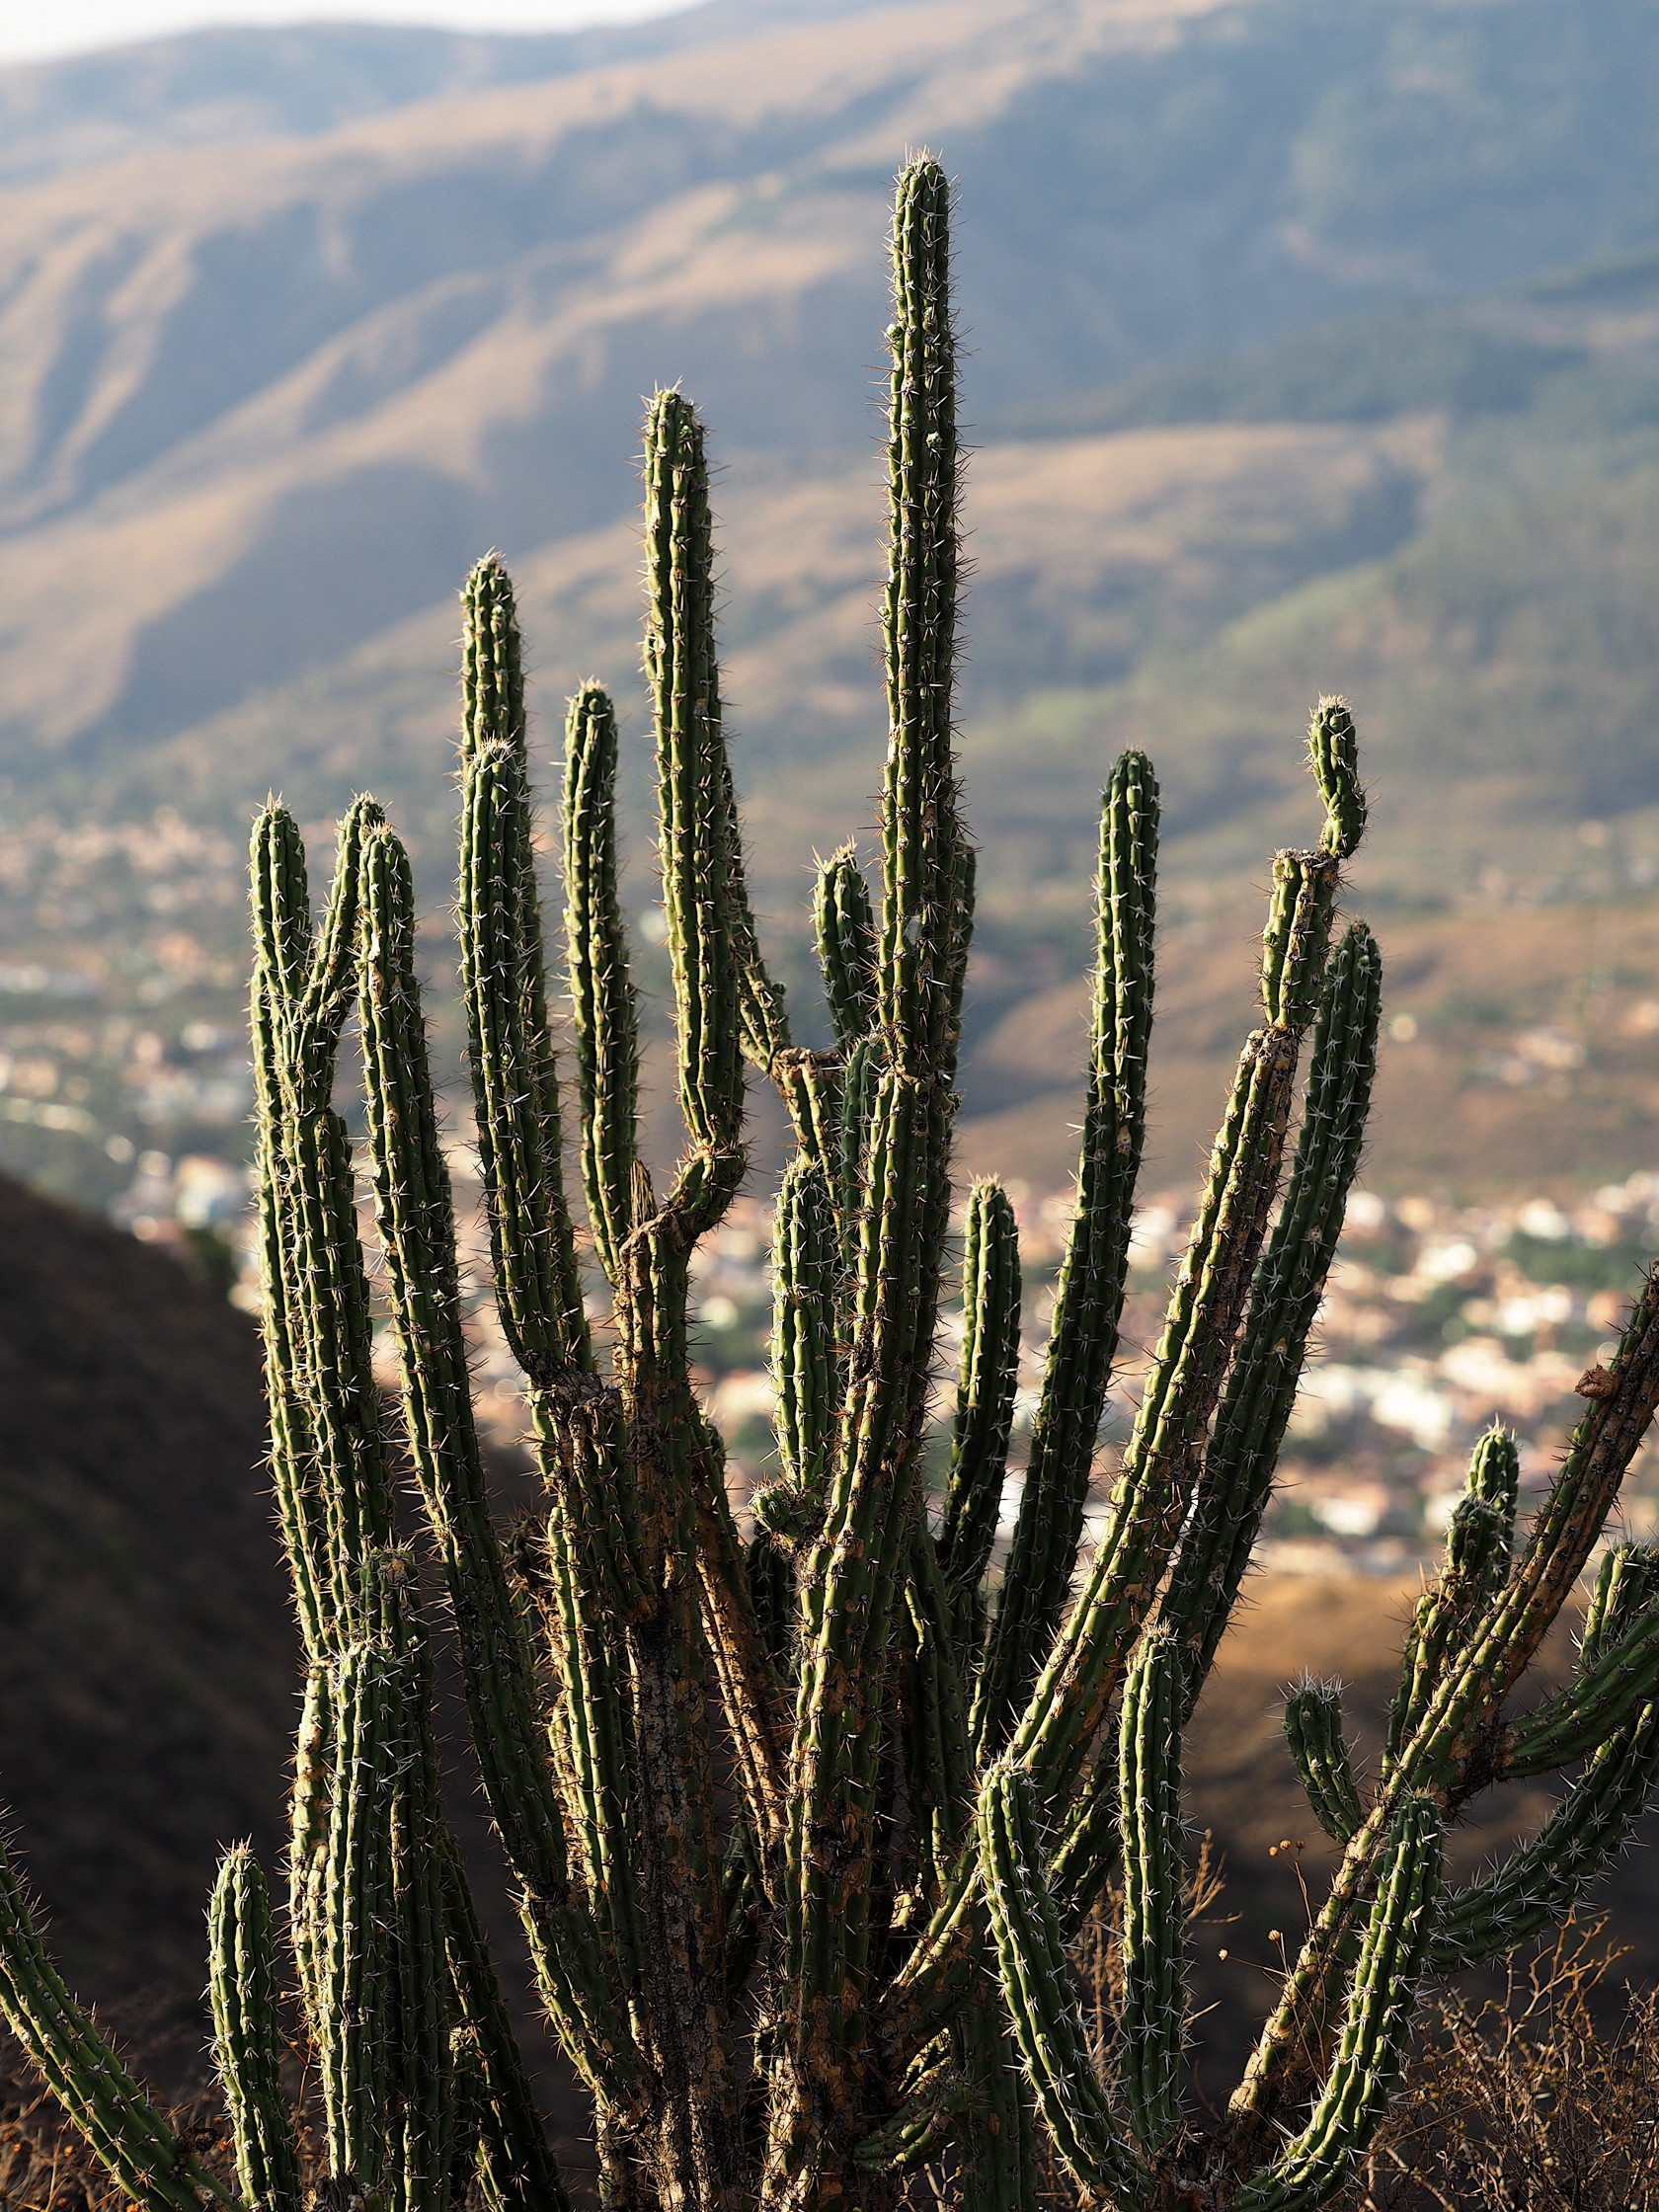
Cerro San Pedro and some of its cacti
After we returned from the visit to the Yungas, a small group decided to visit the Cerro San Pedro, above the city of Cochabamba. The motivation was to see the cacti on the hill and other dry flora not evident on the Yungas trip. I must say that Rosario and I perhaps initiated this visit, given our interests in cacti, but Andrea Soliz had also been interested in the cacti of Cochabamba. She had spent time on the Cerro with other students…
Two Google Earth views of Cerro San Pedro are below; one shows the entire Cerro and road, while the second shows where we hiked in the brief time we were on the hill.


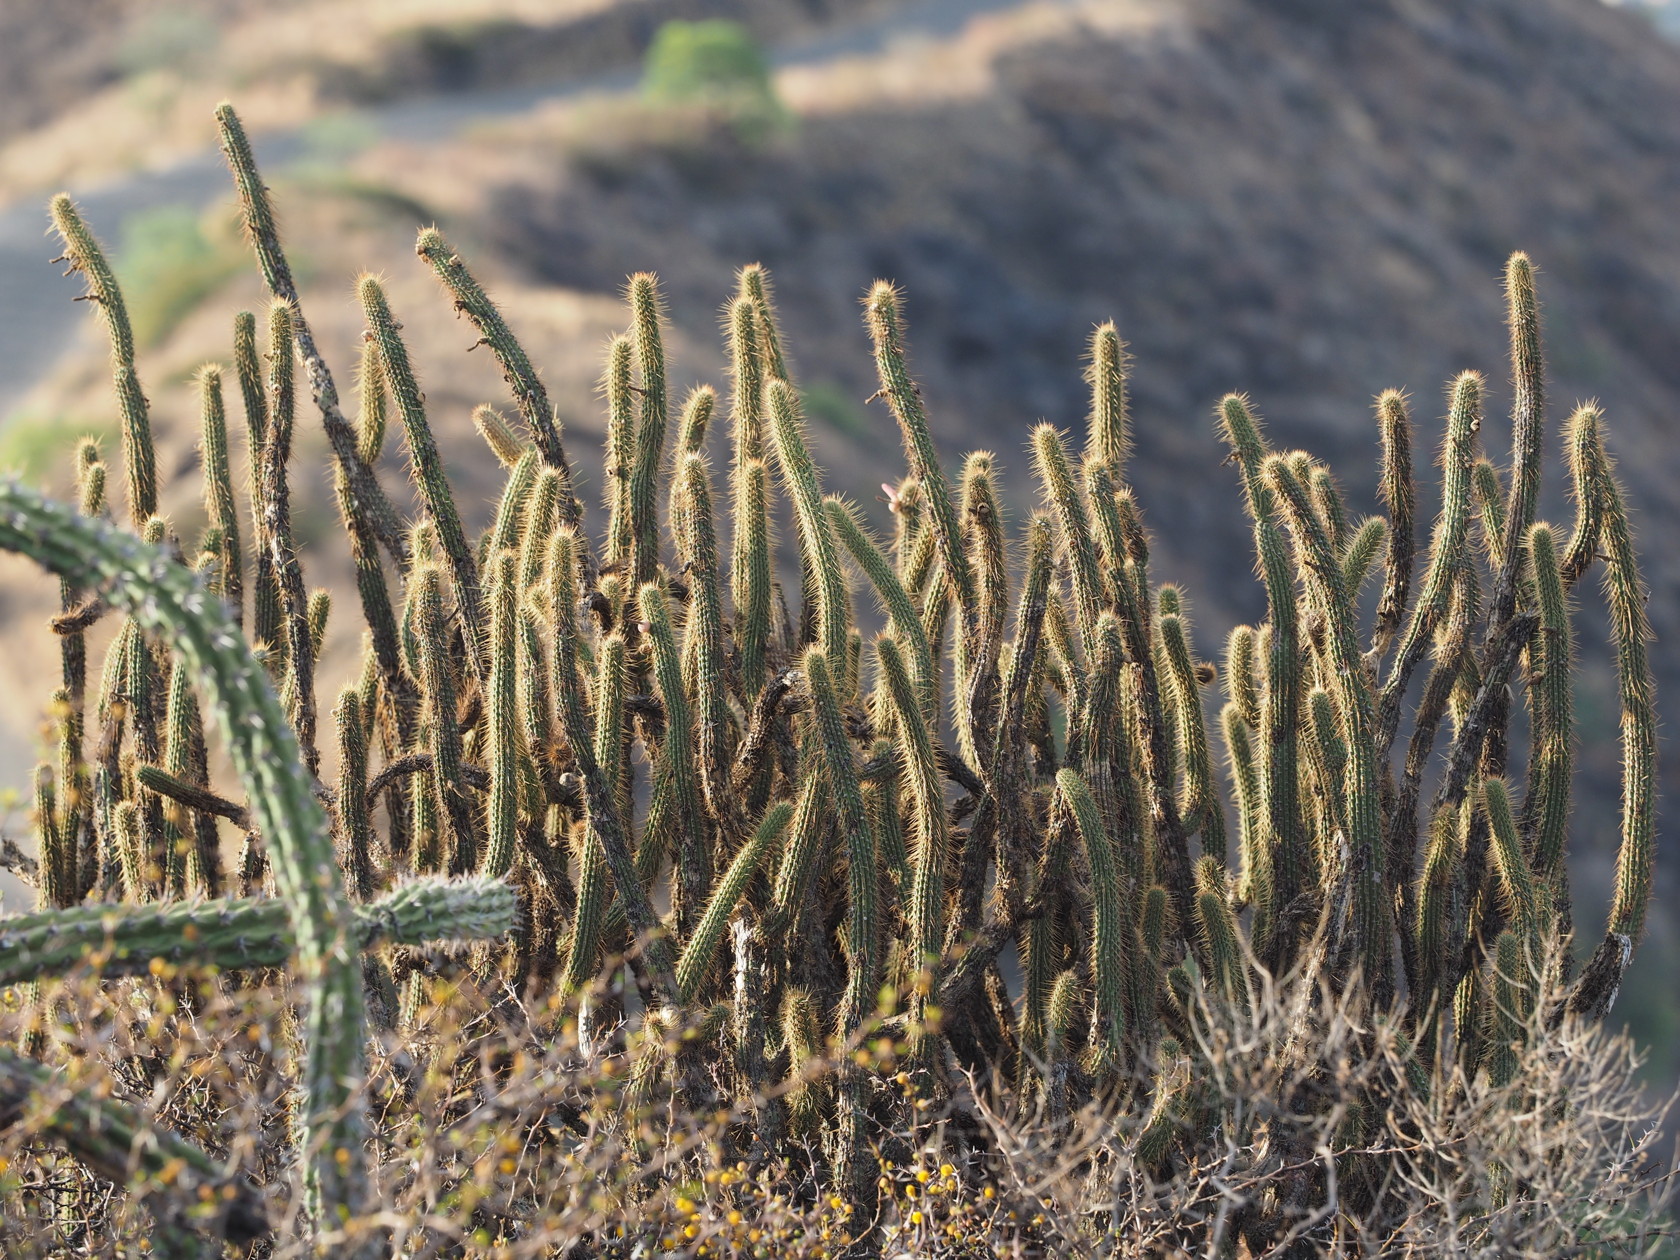
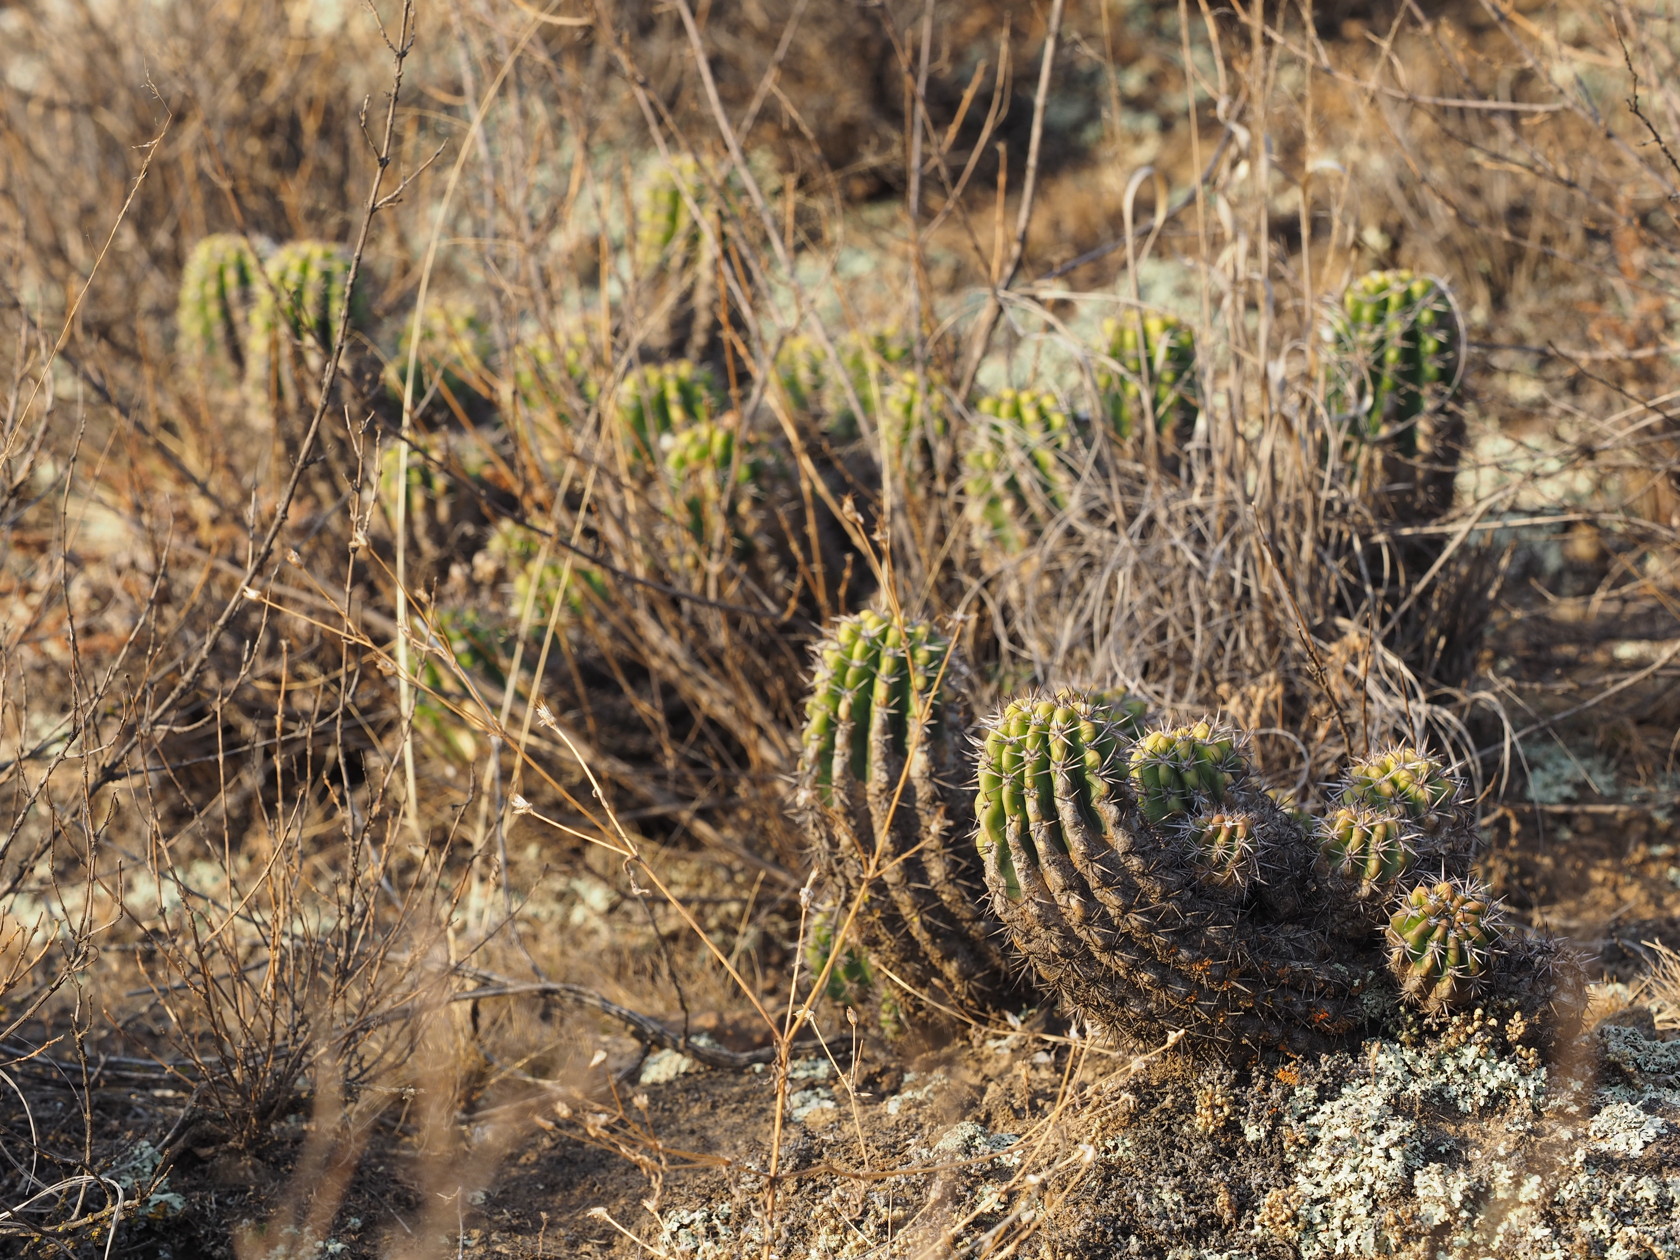
Our visit was necessarily short – both because of limited sunlight and because the road to the Cerro closes at a specific time and we had only about 30 minutes available to us. We stopped short of the actual Cerro with the Christ statue, and walked along a trail that others had clearly used for other purposes, as toilet paper was quite evident. Farther on, the trail was cleaner.
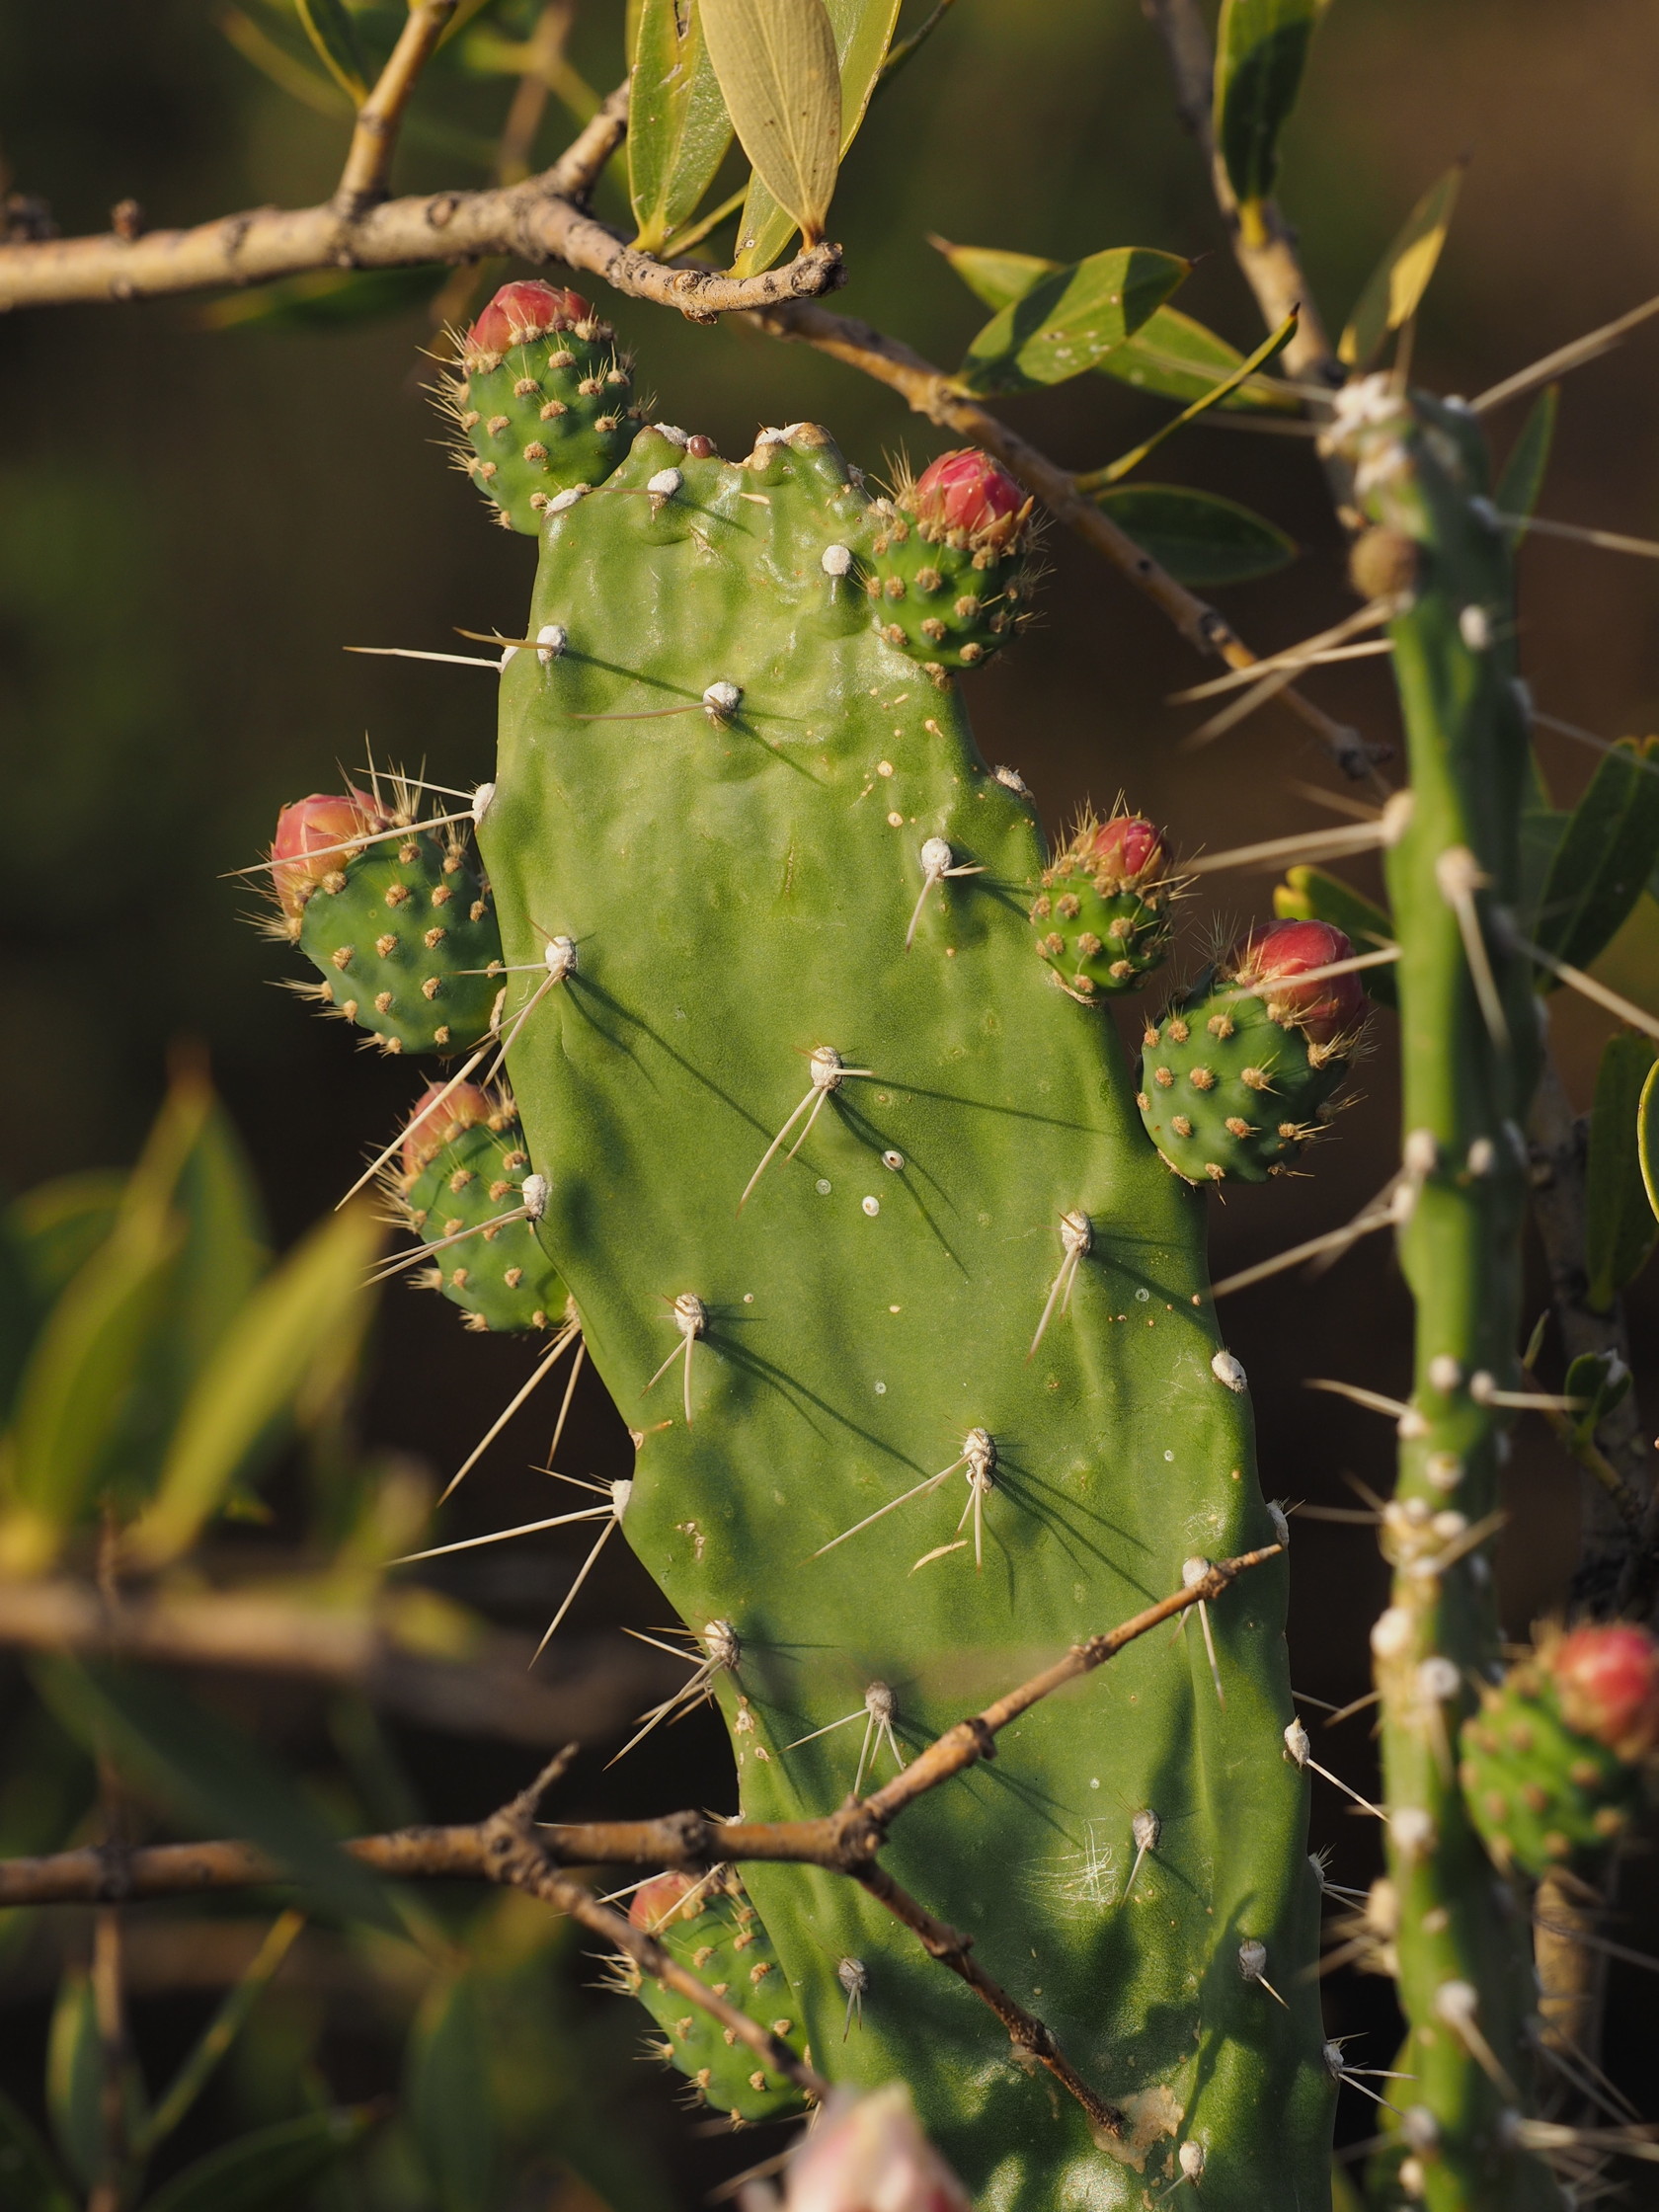
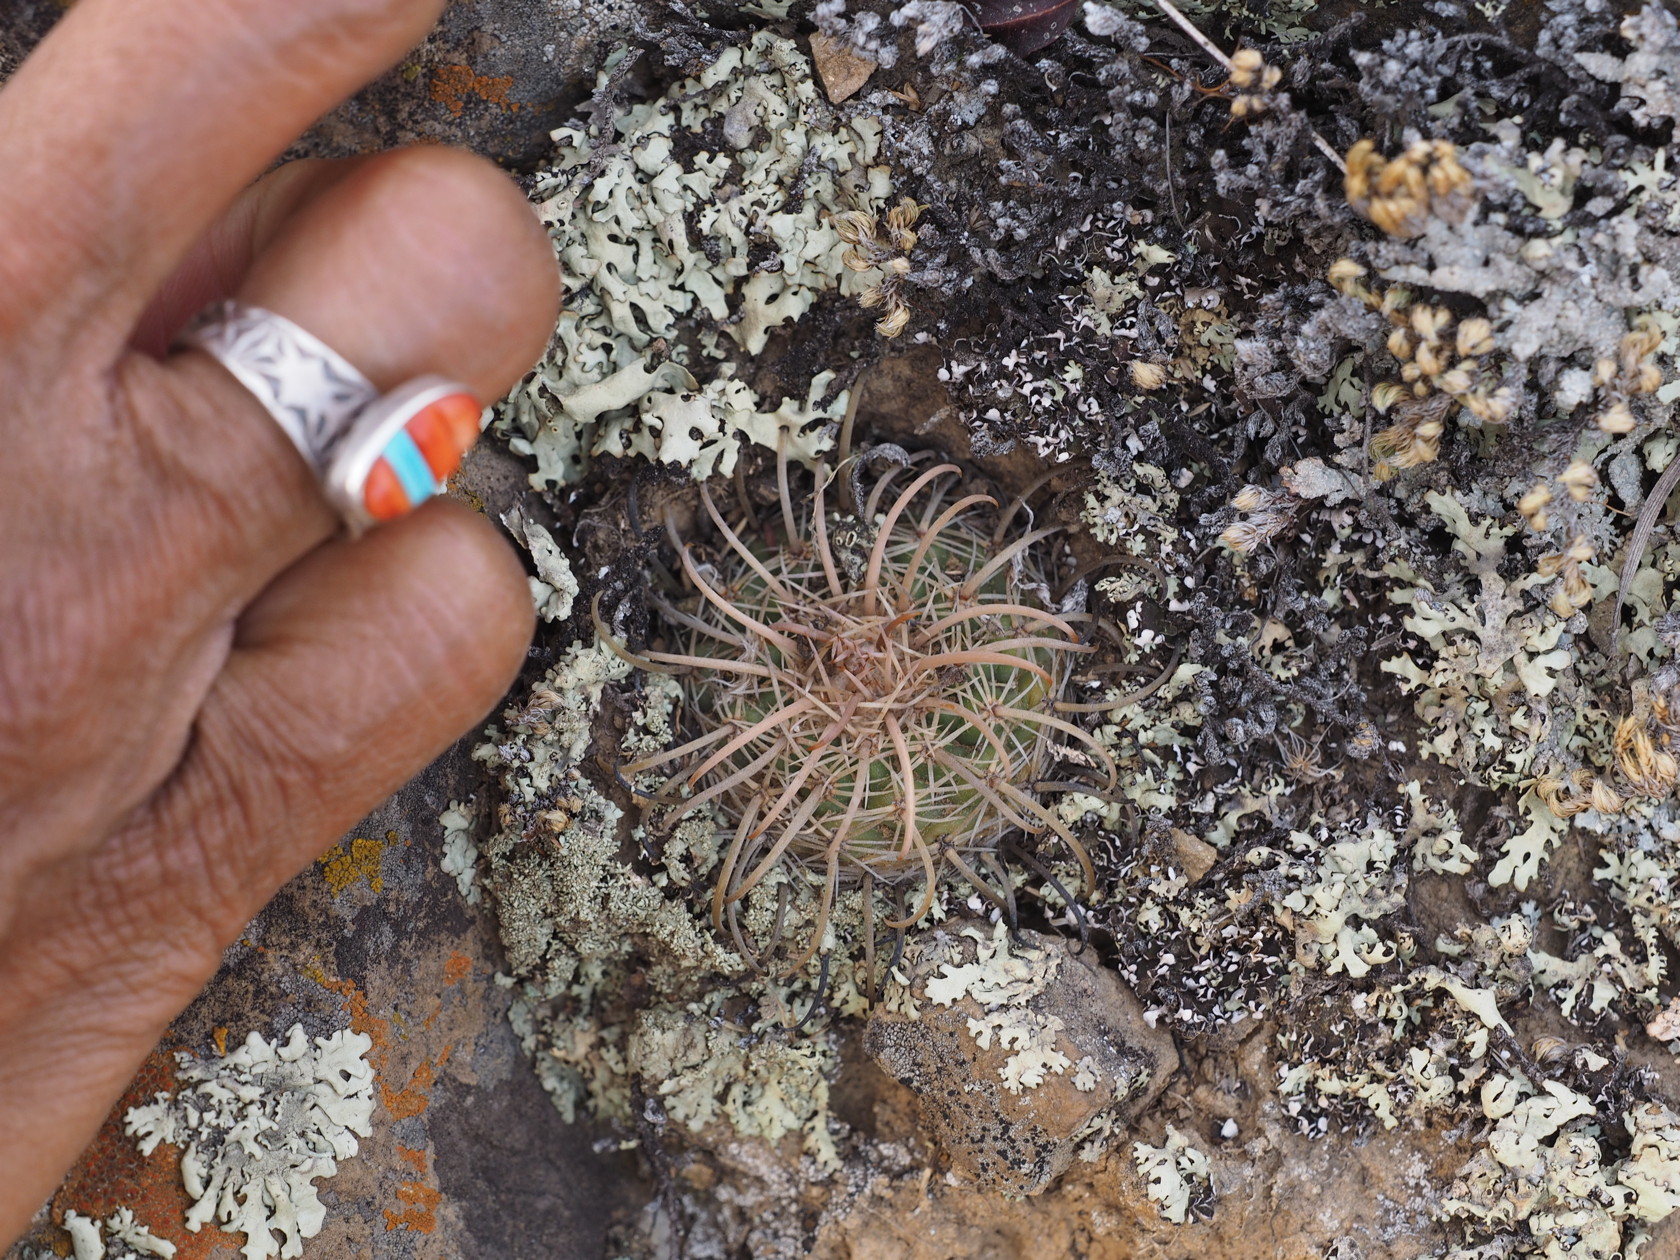
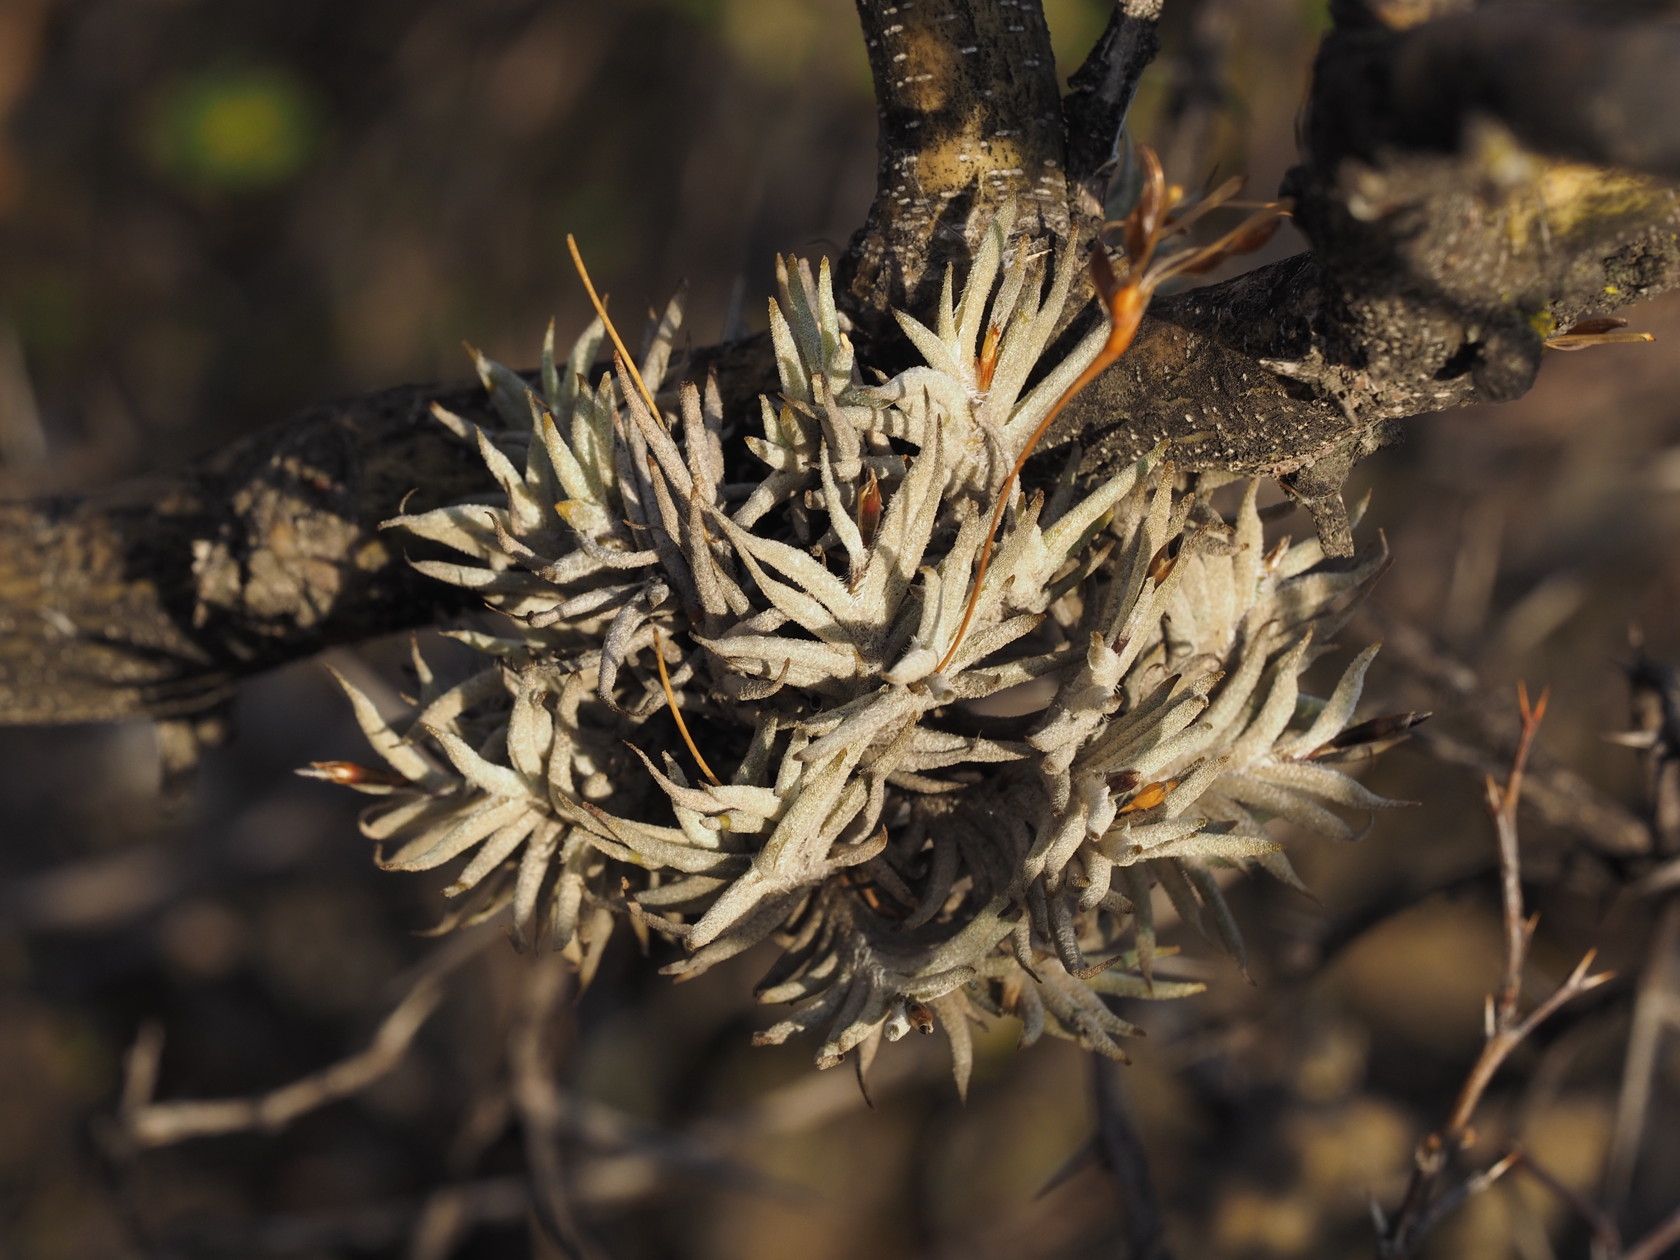
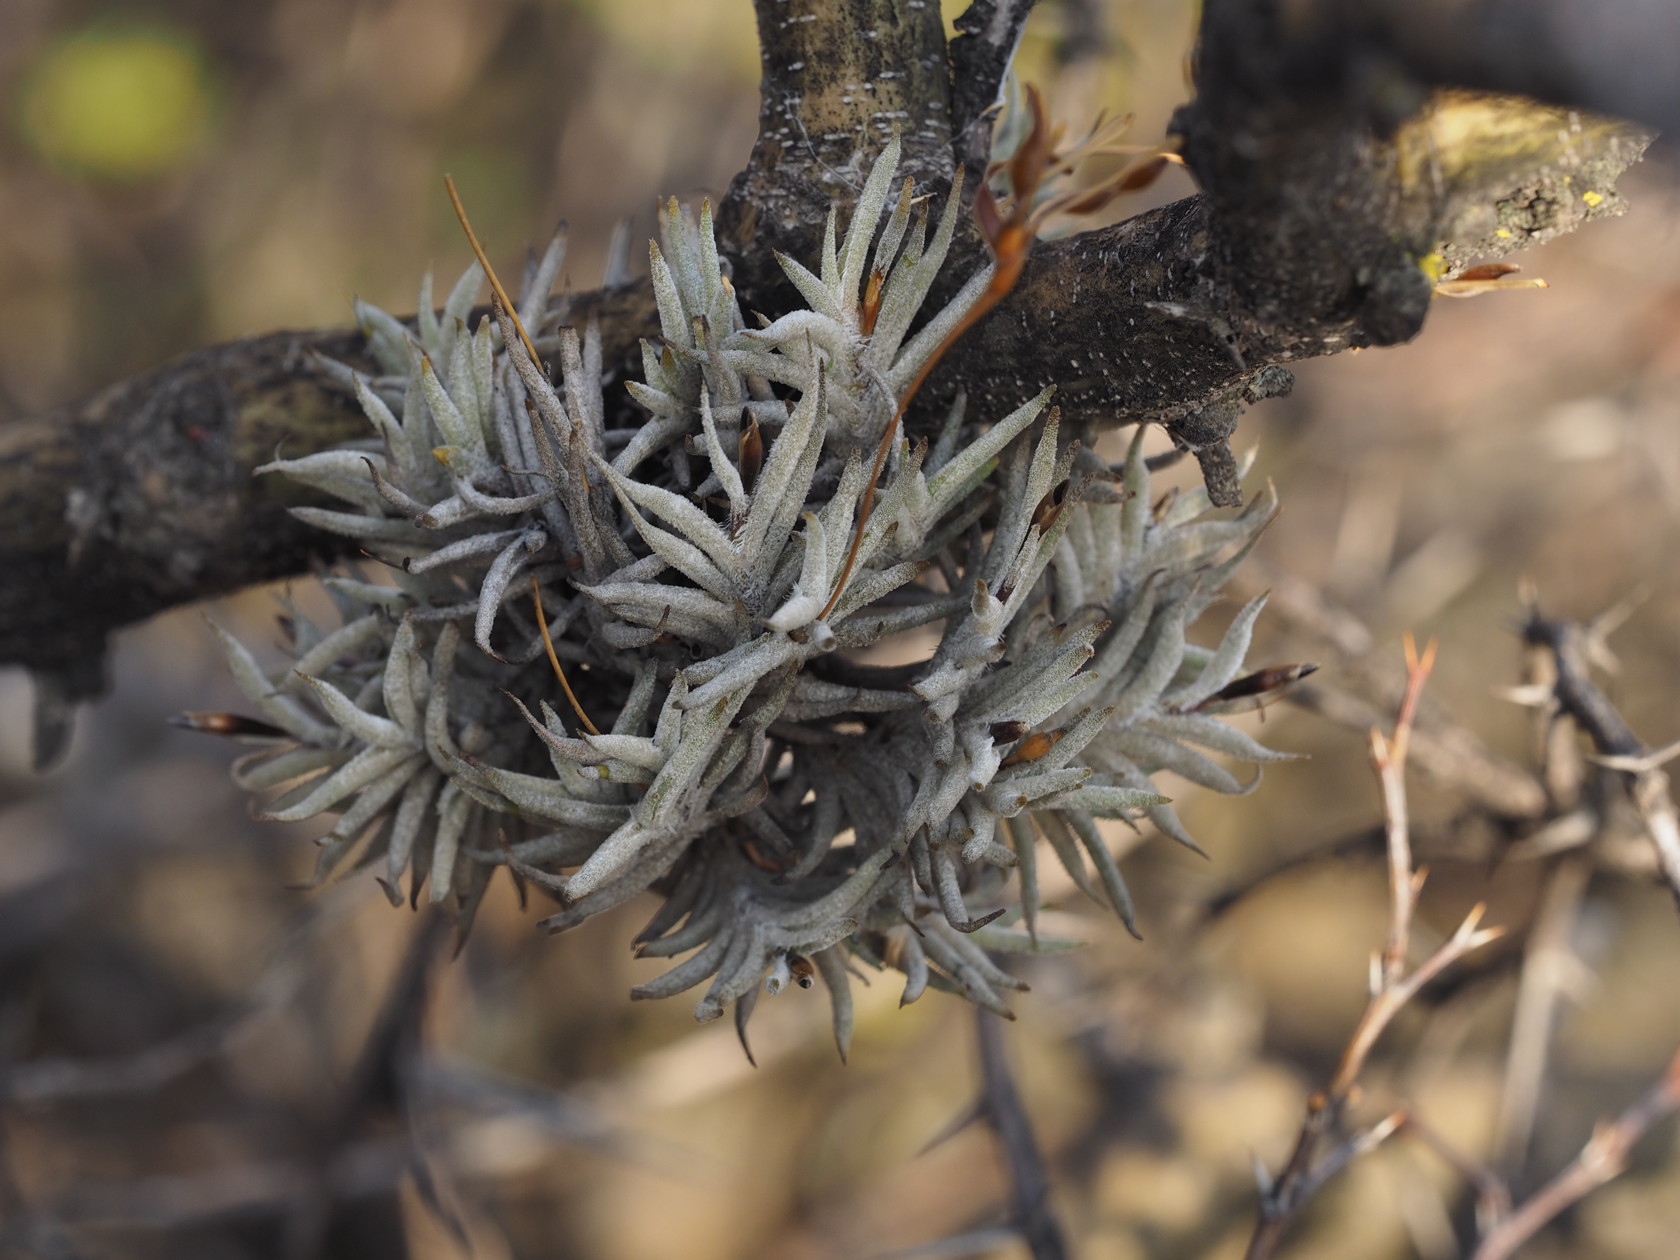
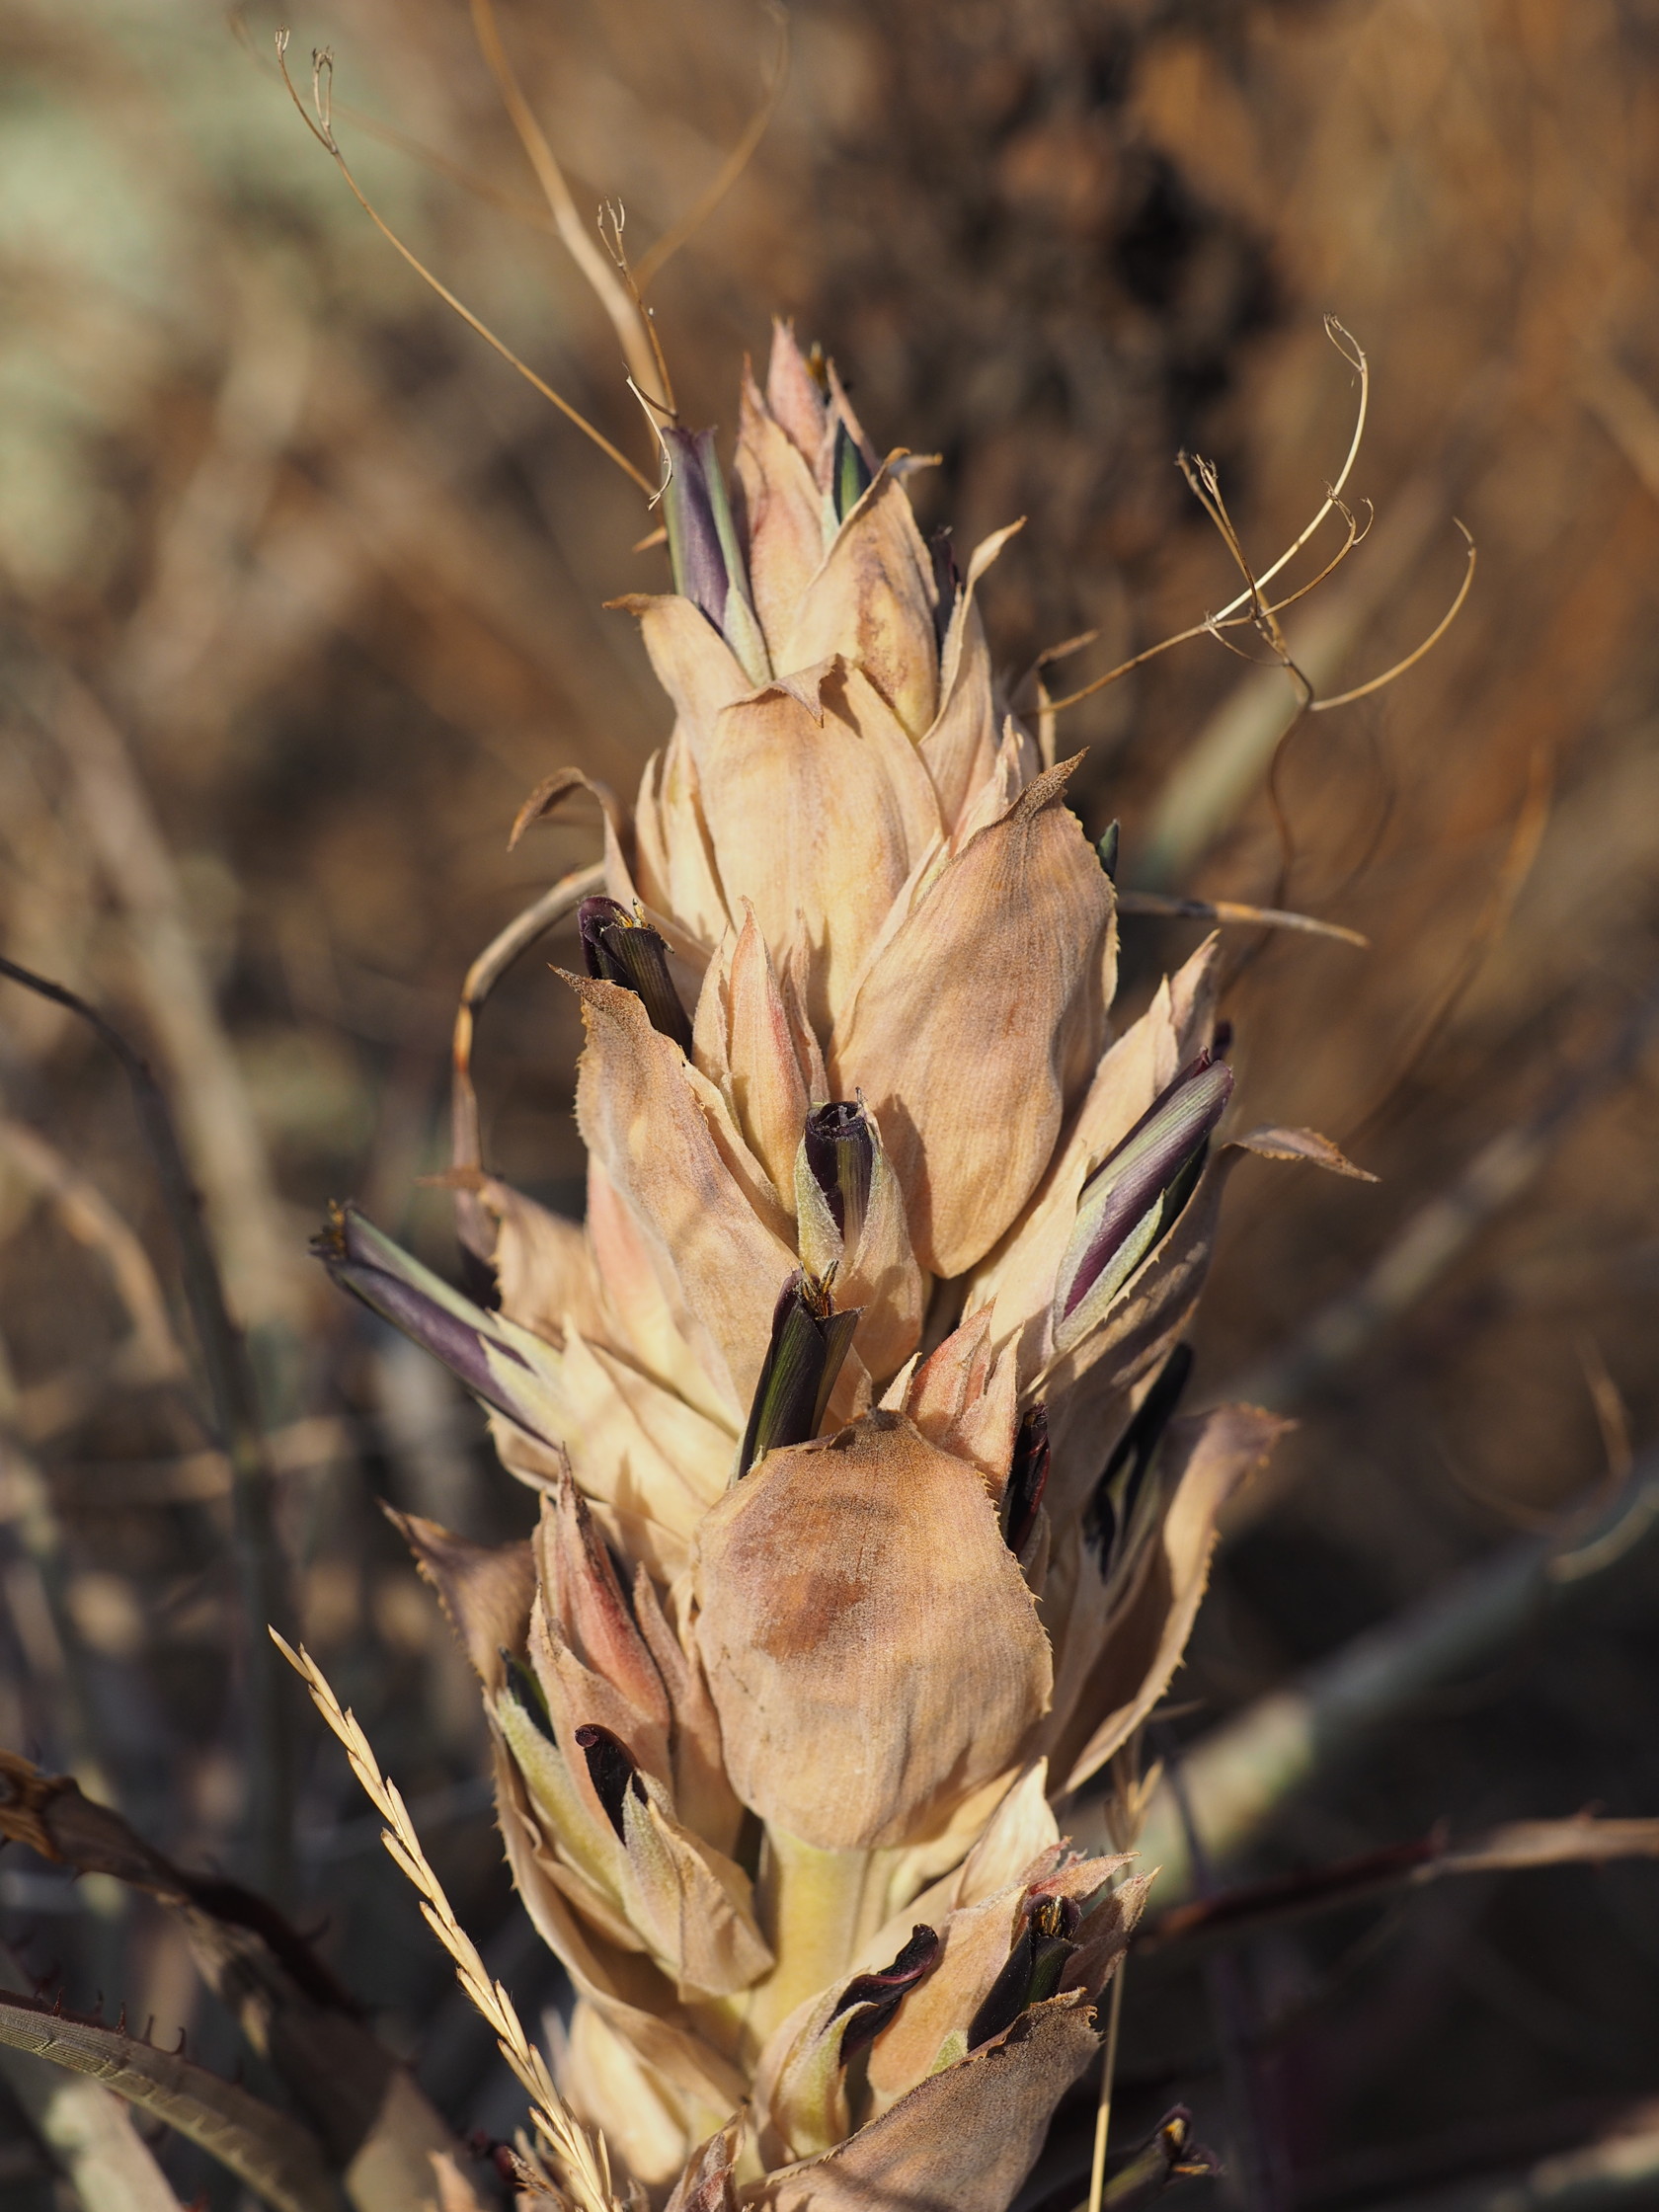
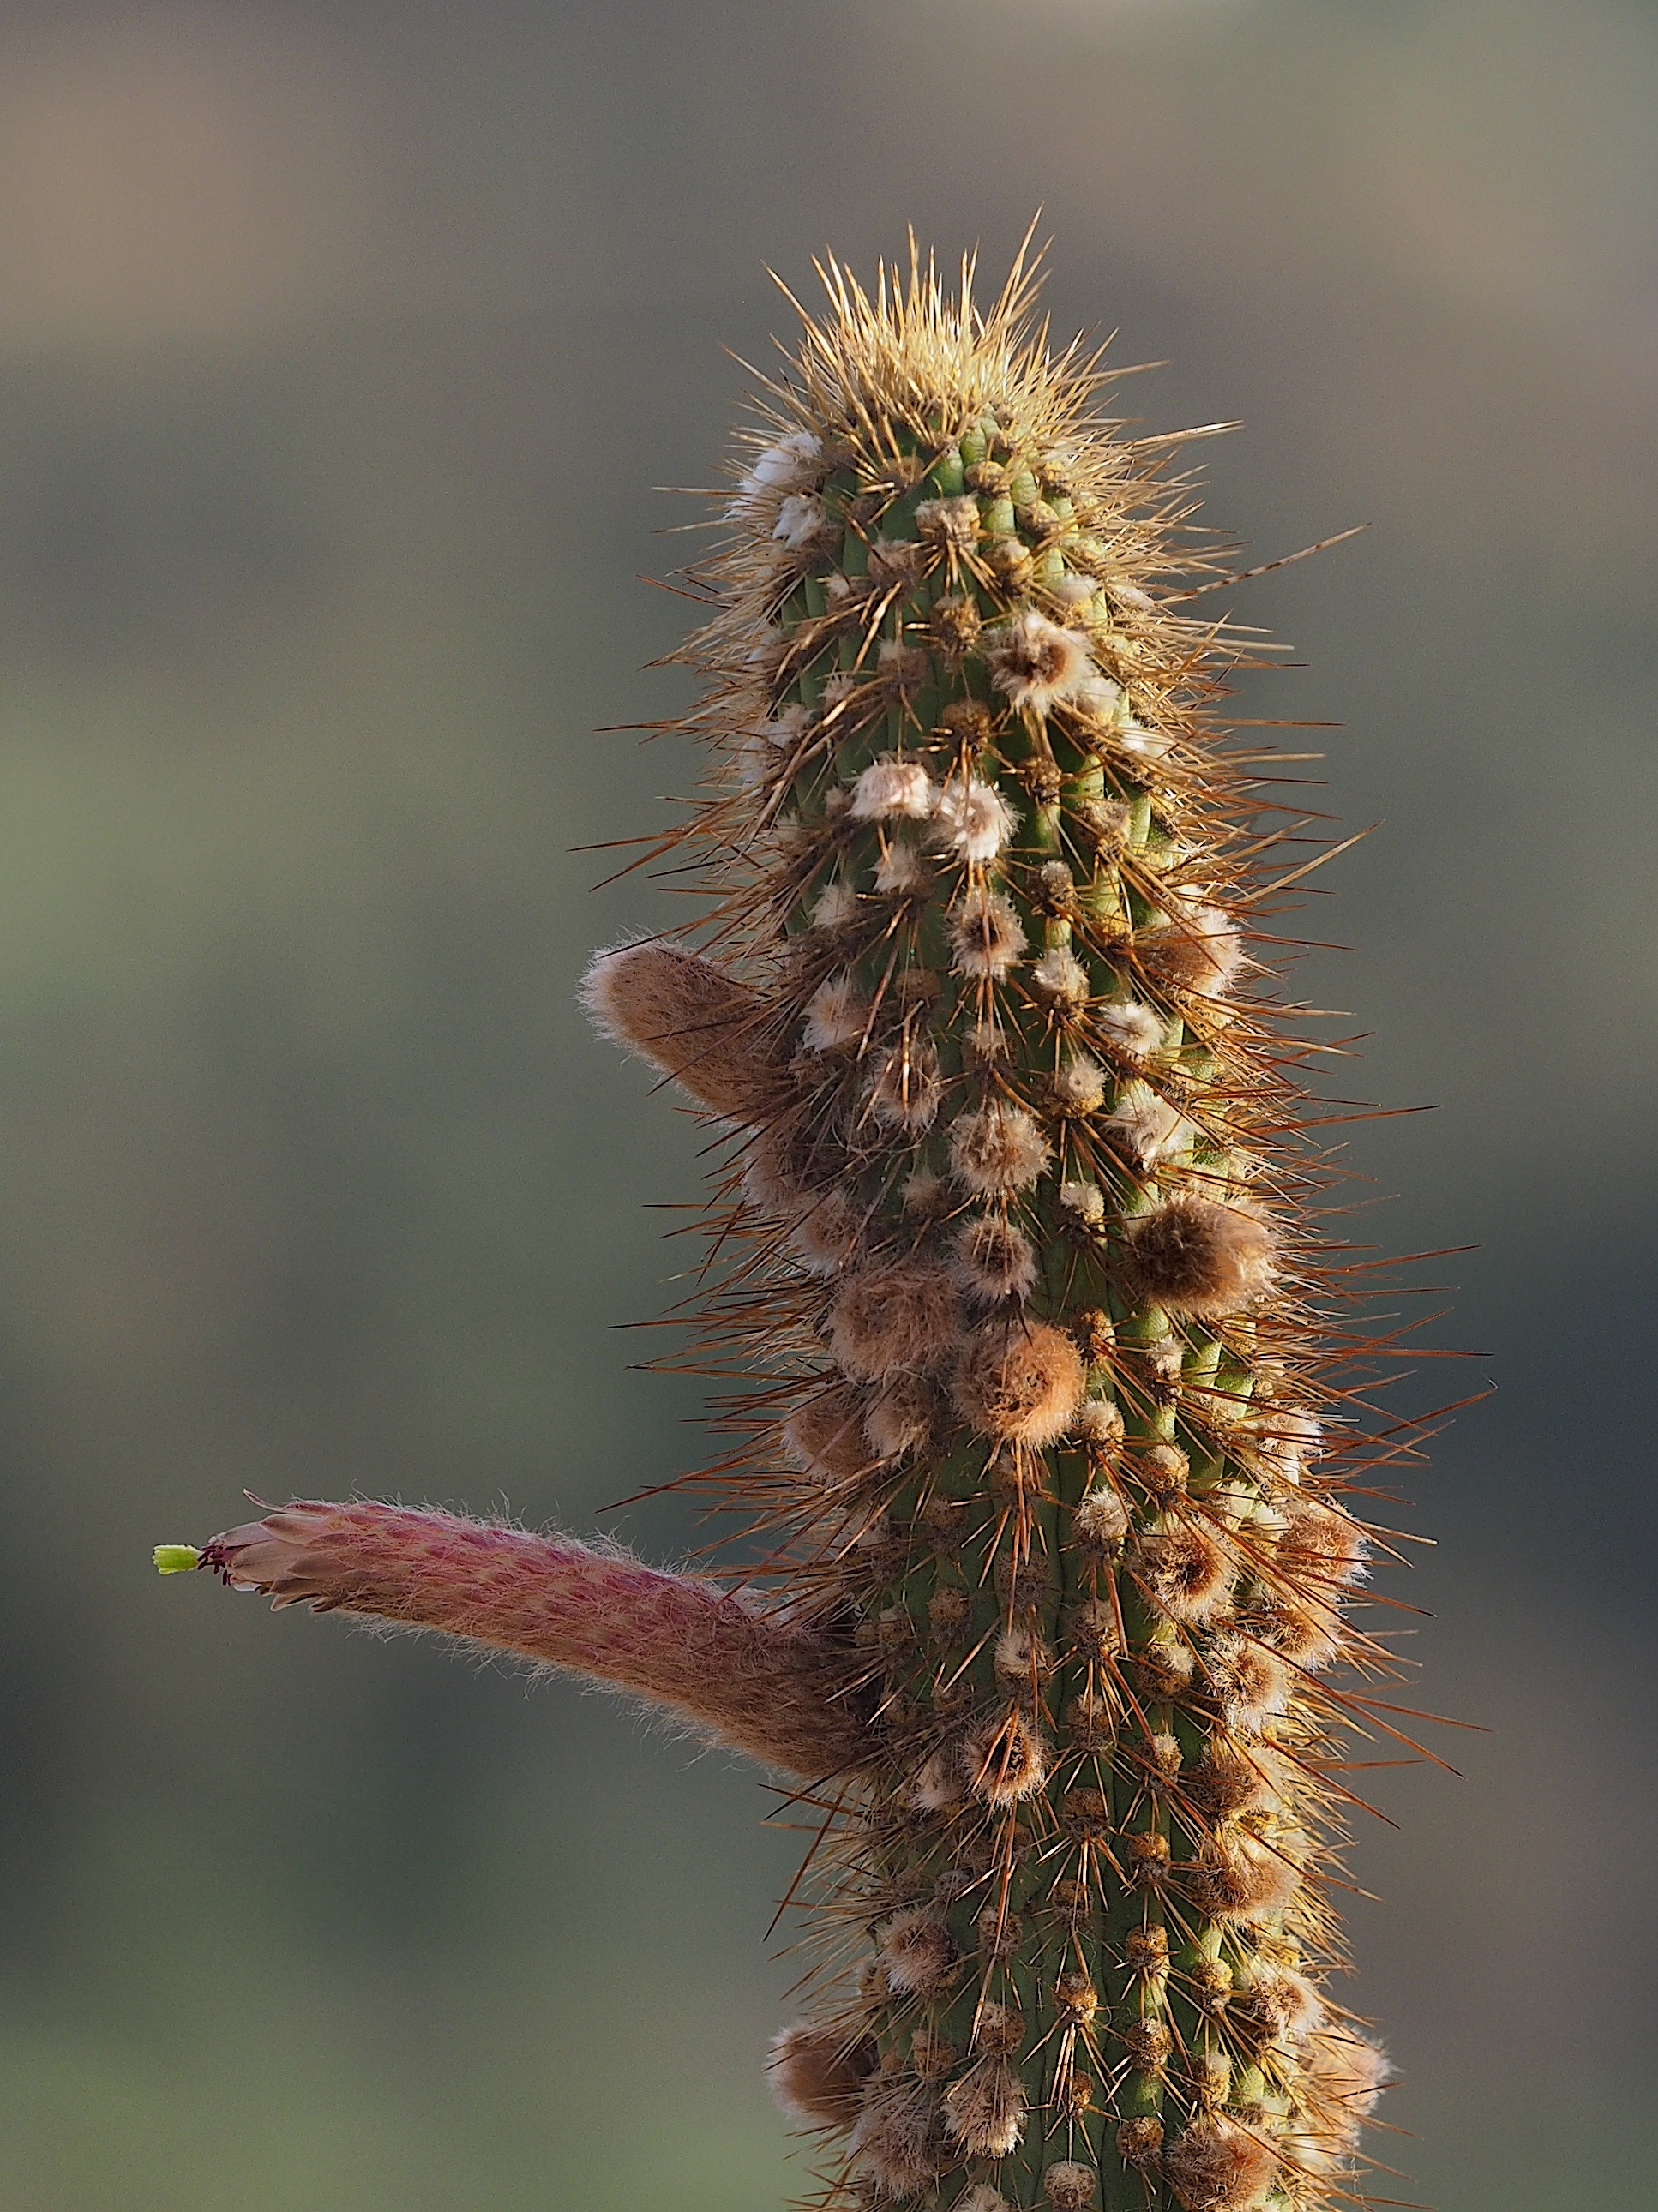
We found a reasonable diiversity of cacti and a few other succulents on the slopes of Cerro San Pedro, especially given the short time available for searching. Large Cereus hankeanus, Harrisia tetracantha and Cleistocactus parviflorus were numerous, and among the shrubs we many small Echinopsis. On rocks were small Parodias. An Opuntia sulfurea and a Tacinga-type Opuntia was also evident. There were introduced Agave and Opuntia ficus-indica as well. Among the Bromeliaceae were a Puya species and several Tillandsia – certainly more were present that we did not see.


A final example of how subtly modifying an original image can “help” the final product, see the two crops of the Cleistocactus stem and flower shown in the mosaic of images above. The first image showsthe original image (cropped) with the sunlight side of the stem somewhat too bright and the flower and dark side of the stem a bit too dark. By using a brightnening brush on the dark side and a darkening brush on the bright side the overall contrast across the stem has been diminished – though not excessively so. This might make the modified image easier to reproduce.

Summary
Our day-long field trip to the Yungas was a success (from our perspective) and very enjoyable. I had not spent that much time in a cloud forest – perhaps ever. And the trip up Cerro San Pedro, though short, gave us a chance to see dry, cacti-covered hillsides that it turns out we could not see elsewhere during our 10-day stay in Bolivia. And the Congress, though relatively small compared with most others I had experienced in my research career, was great in providing many opportunities for personal discussions with the students and more senior personnel that participated.
